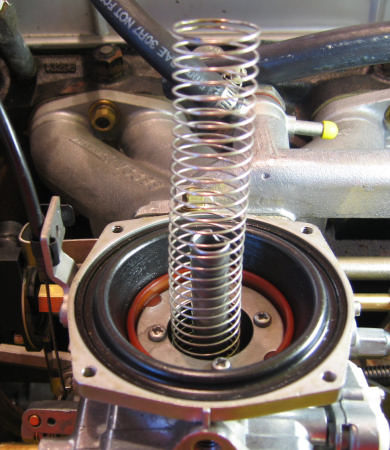
| Cover off reveals
Spring |
Spring lifts right off
- no I didn't chip damper chamber. It had to be one of the previous
owners |
 |
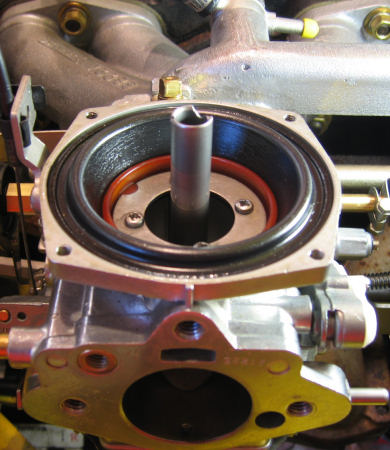 |
| The Piston lifts out |
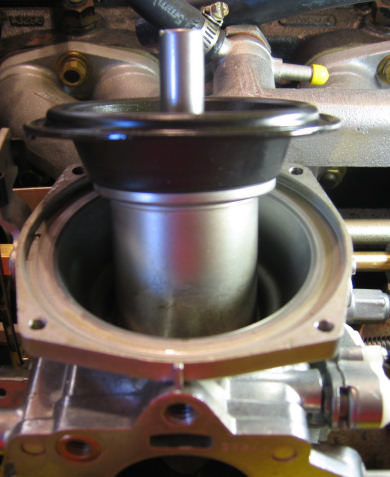
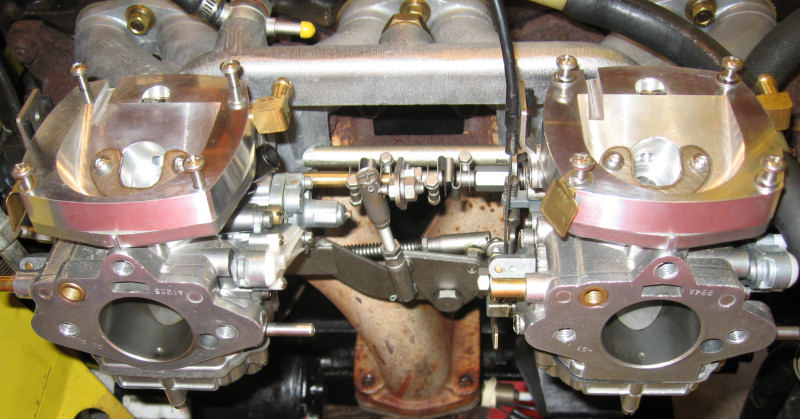
All Removed...Time to
add the adapters |
 |
 |
| All the
carbs need now are the Injectors! |
 |
Once I have the injectors,
they'll pop in under that removable "U" shaped bracket that's in the middle
of the adapter. Then I have 3 choices:
-
Leave them exposed for all
the world to see as there's no need, other then cosmetic to cover them
up.
-
Cut the interior of the
existing carb domes and put them back on to make it look like a normal
carb.
-
Beg, plead, nag Rick to make
up some nice matching covers....maybe even engraved with "TBI by
Patton".
My preference is #3 as I see no
reason to try and cover up (no pun intended) the fact that those aren't
really working ZS carbs. I mean, after all, one close look and anyone would
notice all the non-standard electronic components that'll be attached under
the hood.
Here's the
injector installation
page......more
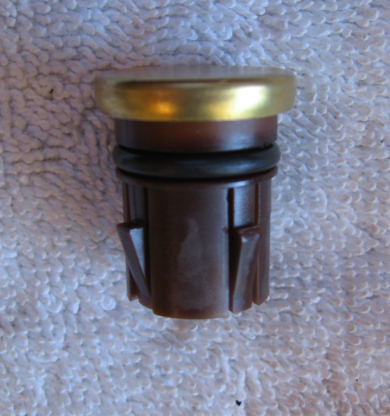
One last thing I did was to drain
all the fuel from the bowls by prying off the plug that's fitted to the
bottom of the carb bowl. It comes off, gas flows out and it pushes back
on....maybe will a little help from a rubber mallet.
|
Pry this out to drain
the fuel from the carb bowls |
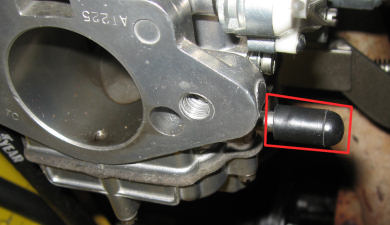
I also got some 1/4" emission plugs to cover the
old fuel inlets on the 2 carbs. |
 |
 |


