One of the
things that attracted me to the Miata seats was the built in
provision for headrest speakers and what was even better
was that the modern speakers used today are of much
better quality than the original ones. I Goggled "Miata
headrest speakers" and got a hit for
3rdStrategy.com out of Cambridge MA. They offered
the complete package of speakers and speaker boxes so I
went for it...............and wasn't disappointed. I
went with their
RetroFit Kit which included the boxes as well as the
speakers. I am not an audiophile, but these speakers come
with crossover/blocking capacitors............I have no
idea what that means or what it does, but all of their
speakers shipped after June 2007 have them.............
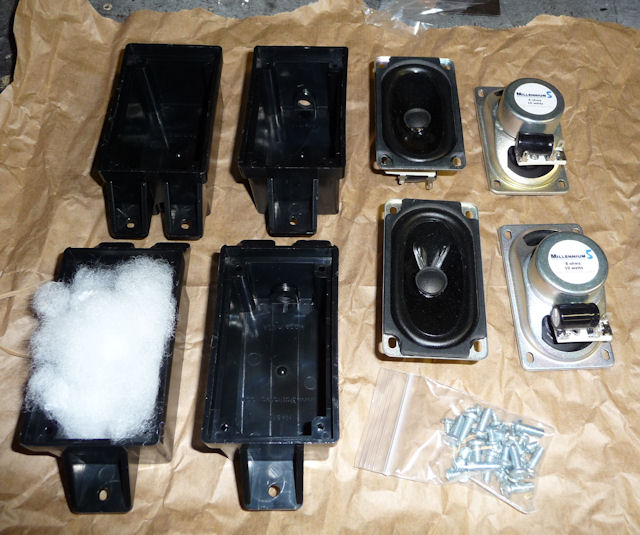
The kit
includes: 4 boxes, 4 speakers, acoustic
fluffy stuff & all the screws you'll need
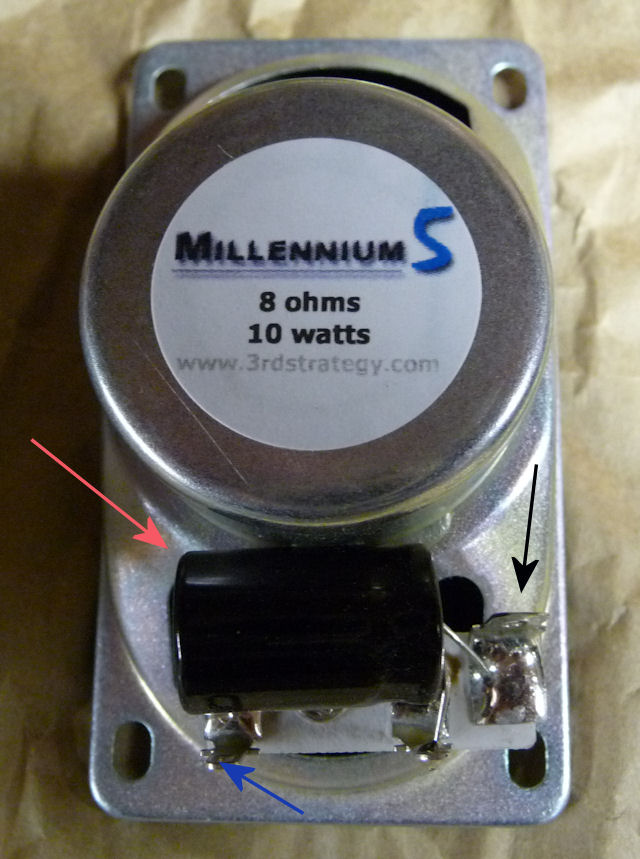
The red arrow
points to the crossover/blocking capacitor,
the blue arrow to the negative terminal and
the black arrow to the positive terminal.
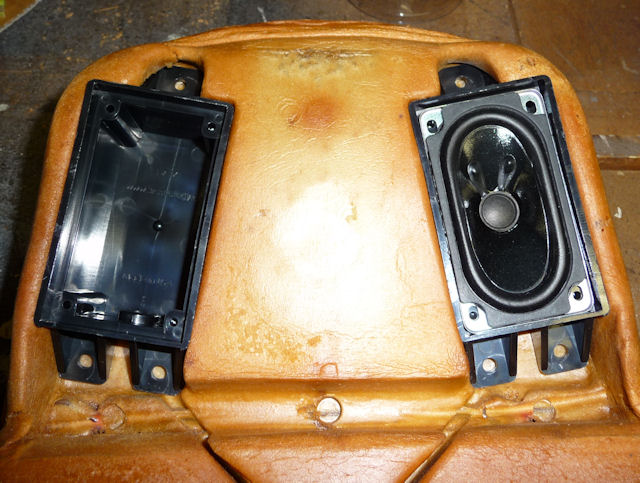
Test fit of a box
and a speaker in a box.
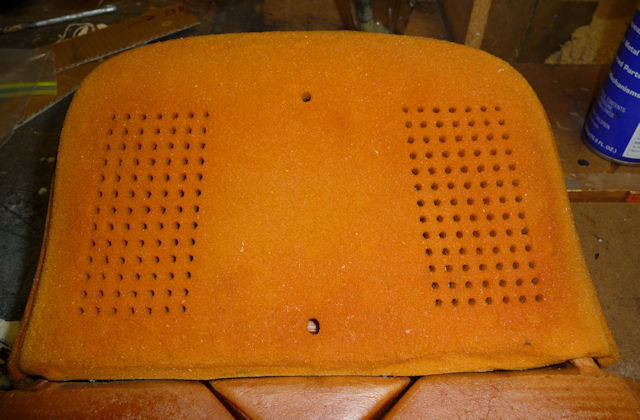
And the cover
that should be included with your seats.
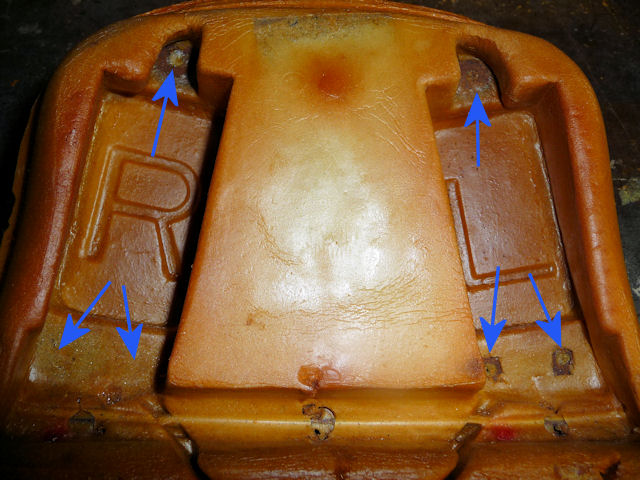
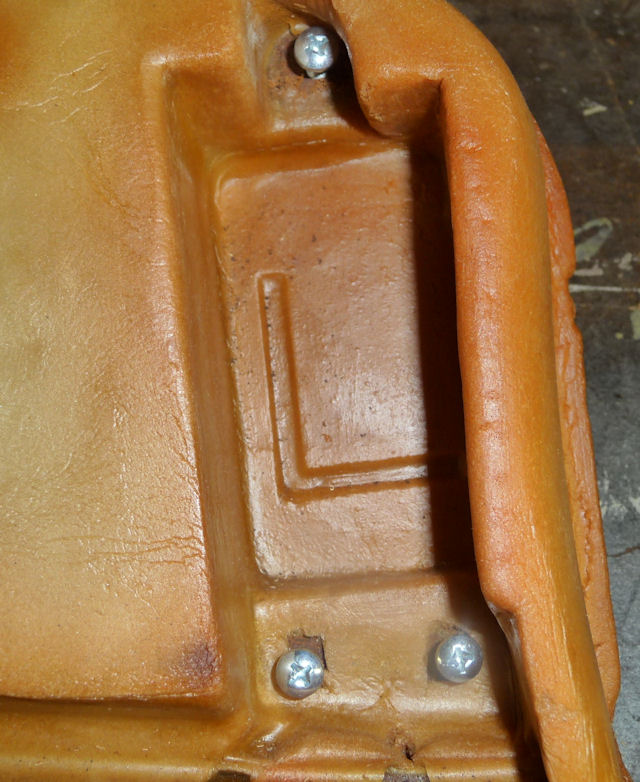
In case you
confuse Right & Left, Mazda makes it easy.
The blue arrows point to the bolt holes for
the boxes. Find them with your fingers and
then scrape the foam off with a razor or
screwdriver tip.
One on top and
two on the bottom.
STOP
READINGand
go to the next
page to see how I should have done this.
I was following the directions that came
with the speakers.........following them to
the letter and not really looking at the
seats and how they were designed. I've also
emailed the speaker people to suggest they
review my page and supplement their
instructions. In fairness to them, their
instructions are for adding the speakers to
an upholstered seat, but even so I think you
could work the wires into the provided
slots.
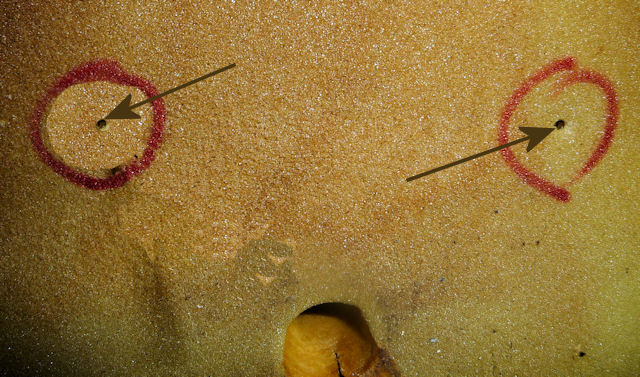
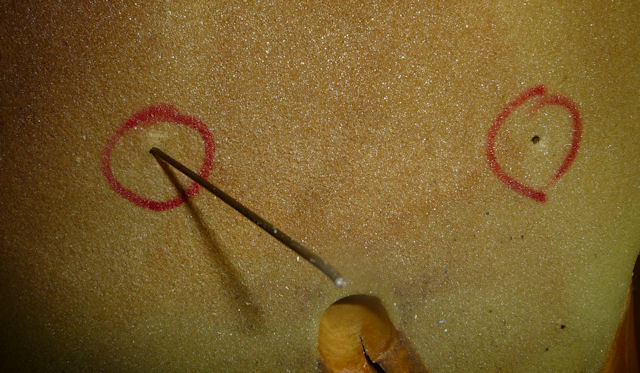
OK....back to how I did it. Now look on
the back of the headrest and you should see
two small holes which I've circled in red.
You need to fish the speaker wire through these holes
to the front.
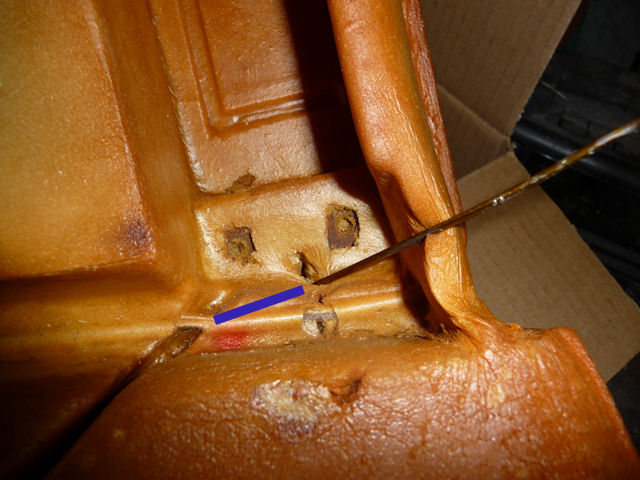
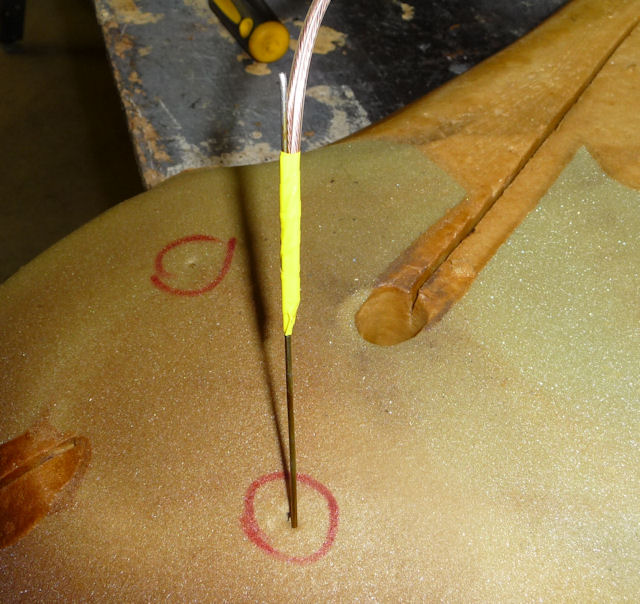
Grab a coat
hanger, find the opening between the two
bottom bolt holes and fish it through to the
back on this angle (blue line). It takes
some force to get it through.
While you're
pushing from the front, feel at the back for
guidance and you should come close to the
hole. You don't need a direct hit.
Now tape your
speaker wire to the hanger and work it
through to the speaker recess. This took
some pulling and pushing force but it will
feed through.
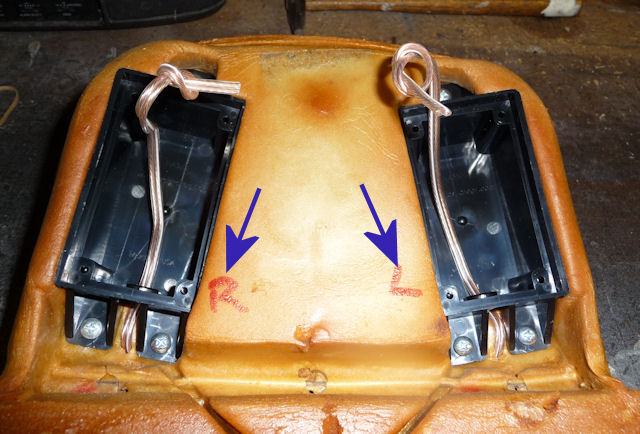
Feed the wire
through the speaker box and bolt the box in
place. I used about 6' of wire on each side.
Make sure you note the Left & Right speakers
on the headrest. I know that you know your
milk hand from your cookie hand but seeing it
shouting at you in magic marker helps
eliminate brain cramps when it's time to
wire them up.
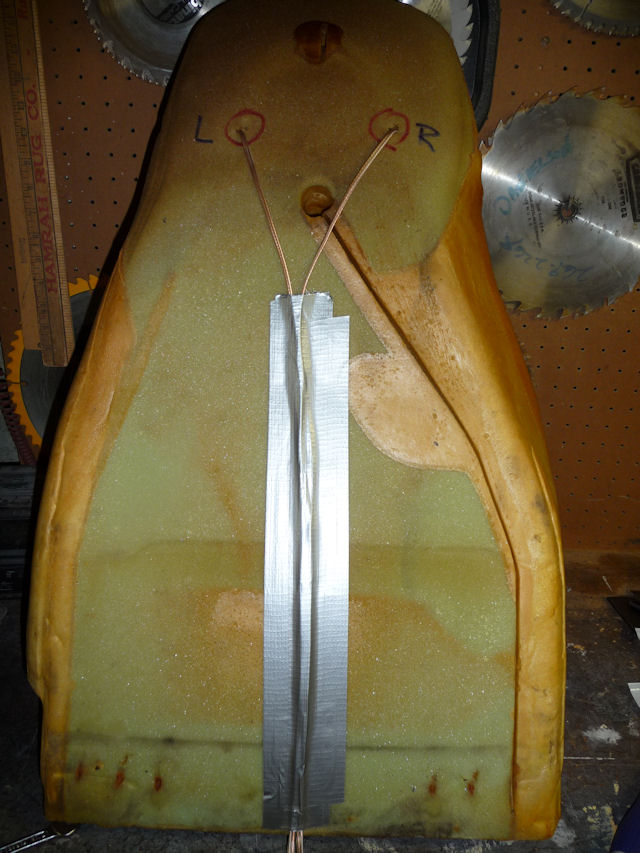
On the back
side I used good old Duct tape to hold it
all in place.