Making Your Own Interior Panels


 TR6 Home

Custom Panels

Crazy Idea

Templates

Panel Sewing

Door Pocket

Kidney Pads

Installation Tips & Techniques Below

Wheel & B Pillar

Door Caps

TR4 Door Pulls

Darn Handles

Window Seals

BristleFlex

Top Bracket

And In Conclusion


Time to Sew Some Leather

I bought two hides from MoreThanLeather.com and needed about 1-1/4 hides to do a complete interior panel set including kidney pads. They get their hides from Eagle Ottawa which is one of the largest suppliers of leather to the automotive industry. There's a lot of waste with hides as they're shaped like a cow with no body attached! Four little skinny hide legs and even a 
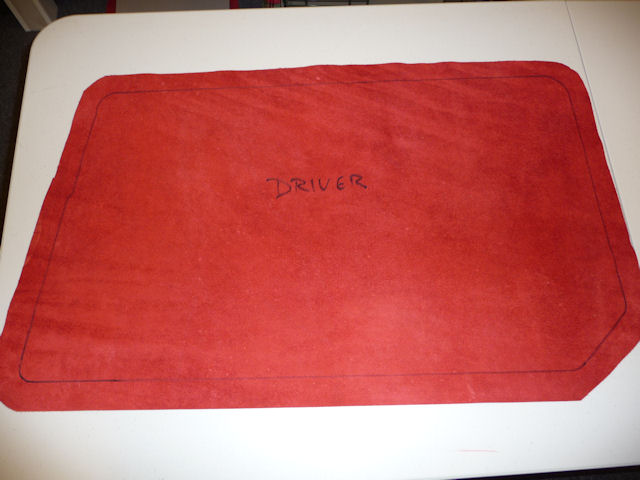
neck hole..........it freaked my wife out. For some 
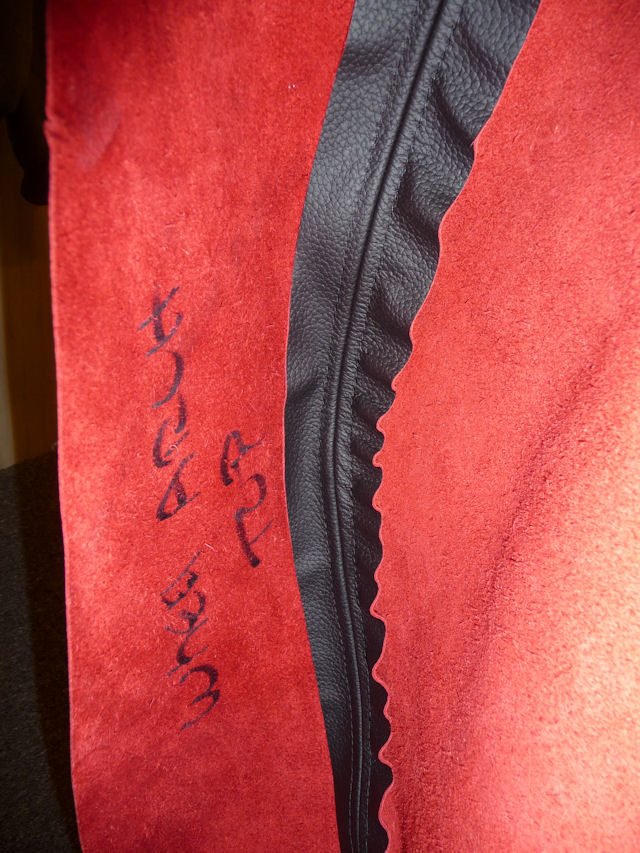
reason Eagle Ottawa dies the suede side of their hides a rich red color which looks nice except it amplifies any mistakes by showing through the leather.

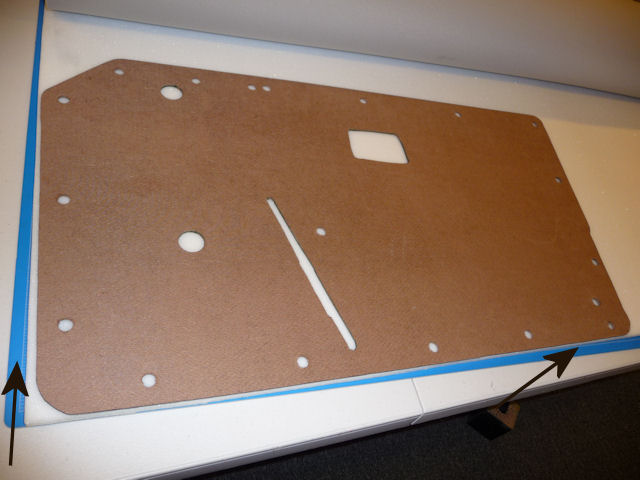
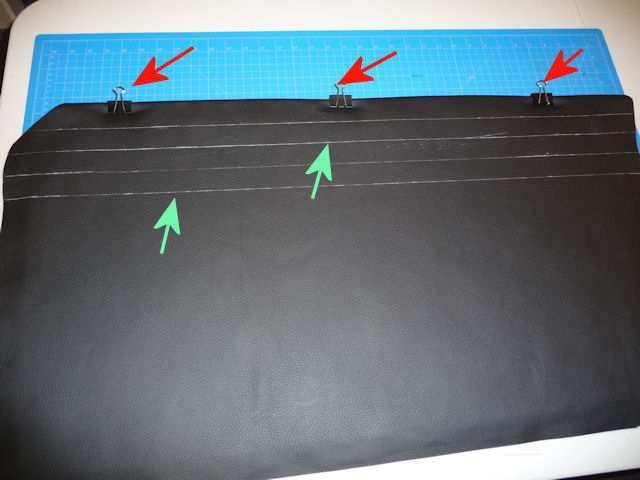
I actually have two sets of hard board templates: One set is for cutting the panels that will be used for the back boards and the foam and another set that's about 3" larger that is used 
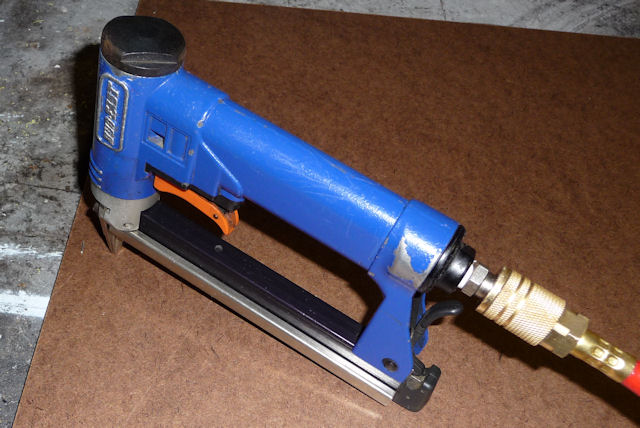
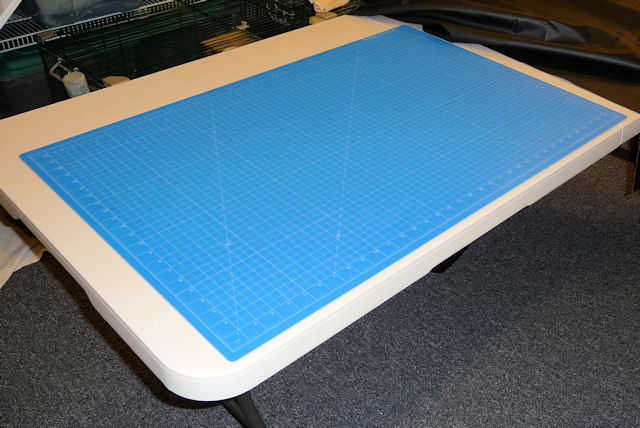
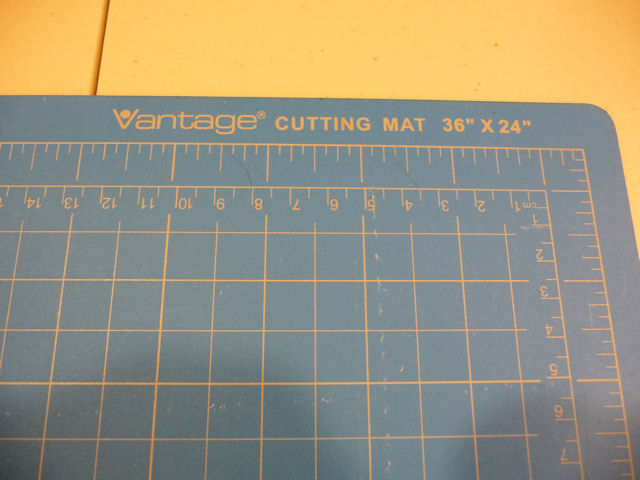
for cutting the vinyl/leather. There's a couple of 
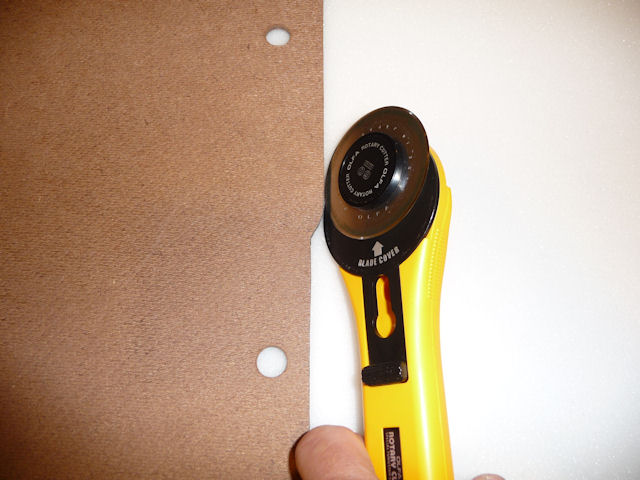
"tools" that made the cutting work much easier: a self healing cutting mat and a rotary cutter.

This is a 2x3 foot self healing cutting mat that won't damage the cutting blade

The mat has all kinds of measurement markings that my wife uses for her sewing.

This 60mm rotary cutter makes it very easy to cut vinyl, leather and foam.

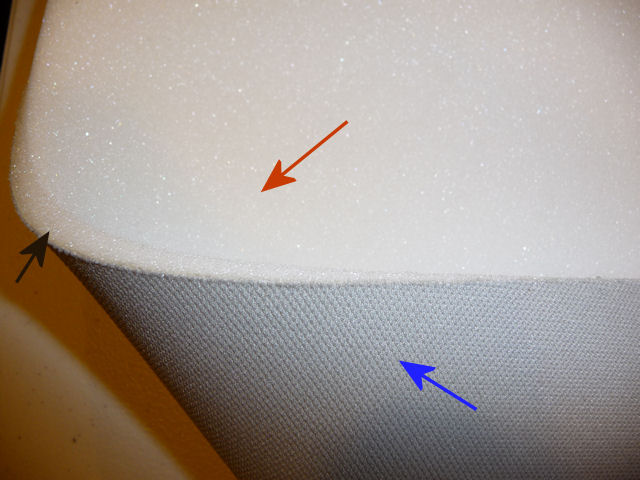
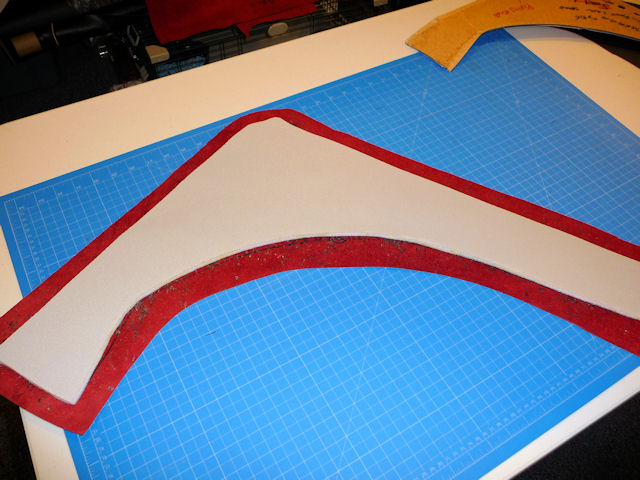
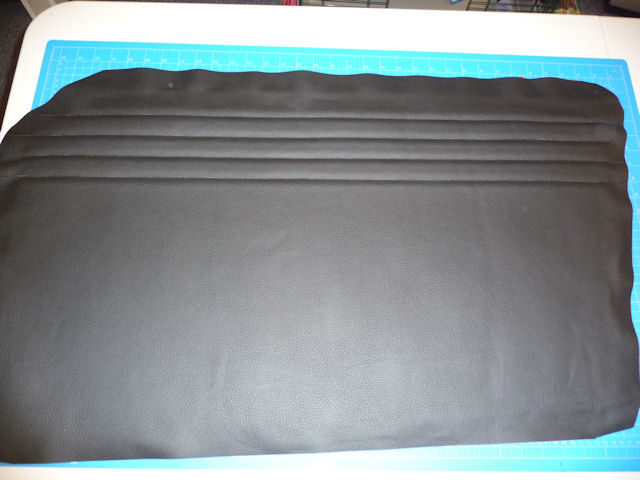
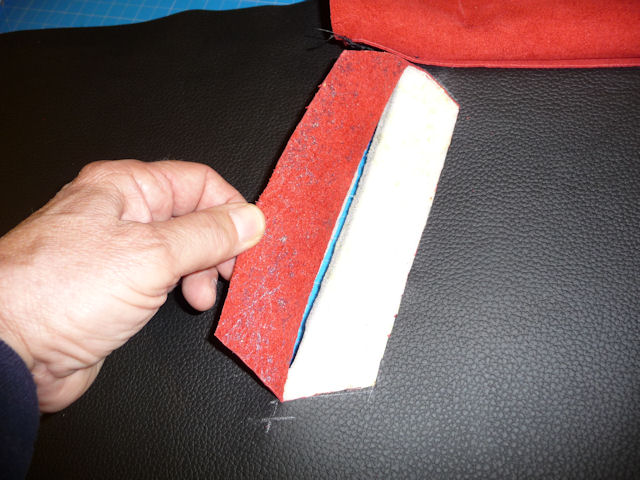
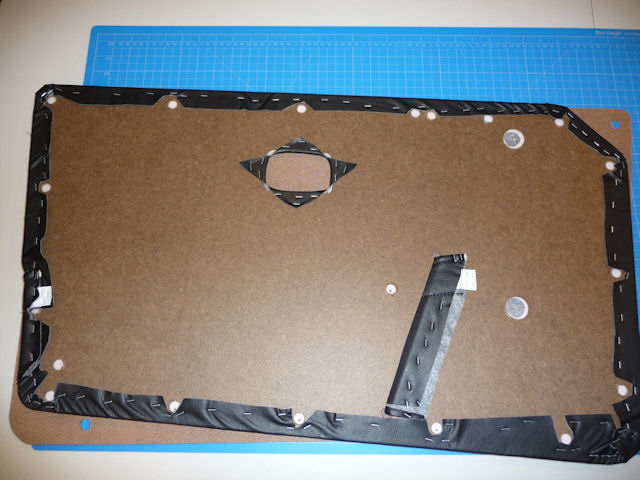
One of my pet peeves with the stock interior panels was that the foam behind the vinyl was barely 1/64" thick and, as a result, the panels had very little depth or definition. I also 
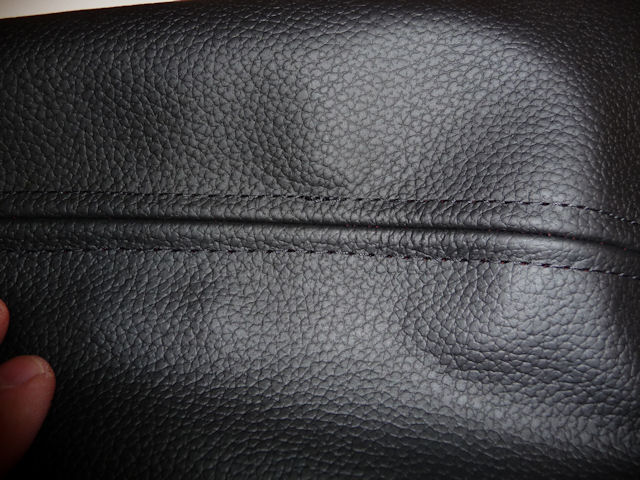
didn't like the fact that all of the seams were heat sealed or.......... melted vinyl. I decided to use 1/4" pleating foam on all of my panels to give them the look that I wanted. This was both a good thing and a bad thing! More on the bad thing later.

The pleating foam has foam (red arrow) on one side and is bonded to a material (blue arrow) on the other side. The foam side gets glued to your material so that when you sew the material side takes the stitch. The black arrow shows the 1/4" thickness.

Here's the door panel on the foam which is on the cutting mat.

The inner markings are from the panel template while the leather itself was cut using the material template. As you can see I have about a 1-1/2"border. I use the inner marking as the guide for where I need to spray glue. I also mark all the pieces with the panel name and whether it gets glued to the material or the panel. When you're working with left & right hand or mirror panels it's easy to mess up the cuts and the gluing process.

My plan was to follow the making of one door panel from start to finish but I forgot to take some of the pictures showing the process so......

We'll use the wheel arch to show more of the process.....I want to keep the glue inside the lines

Making sure I spray the glue on the right sides
I used a siphon gun to spray Weldwood HHR Contact Cement
The foam glued to the leather

Time to jump back to the door panel which now has the pleating foam glued to the back.
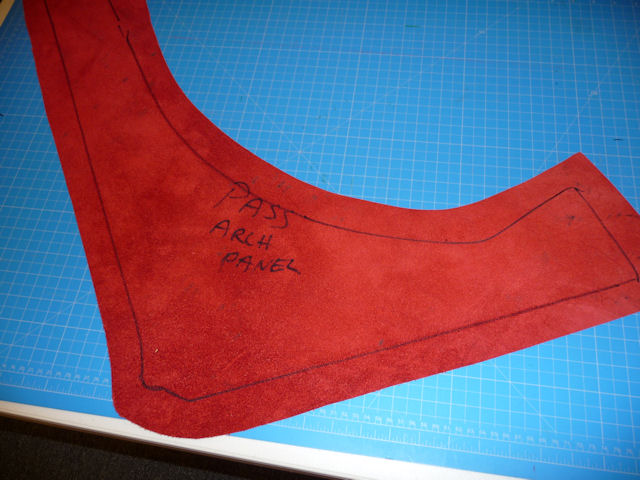
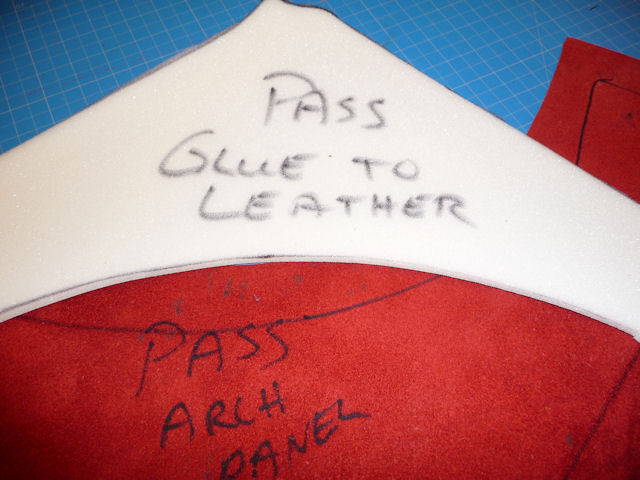
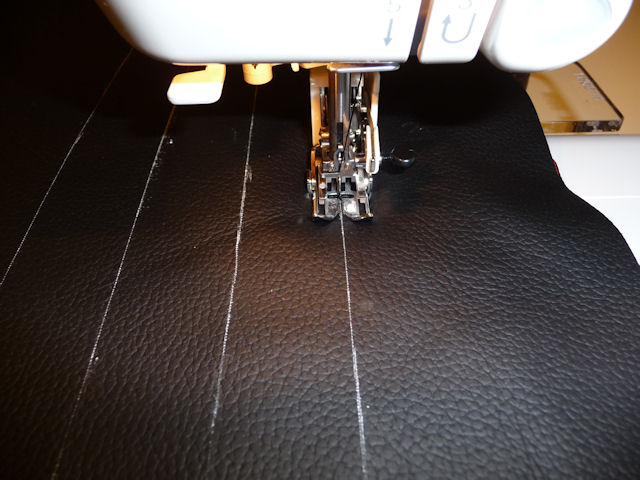
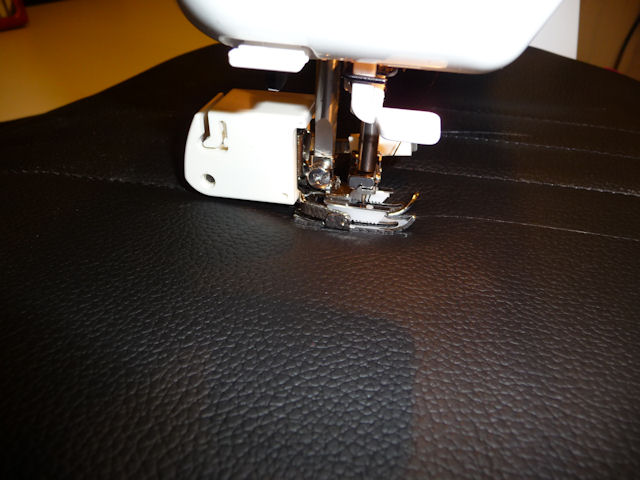
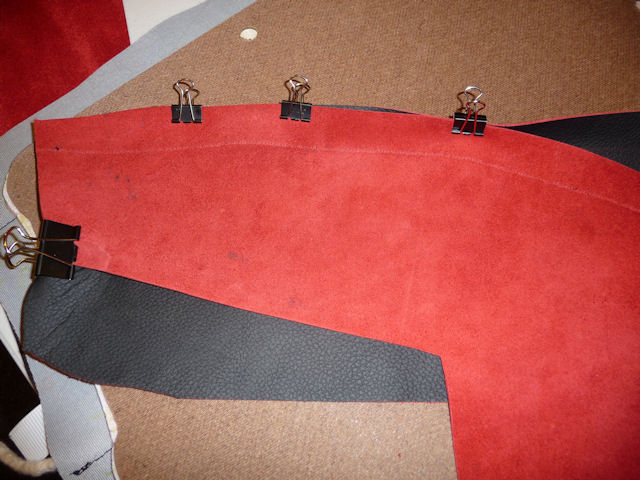
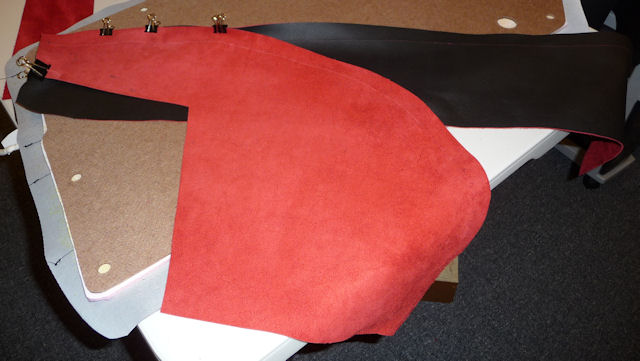
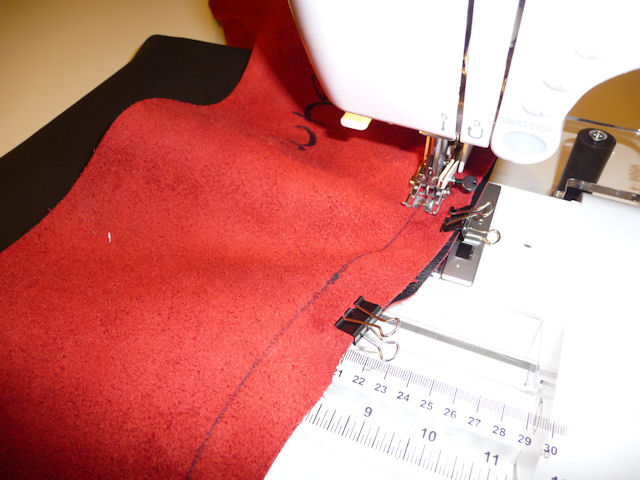
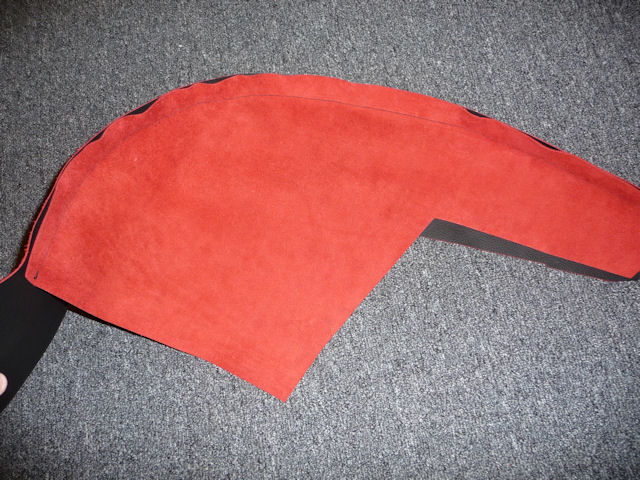
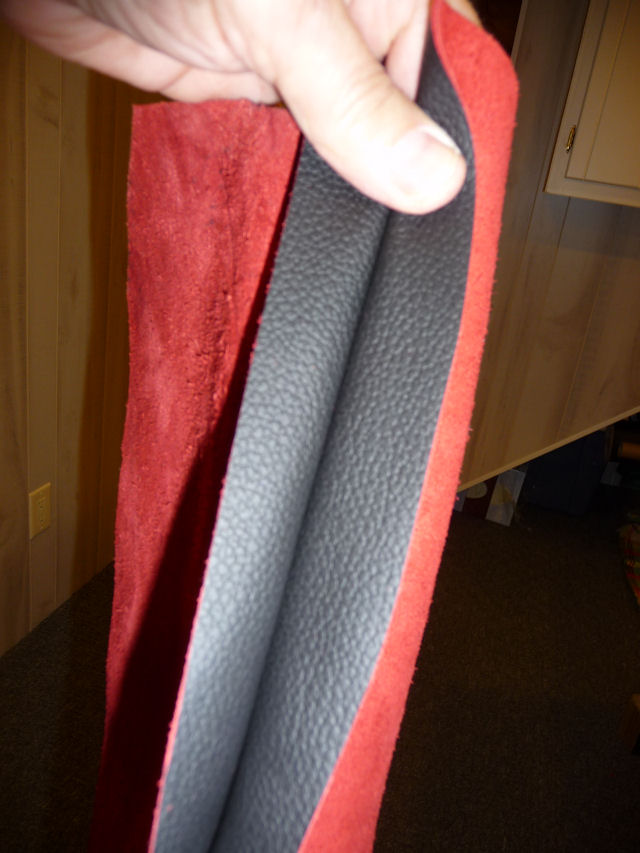
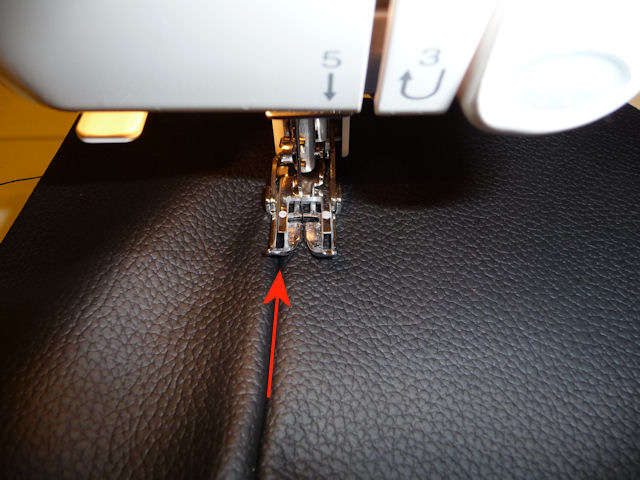
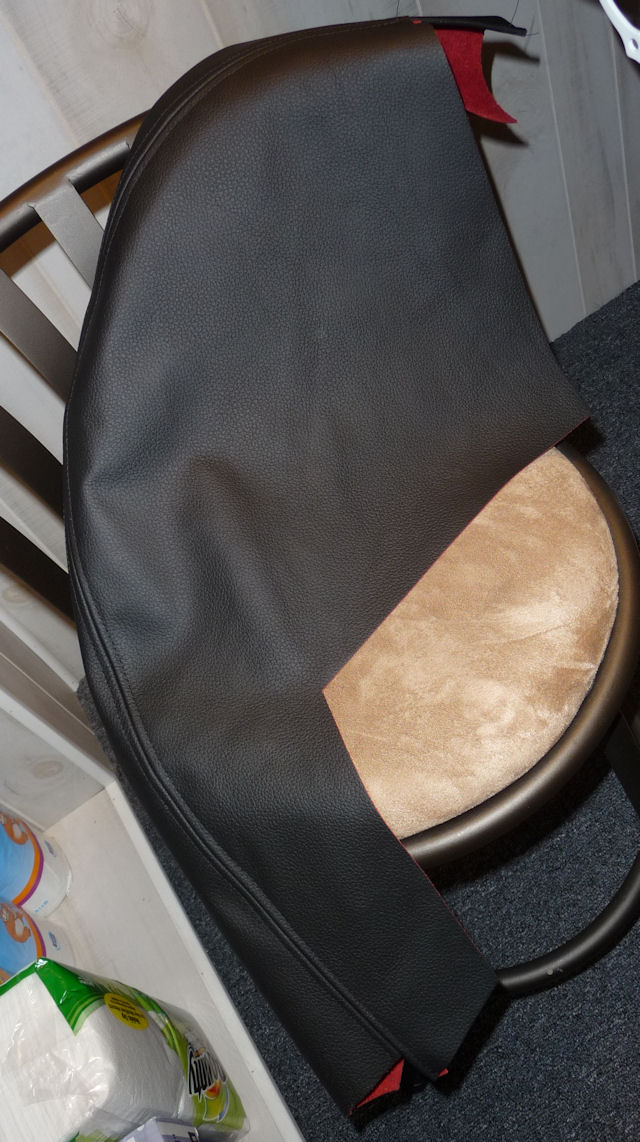
I temporarily clip the leather to the back board with these spring paper clips. Then I draw my sewing lines on the leather using a roller chalk marker. I wanted an earlier TR6 door look so I went with these three pleats. For later doors I do the design that's on them.

Now it's just a matter of slowly sewing straight down the line.

This is the walking foot attachment that's an absolute necessity for sewing heavy thick material.

And the sewing is done.... next up is installing the pesky pocket.

I have another section that shows more detail on the pocket but it basically requires a slit be cut in the door fabric (red arrows) for the pocket front (green arrow) to get tucked into.

Here's the flap cut and ready to get stuffed in to slot in the back board.

The pocket is set loosely in place..... you can still see some of my chalk marking for sewing the pocket to the door panel.

The green arrow points to the flap and the other to the pocket

Here's the flap stapled in place and the pocket will get stretched and stapled over it.

This is the back of one of the vinyl panels all stapled up.

Here's what I picked up on eBay for $35. It's a Duo-Fast air stapler that shoots 1/4" staples and sold new for over $200. The only downside to this gun is that there is no safety interlock like air guns are required to have. This may pre-date that law so you can just aim this gun at someone or something and fire. No need to have it pressed down.

Here's a few pictures of how I sewed my wheel arch covers which were the most difficult pieces to sew.

This is actually my second attempt at sewing this cover. I didn't like how it came out so I ripped it apart and started over. The material is sewn face to face and you can see the line that I want to follow. The clips help to hold it together at the start of sewing.
The long piece goes on top of the wheel arch and the red piece goes down the side.
This required sewing very slowly with lots of stops and starts to get the material positioned correctly as I'm actually sewing a straight piece to a curved piece.

All sewn together......... now for the fancy stuff.

I need to fold these two flaps over....one to each side.

Then I positioned the presser foot on the seam and sewed the first stitch about 1/4" right of the seam. When that was done I reversed the material and sewed another stitch on the left of the seam.
This is want to the bottom side looks like and...........
This is my nicely detailed top stitch. Basically these covers get sewn three times. The stock TR6 cover has a piece of piping sewn in there but I like this look better.
And the finished product which is made quite oversized so that it can be cut to fit the wheel arch nice and tight.

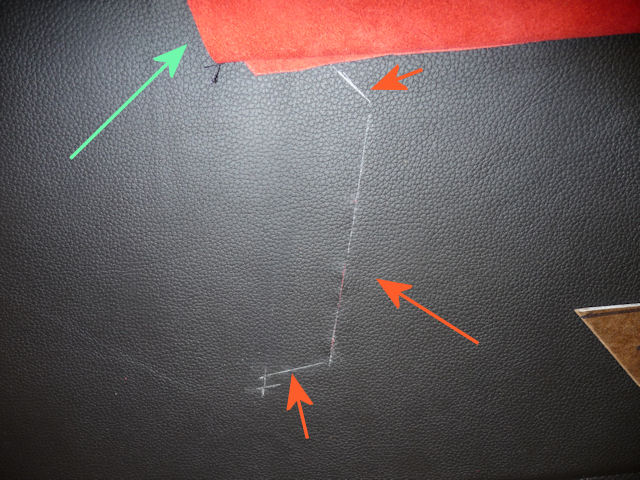
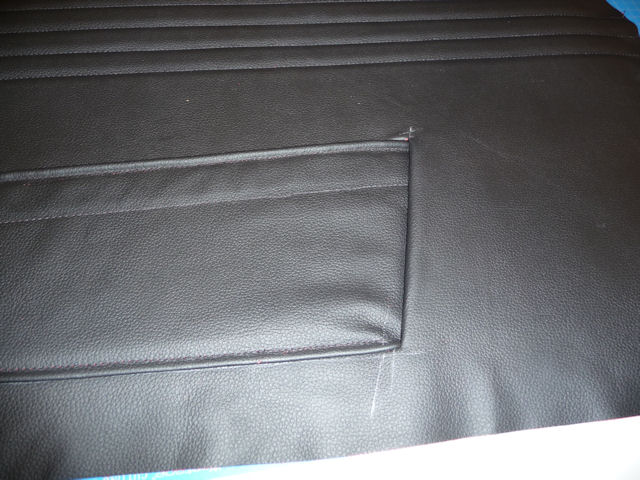
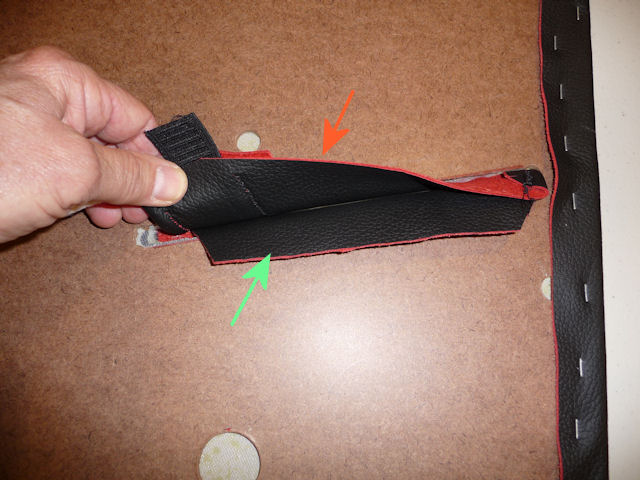
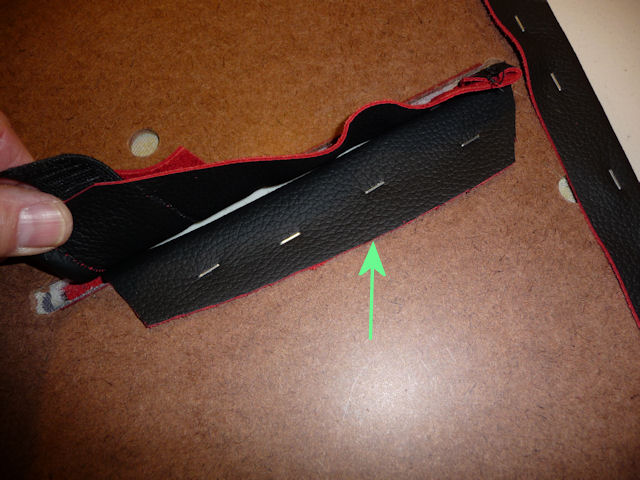
Here's some detail on how to get the door pocket to fit.......