|
Finishing Up the Door and Getting Things to Fit!
As I started to
re-assemble things I quickly found out that using a
slightly thicker back board and 1/4" pleating foam adds
just enough thickness to really make it a challenge
getting some things to fit. Every single panel piece
required some patience and creativity to get the fit
right.
Let's start with those
@#&@ door clips! Because the back board is slightly
thicker, the clips fit much tighter and are harder to
position. Then add some leather that is almost 1/16"
thick and it gets even more difficult.
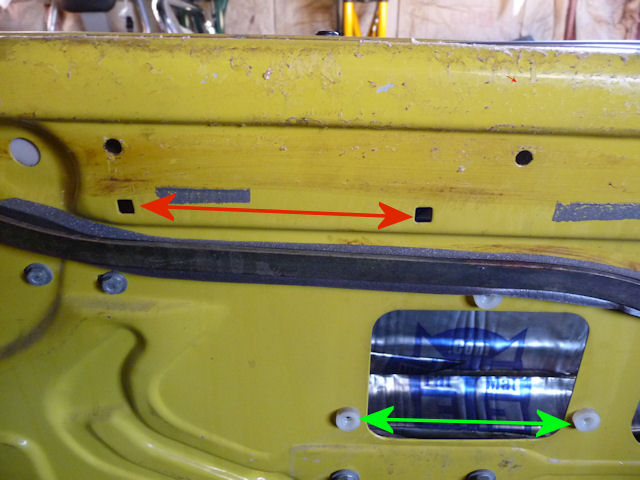
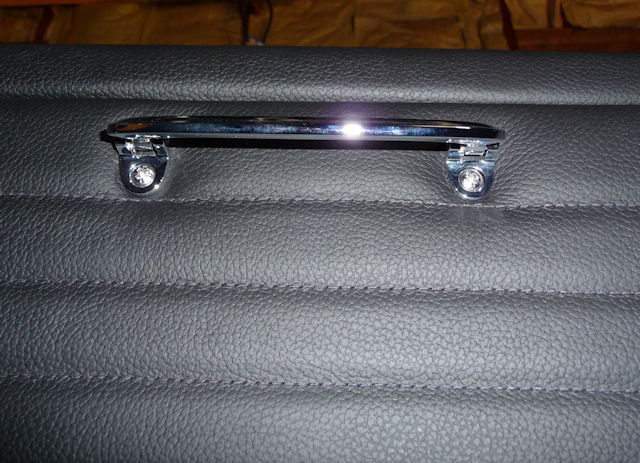
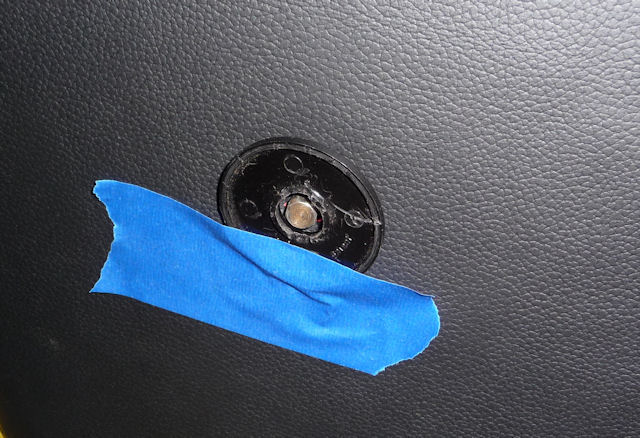
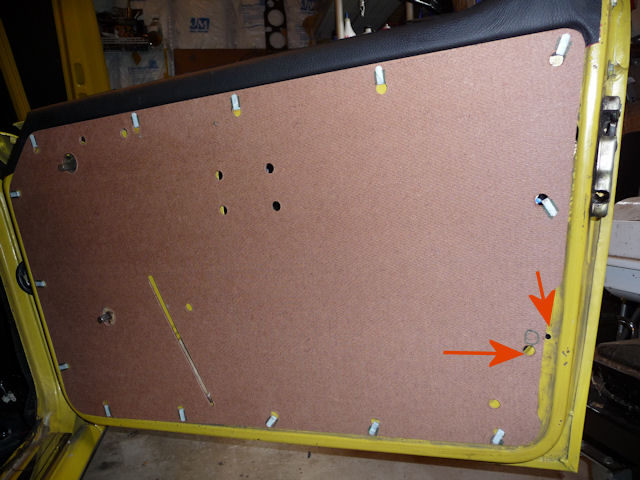
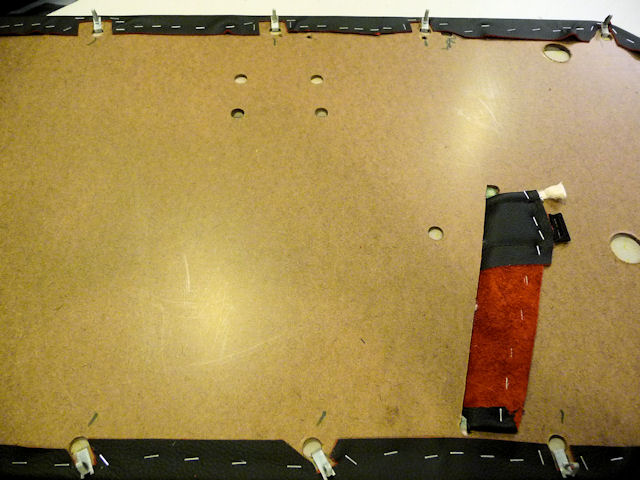
| Here's my
panel in place and showing how the clips
fall on my door. The red arrow points to a
spot where the clip will not reach. I pulled
this panel off and compared it to my
original panel and the clip holes are a
perfect match. I guess there wasn't a clip
at that hole but I ended up drilling
an extra hole to take a clip. |
 |
|
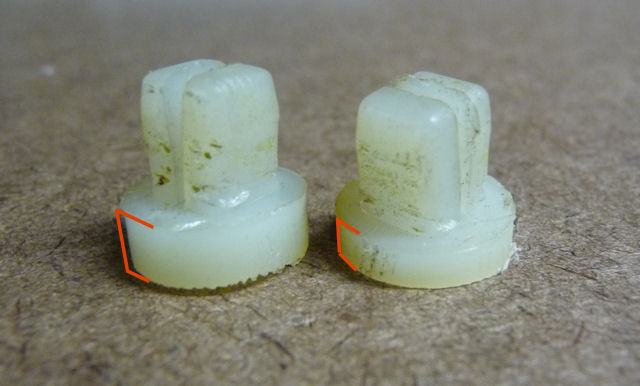
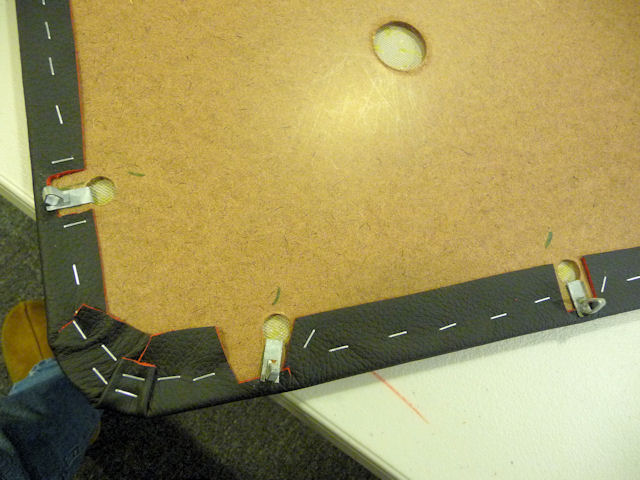
Here you can see
how I had to cut away the leather so the
clips would fit. |
 |
|
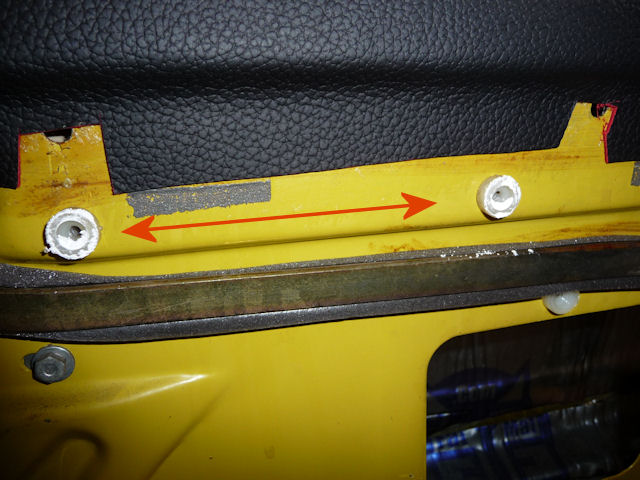
And another view
of the panel back |
 |
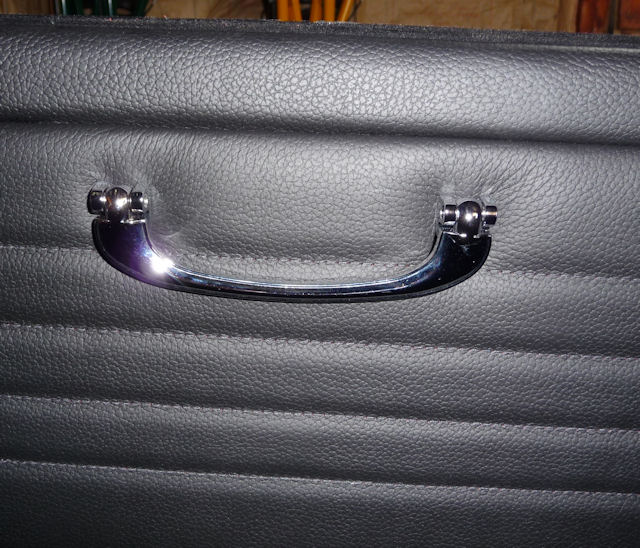
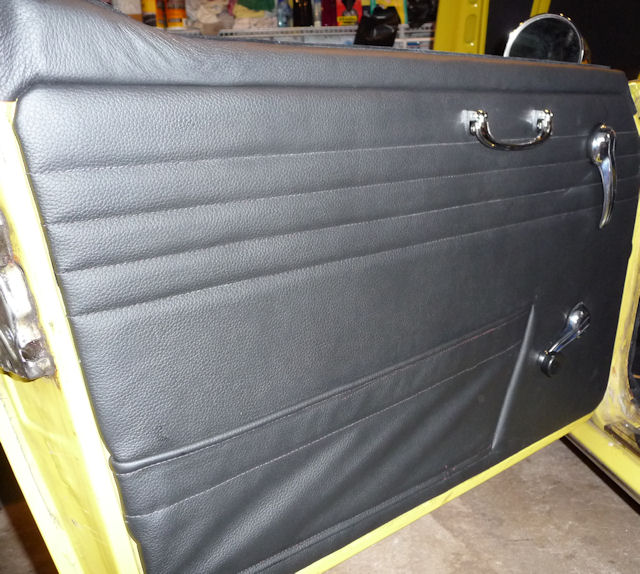
It took some work but
eventually everything fit together as it should. One of
the things that I've never liked is the door pull that's
located in the center of the door panel. I've always
liked the look of a door pull. A post to 6-Pack asking
about door pulls revealed that the TR4 door pull will
fit into existing holes in the TR6 door.
The handles are probably
available from a few vendors but the Moss part numbers
at the time I ordered were: Handle #803-440 and screws
#314-220. If you want to fit the metal spire nut to the
door it's #317-025 I ordered the spire nuts but ended up
re-using the existing plastic nuts that hold the center
door pull in place.
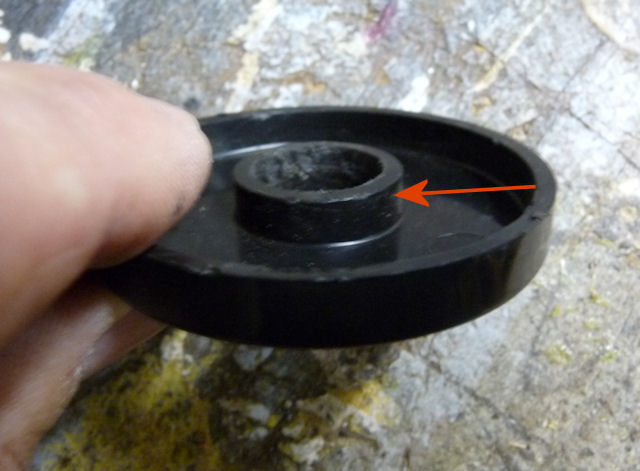
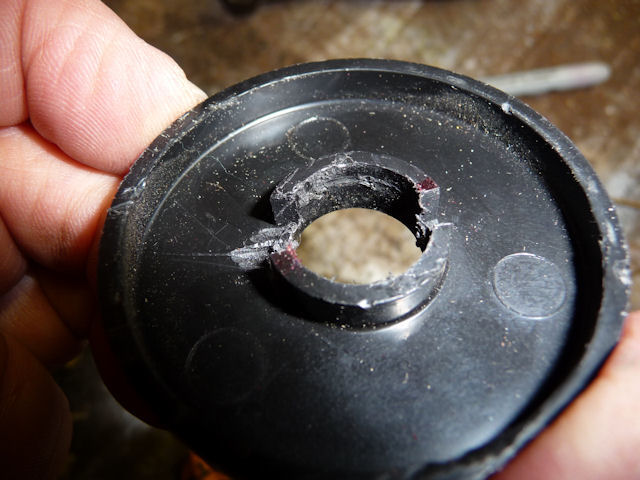
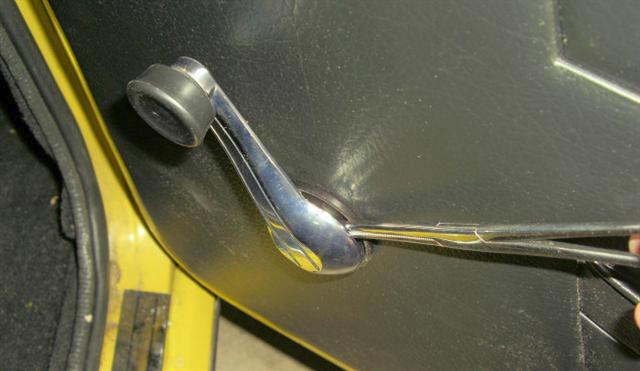
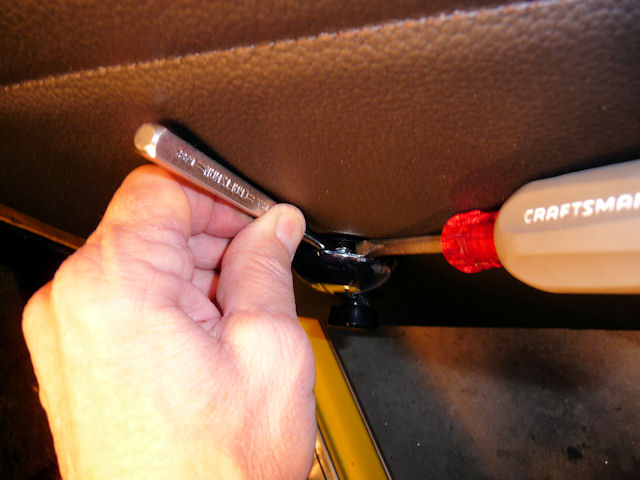
Getting the Door and Window Cranks to Fit!
Now that the door pulls
are done, the next challenge was getting the door &
window handles back on. It was immediately apparent that
they weren't going to fit as I couldn't compress the
foam enough to fully expose the hole in the handle shaft
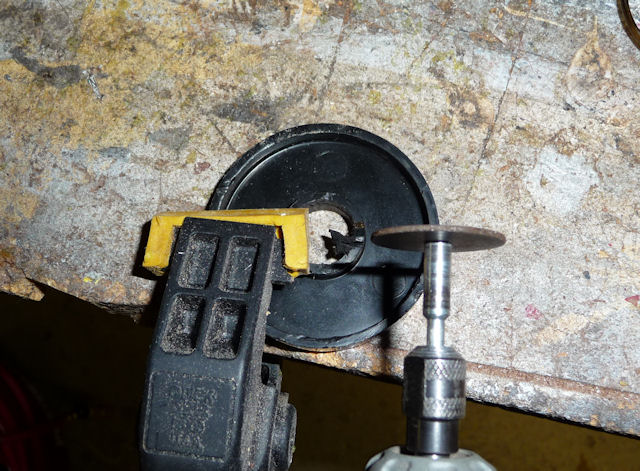
that the little pin has to fit in to. The ridge on the
round plastic piece had the hole partially covered.
New window waist seals and
Bristleflex finish off the
doors........
|