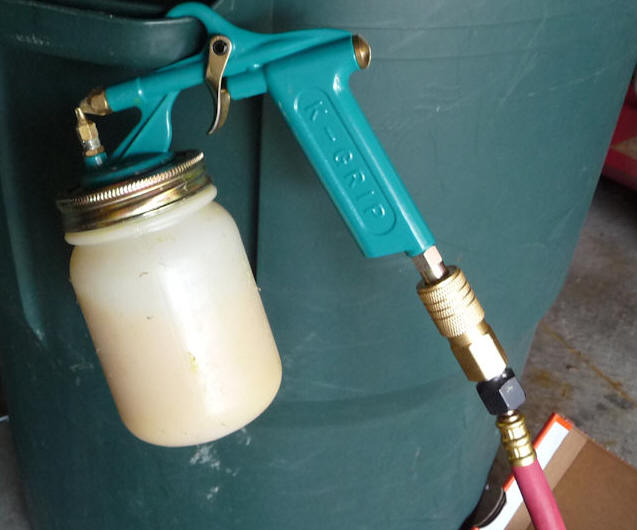
I'm using DAP HHR Contact Cement that is
spray-able. Depending on how close/far you
hold the gun gives you a 1/2" to 3-1/2"
spray pattern. The cement sets up in about 1
minute or two and it really grabs tight. You
have some repositioning time but not much.
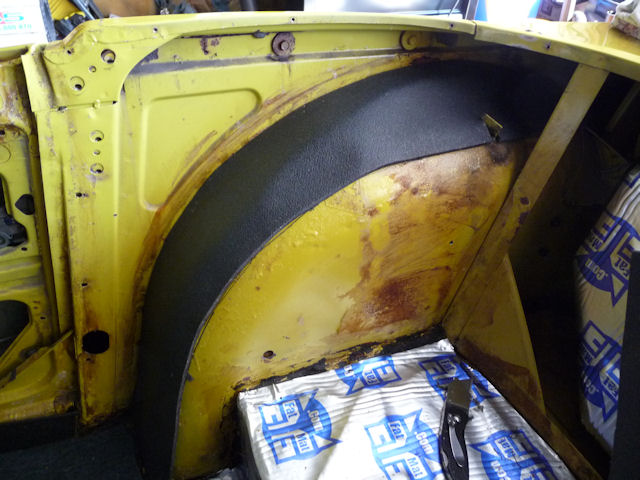
The foam is a
very firm and dense 1/4" closed cell foam.
Top foam piece in
place> I never noticed the two "flat" spots
in the wheel arch before.
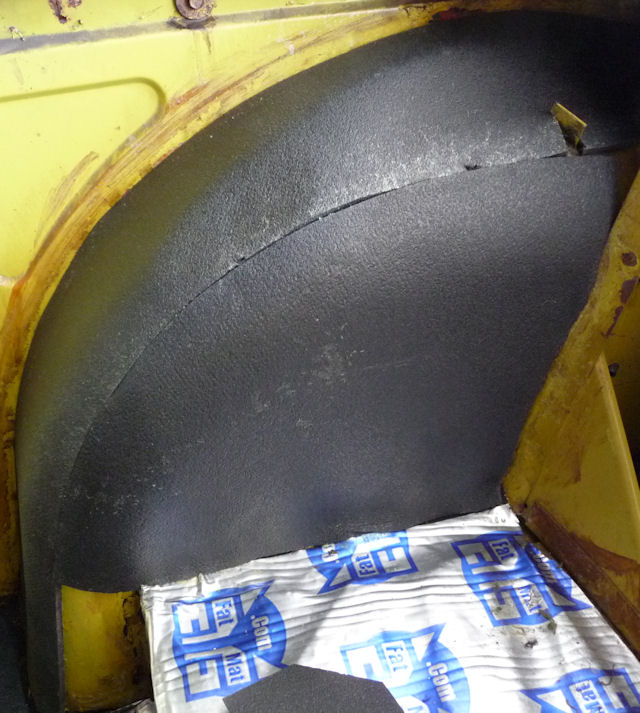
Second piece in
place
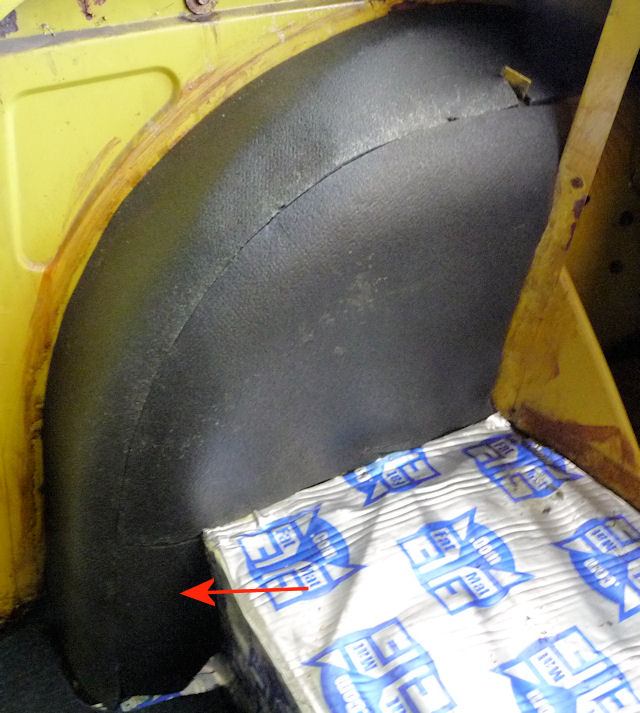
And the little
filler piece finishes the foam.
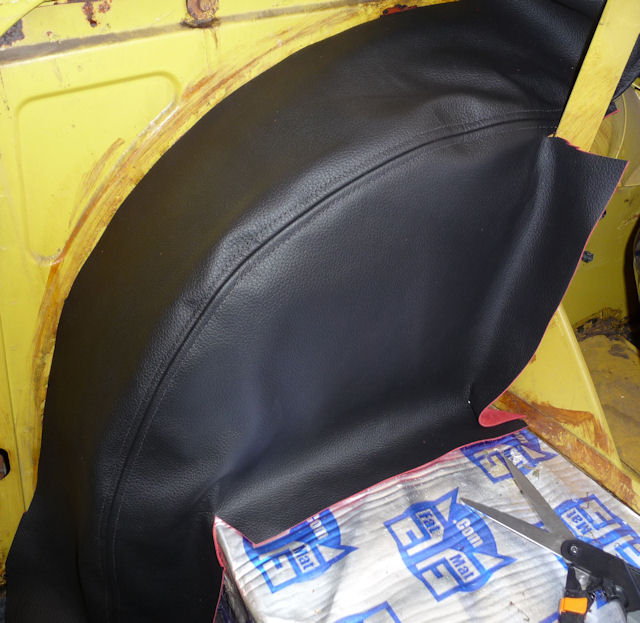
Test fitting the cover. I make them large to
make sure you get proper coverage. Then it's
a matter of cutting slits and notches to
snug up the fit.
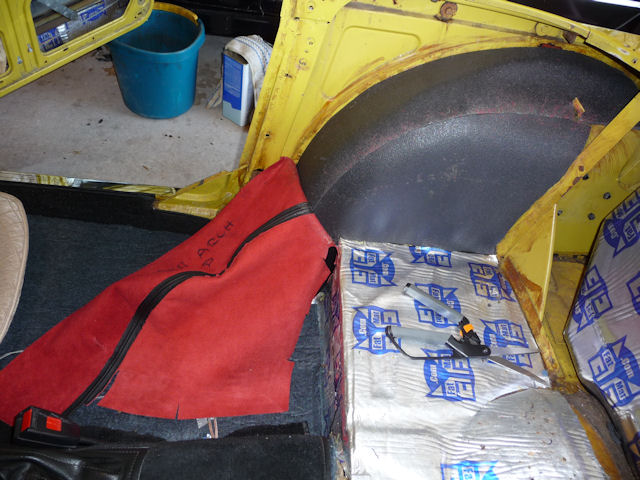
After staring on
this for about an hour trying to figure out
the best way to attack this, I started at
the bottom and glued the top and side in
place.
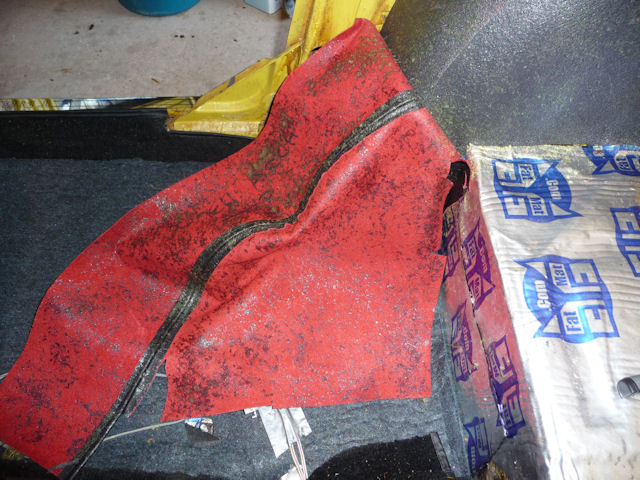
Glue sprayed on
both the leather and the wheel arch.....
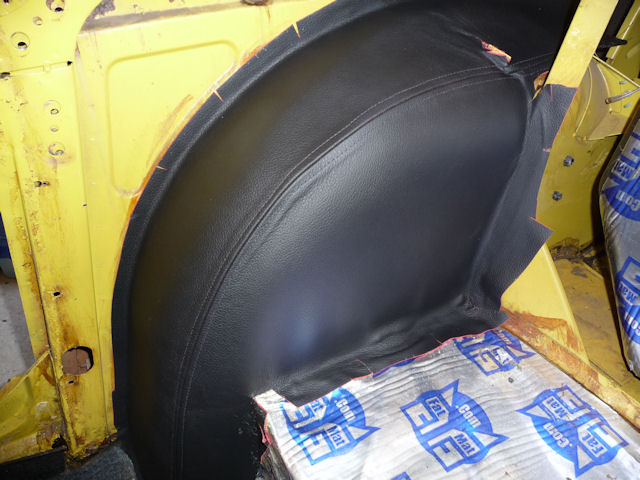
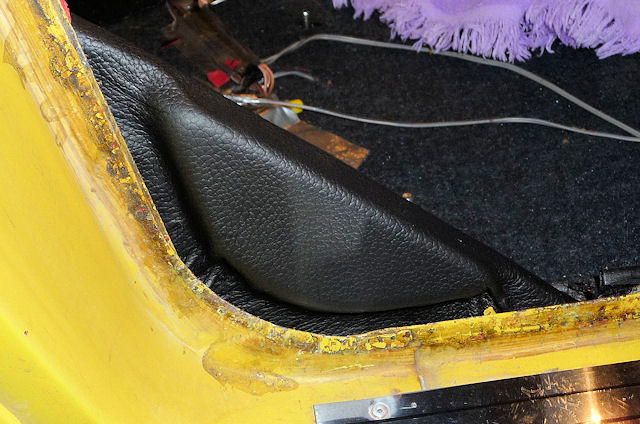
This came out
sooooooo smooth and tight. And that is not a
wrinkle that you see. The fit is so tight
that you can see edge of the leather that's
folded under at the seam.
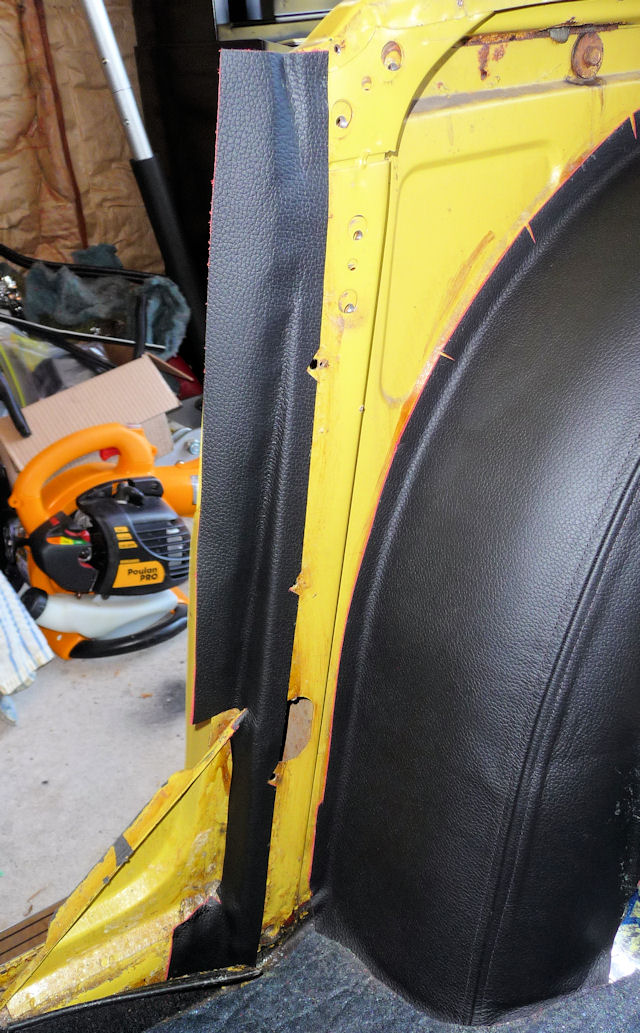
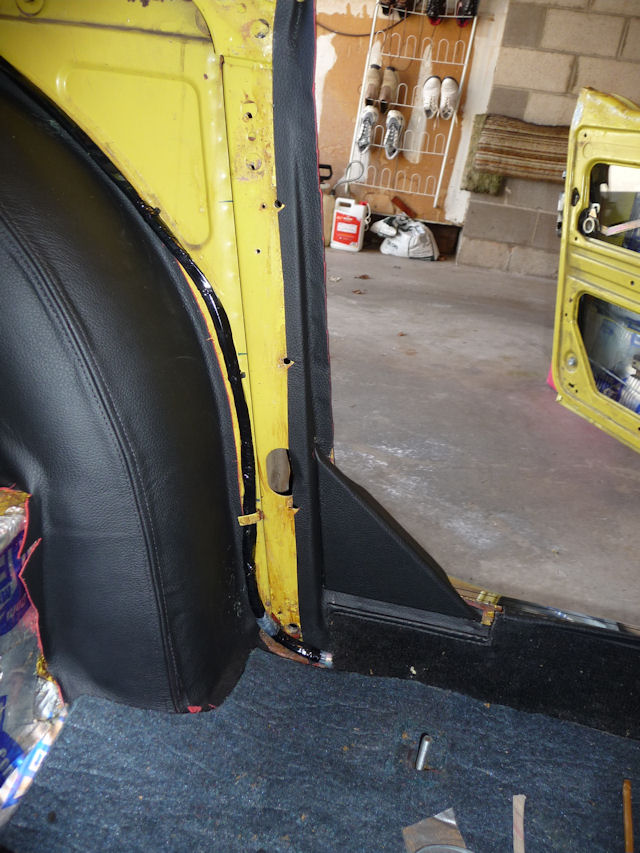
"B" pillar glued
in place...........
Just need to trim
it even with the body.
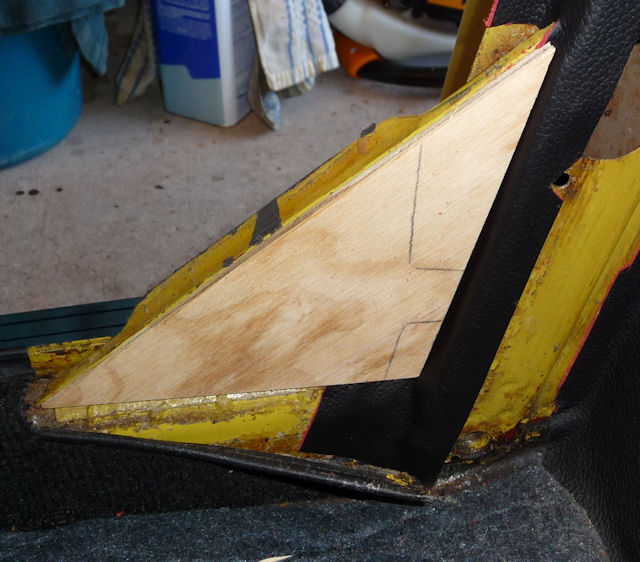
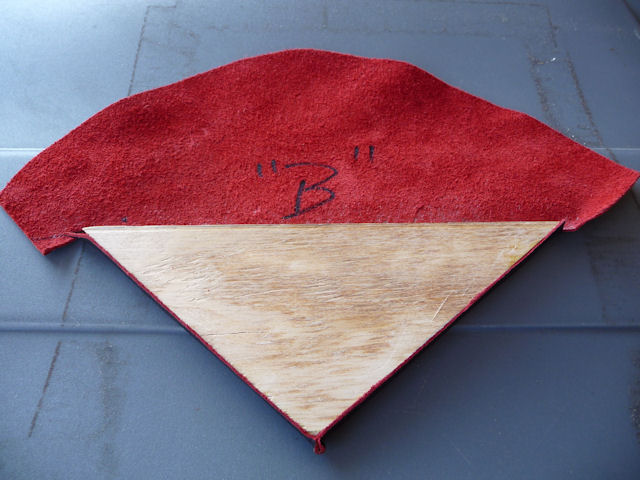
I'm using 3/8"
plywood instead of that flimsy cardboard
piece that comes with the $400 interior
panel set.
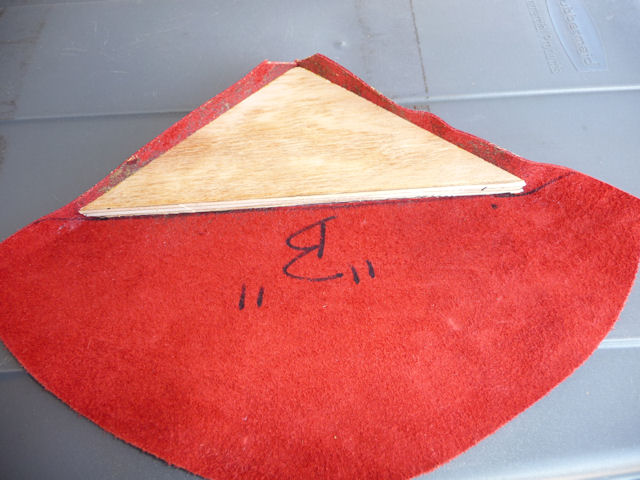
Plywood glued to
the leather
Leather glued to
the plywood edge and trimmed flush
And the other
side.........
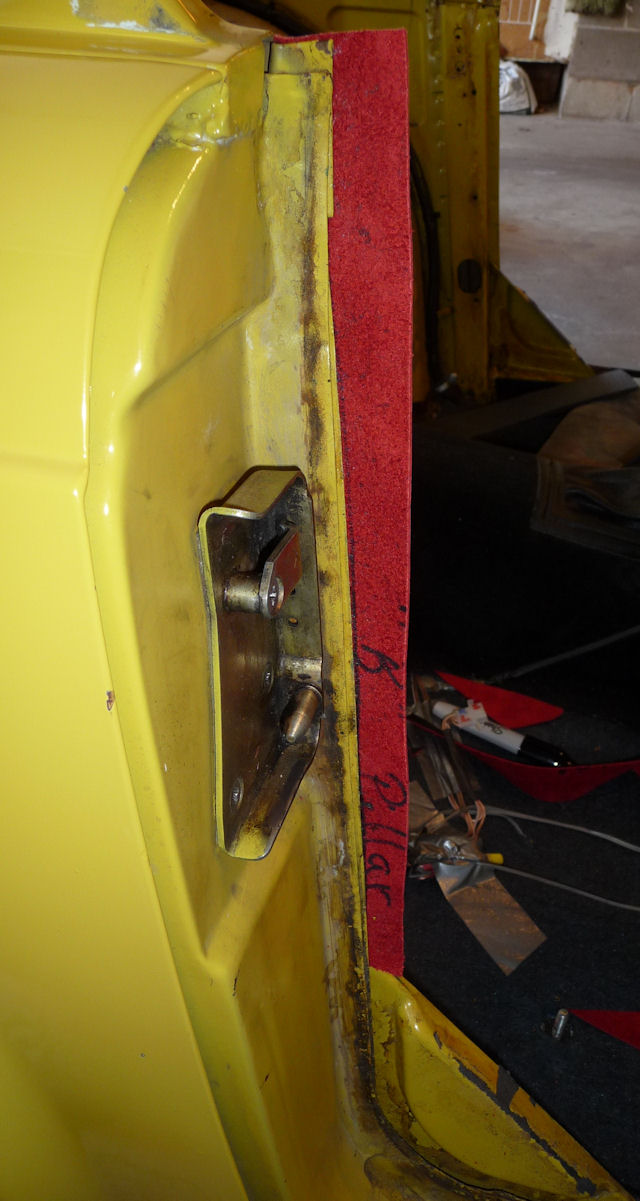
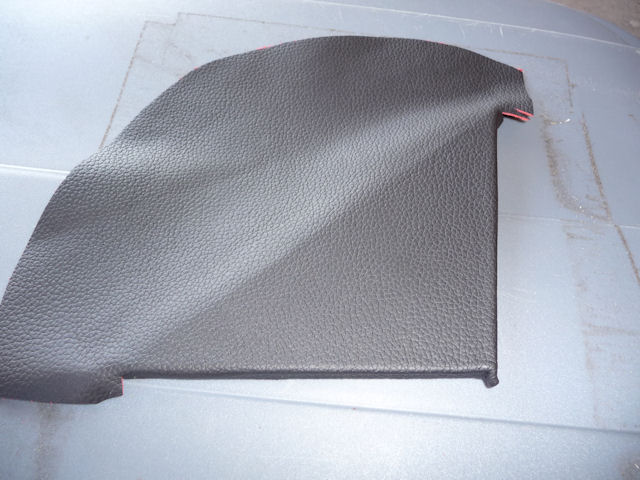
Here's the outer side. I have to keep
reminding myself that the door seal covers
all of the recessed part so there's no real
reason to spend a long time fussing with it.