|
Door Pocket
Anytime you do a project
like this it's best to understand how the item was
originally made. In the case of the interior panels,
it's all pretty obvious with the exception of the door
pocket. It's an interesting design that requires some
careful sewing, cutting, fitting and assembling. Even
though I completely understand how to do it, I kept one
old door cover with the pocket still partially attached
and the other door cover with it all taken apart.
AND....... I still miss cut my first practice door and
my first door that I was doing in leather. I may
understand how it's done but it's counter-intuitive.
I mentioned that I screwed
up two door panels. I expected to mess up somewhere and
the first practice panel met my expectations. After that
initial screw up I did 3 full sets, 6 doors in total,
with no problems. Then I made up my first door in
leather.
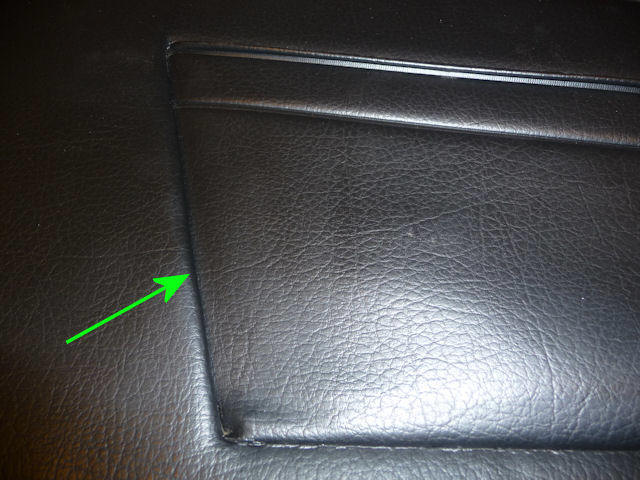
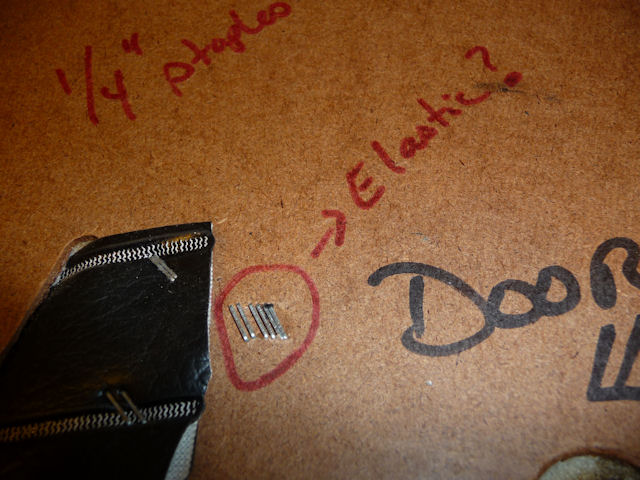
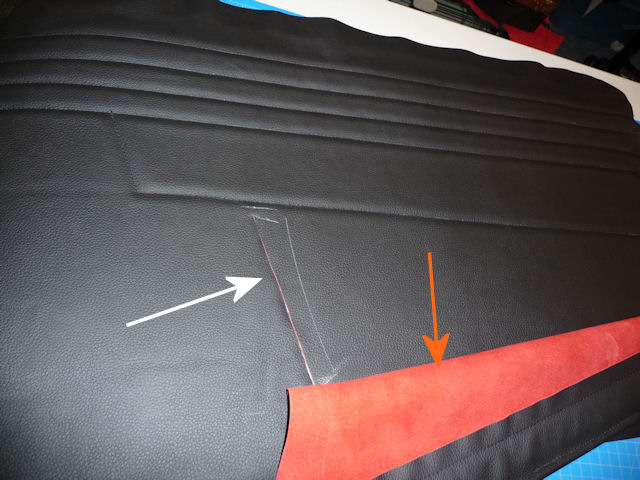
| Red arrow
points to the pocket while the white arrow
shows where I made the cut for the pocket to
go into............. |
 |
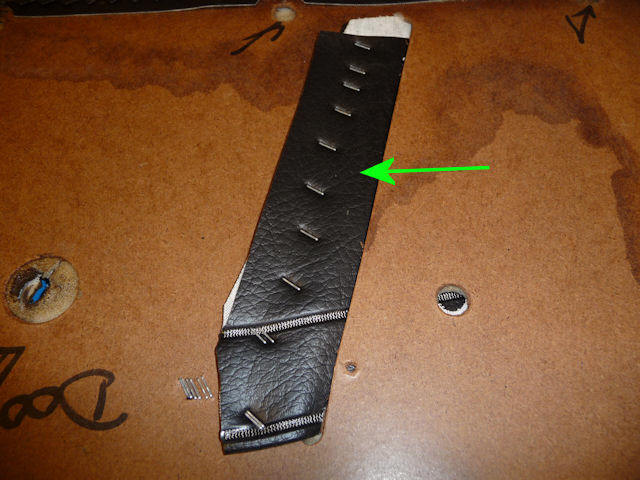
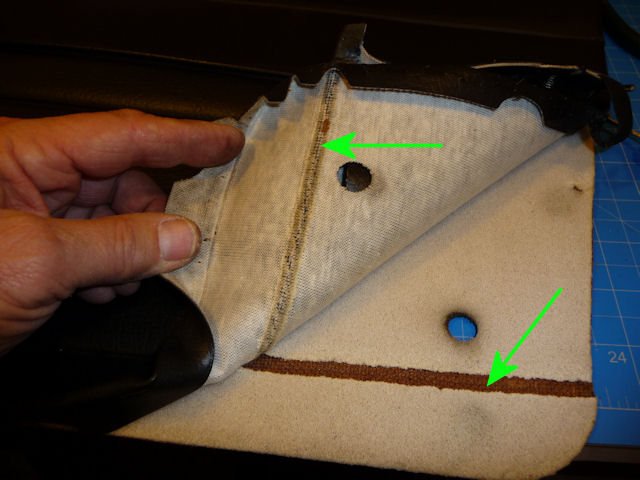
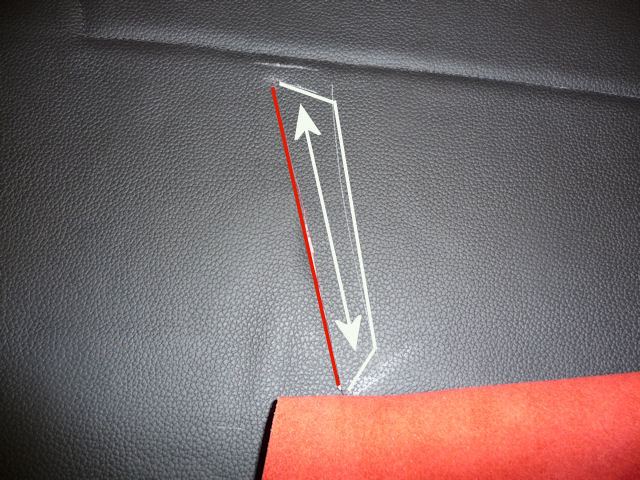
| The cut I
made was on the red line and it should have
been on the white lines! You cut that little
flap which is then tucked through the slot
in the back board. The pocket then goes in
over the flap. Toss this panel into the
experience pile! |
 |
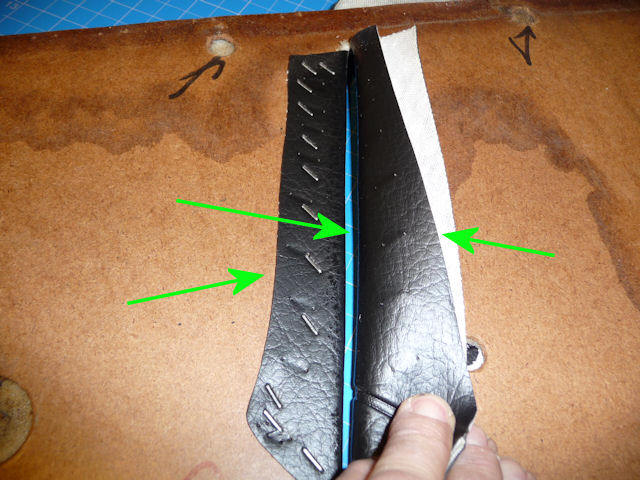
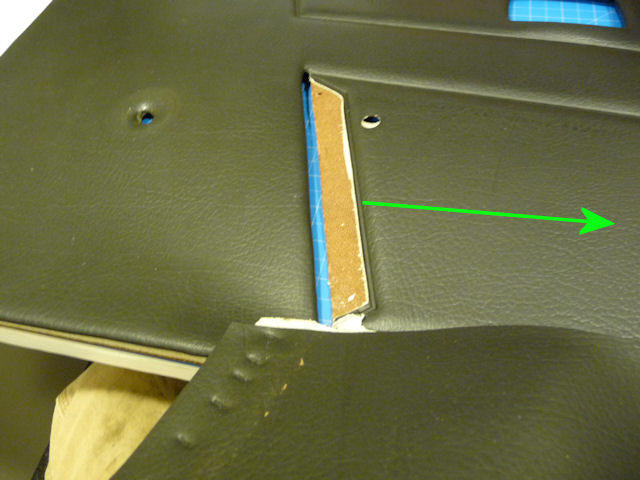
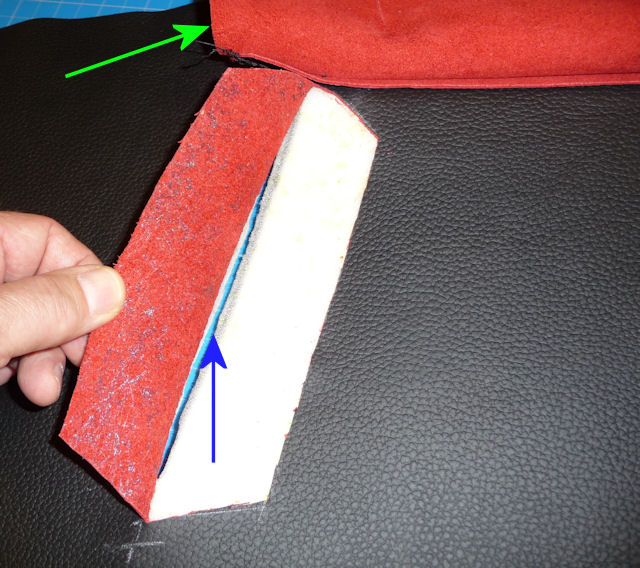
| And here's
what it looks like when done the right way.
The green arrow points to the pocket which
has been stitched to the bottom of the door
panel. The flat has been cut and is ready to
be pushed through the slot (blue arrow) in
the back board. Then the pocket itself gets
pushed through the slot. |
 |
|
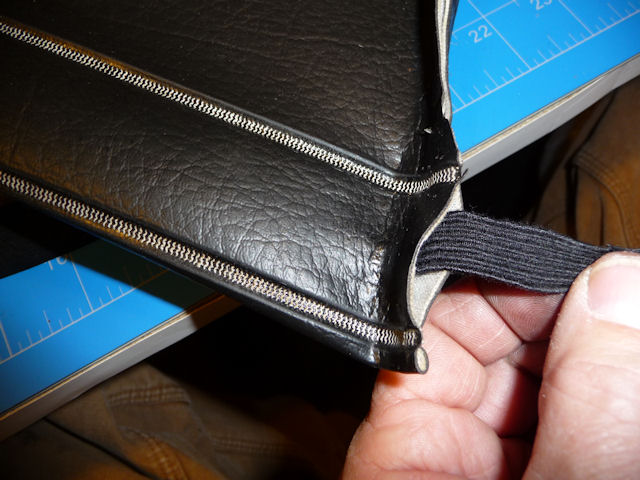
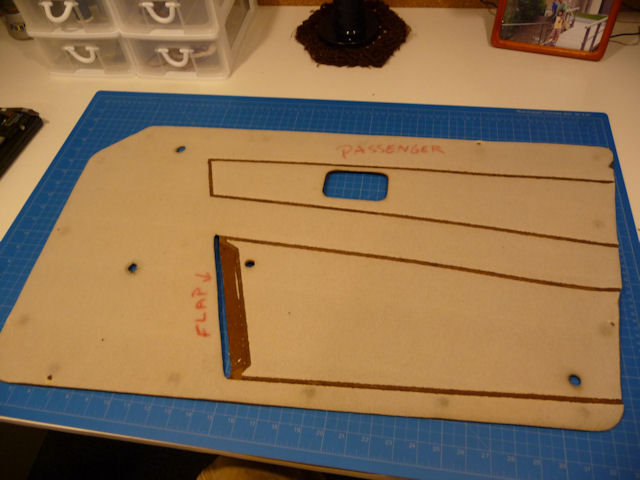
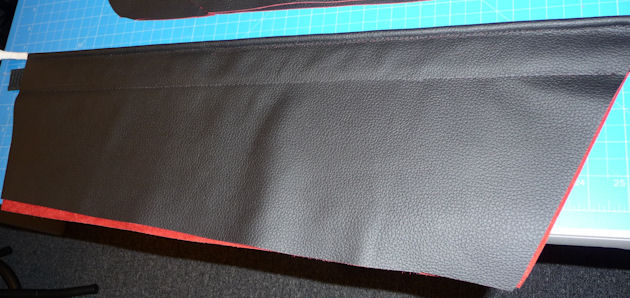
This is what a
door pocket looks like before it's attached
to the door panel |
 |
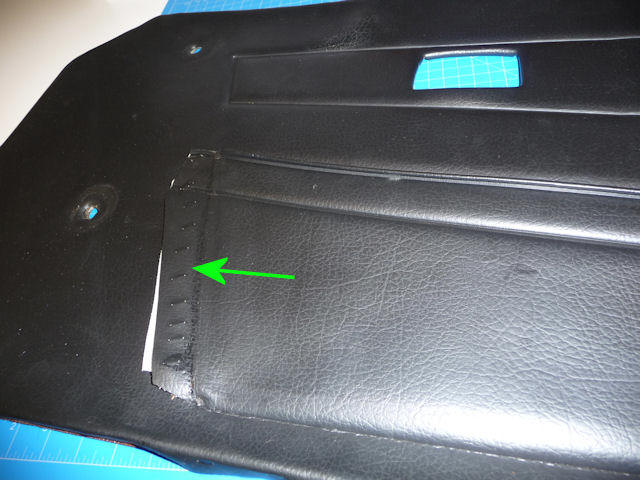
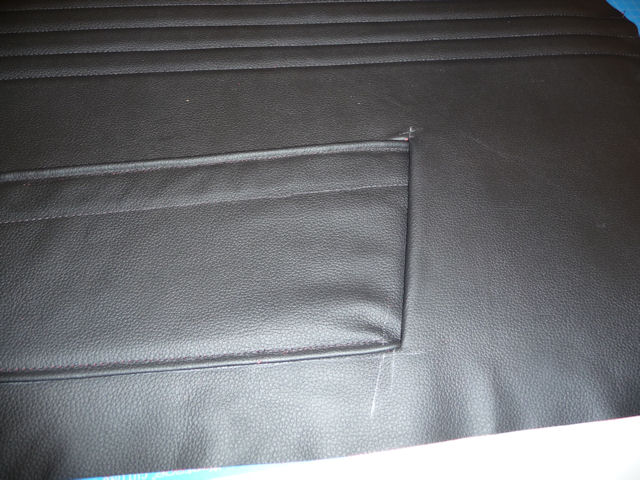
| Chalk marks
all over the place and the pocket hasn't
been stapled to the back board yet to
tighten it up but here's what it looks when
done correctly. |
 |
How to
make kidney pads from
scratch............
|