|
Richard Good's Goodparts'
Differential Kit
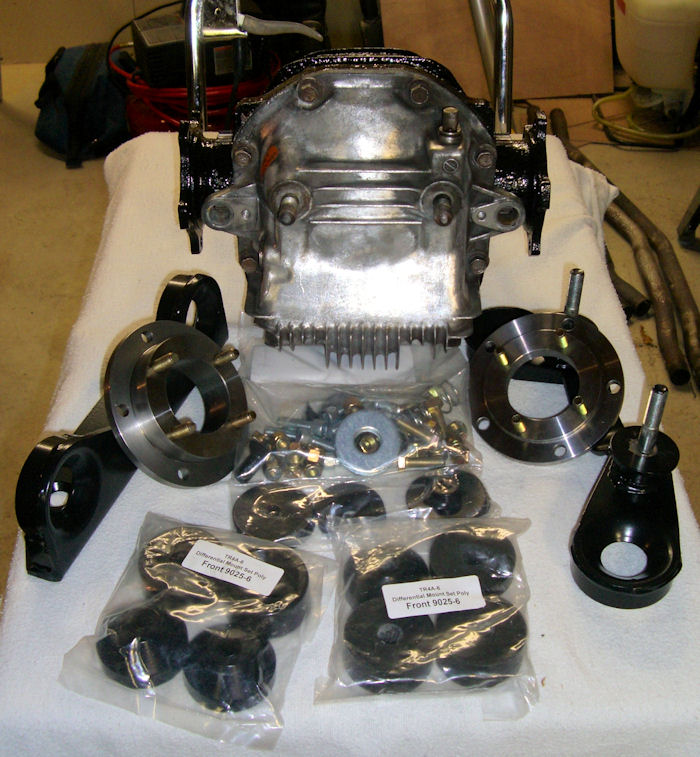
Richard Good of
Goodparts' fame has put together a top quality kit
for installing a Nissan differential in your TR6. Buying
it is like picking off of a Chinese menu: Need a
differential? He's got them. How about a shortened
driveshaft? Yup...them too. And then there's the kit
itself. Every piece machined to the highest standards.
While it's basically a
bolt in replacement there was a challenge or two to
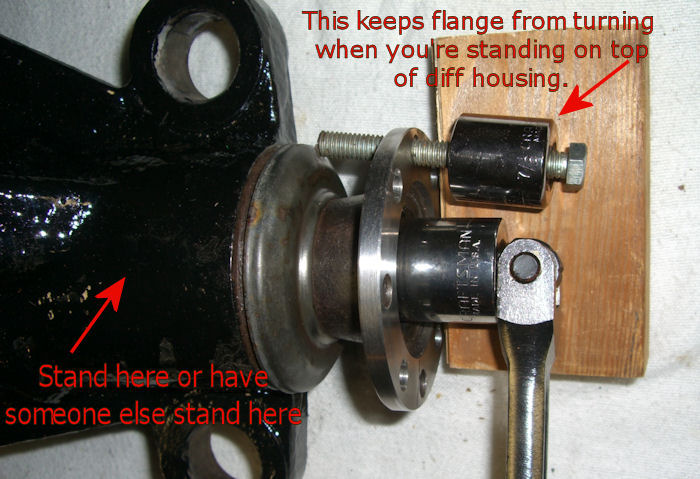
overcome. As previously mentioned in another section,
getting the pinion nut set to its pre-loaded position
was an exercise in comedy as I tried to keep the axles
from turning while attempting, and failing to tighten
the pinion nut. The solution ended up being very easy as
seen below.
|
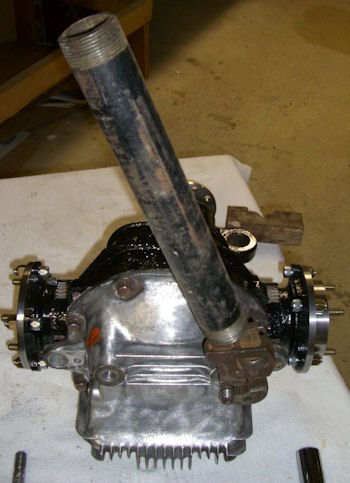
Follow these
steps and it's really easy to get it tight
again |
 |
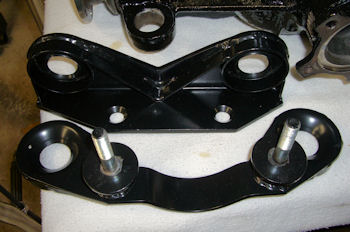
The next challenge was
getting the old Nissan mounting studs removed from the
differential. I tried the "lock two nuts together" and
that didn't work. I thought about applying heat
but............that didn't seem like a good idea with an
aluminum case. So I put the automotive tools away and
reached into my plumbing drawer for my pipe wrench and
some black pipe for leverage. It still took a hefty tug
to initially break them free even with two feet of black
pipe over the pipe wrench handle.
|
Two feet of black
pipe |
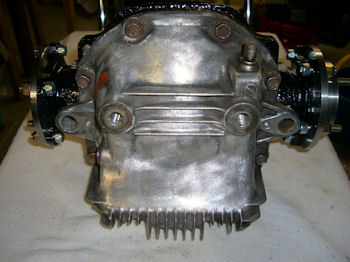
Both studs
removed |
 |
|
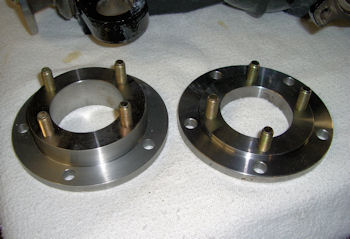
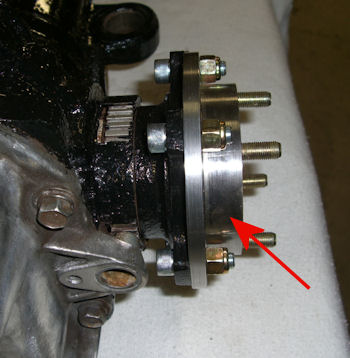
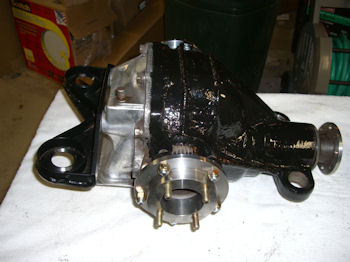
Once I got the studs out I
moved on to the new axle flanges. The fat one goes on
the passenger/right side while the thinner one goes on
the driver/left side. The only question I had with the
flanges was.....nuts in or nuts out? I emailed Richard
Good and his plan was to have them installed "nuts
in"......toward the differential, but it really didn't
matter. My concern was getting a wrench/socket on the
nut and an Allen wrench in the hex bolt. I had
an awful time breaking the existing TR6 axle flange nuts
free when I was removing the TR6 differential so I
wanted multiple options available if I need to remove
this differential in the future. In the end it probably
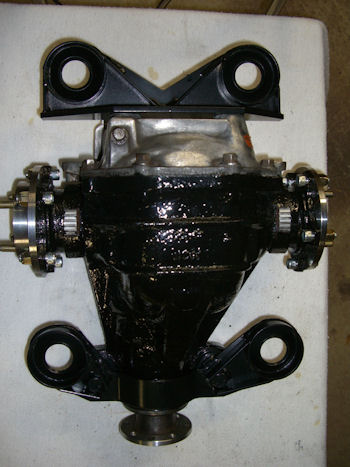
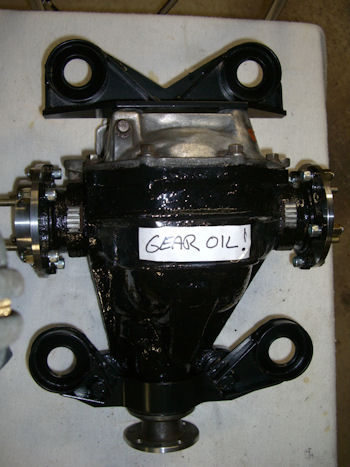
won't matter but I did it "nuts out" as can be seen in
the two pictures below.
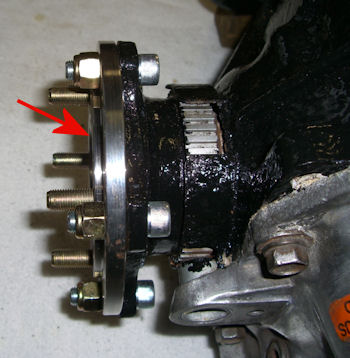
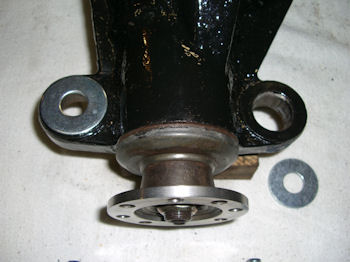
Remember those studs that
where so hard to remove.............well here's how it
all looks once it's put together.
|
From the side |
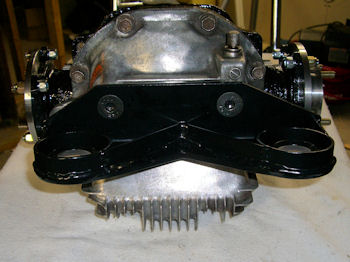
From the rear |
 |
 |
|
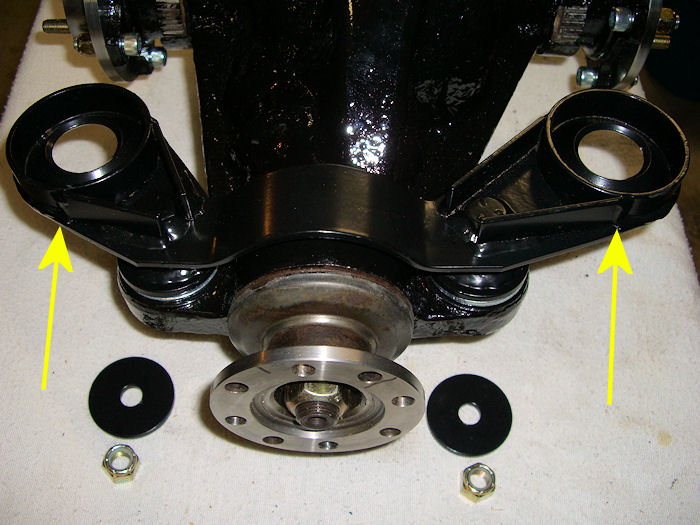
All done......except |
An
important note! |
 |
 |
Next up will be the actual
installation |