|
Bottom Mount with
Alternator
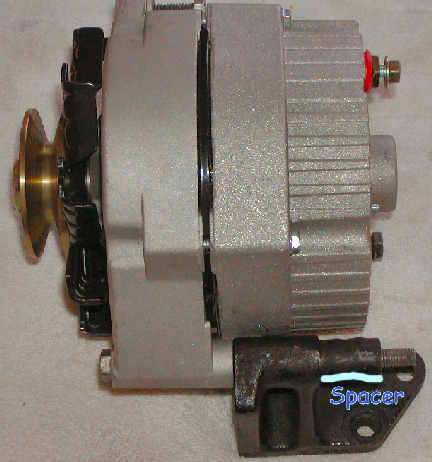
Here's a couple of different looks at
how the alternator will mount to the new bracket. The first one is out of the
car but in the proper orientation.
I did run into one minor problem with
the bolt hole size on the alternator versus the bracket. If I used a mounting
bolt that fit snuggly in the alternator, it was too big for the mounting
bracket. If I used the bolt that fit properly in the mounting bracket, it left
too much slop in the alternator. I tried to find an insert/sleeve for the
alternator but couldn't find one properly sized. I thought about drilling out
the bracket to accept a larger bolt but didn't want to risk messing up a hard-to-find part. One of the things I do for fun is string tennis rackets and build
golf clubs and, as a result, I have rolls of very thing adhesive backed lead
tape. A few wraps of lead tape around the bolt shaft and I had a perfect fit!
Click on any picture for a
full size picture. All the full sized pictures are about 75 - 100K in size.
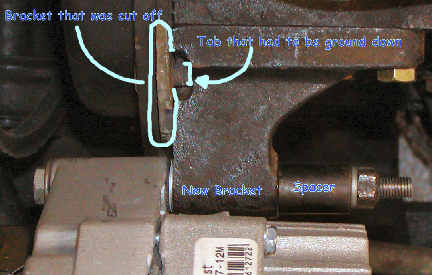
In the next view you're looking straight down at
the alternator without the top bracket installed. It's just flopped over lying
on the inner fender but it gives a clear view of the "on car" bottom mounting.
Almost done. It's time to move on to
the top mounting bracket - Next
|

