Now that the
wire and boxes are installed, it's time to solder some
connections and wire the car with plugs under each seat.
I did all of
the soldering with
my trusty mini butane torch. Normally,
with speaker wire, this would not be the
heat source of choice as it would melt the
plastic coating.............. but if you put
the connection in a vise, the vise acts as a
big heat sink and the plastic will be
fine......... trust me :-) All of my
connections are crimped and soldered.
If you can't find
1/8" female connectors, you can use 3/16"
for both terminals. I've been told that
female spades labeled .110" will also fit. Heat shrink isn't really
necessary but it makes it neater & hides
stuff.
Speaks for
itself.
Speaker end is
all wired up.
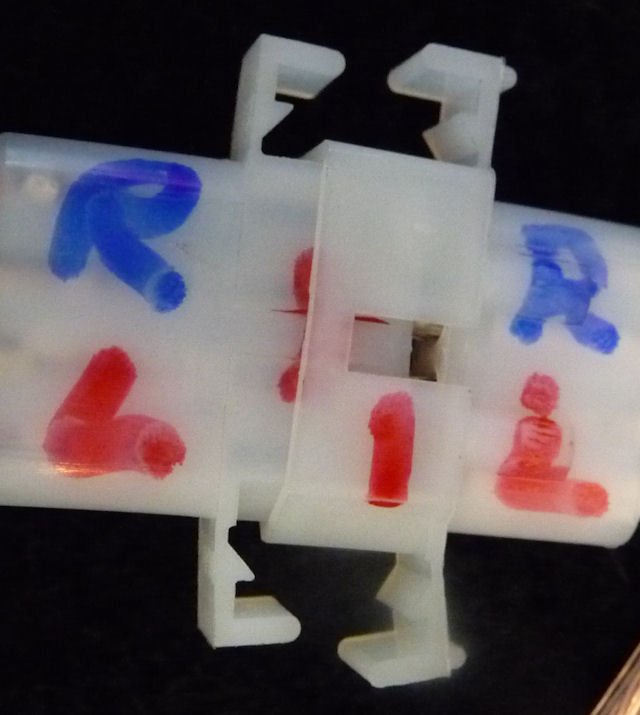
These are 4
Pin interlocking connectors from Radio
Shack. The part numbers are:
274-234 & 274-224. If you're smart and want
to avoid wiring confusion, do what I did and
put them together and label them. In this
case they both have a 1 indicating driver's
side and then R & L. The passenger side was
labeled 2!!
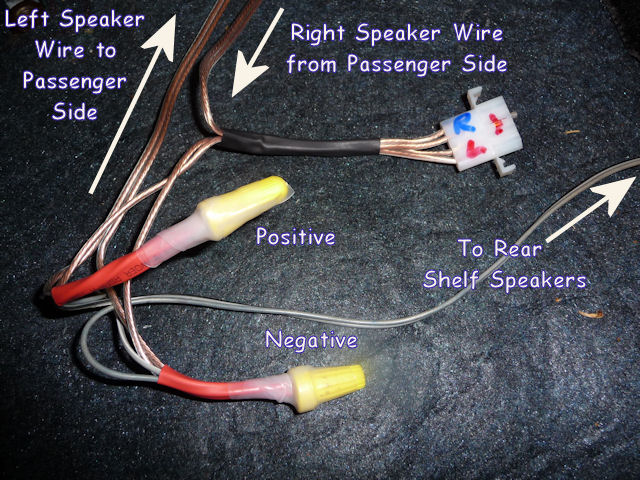
I've got a
rear shelf speaker box that I wanted to
keep, so there's one extra wire here that
goes to those speakers. The wires from the
radio are spliced to the speaker wires under
those yellow terminals then held with red
heatshrink tubing and finally wrapped with
silicon tape. I spent some time
sitting on the floor trying to figure out
how the wires had to go and basically two
wires have to cross the tranny hump. A right
speaker wire crosses from the passenger side
to the driver side and a left speaker wire
goes from the driver side to the passenger
side.
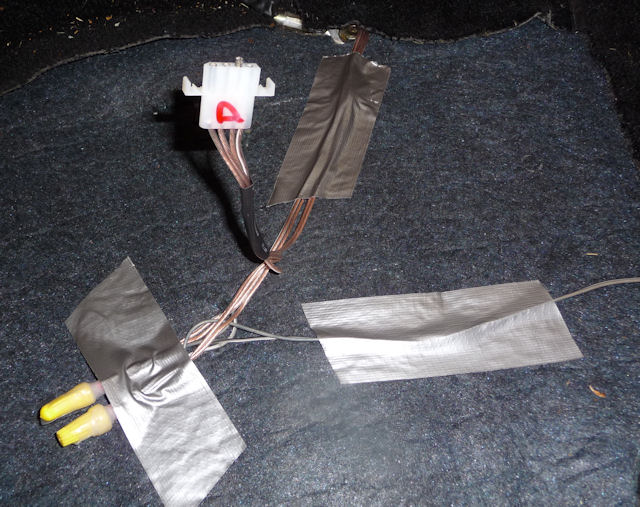
Then I duct taped
it all to the floor underlayment
and............
Put a little slit
in my carpet and the two plugs poke through.
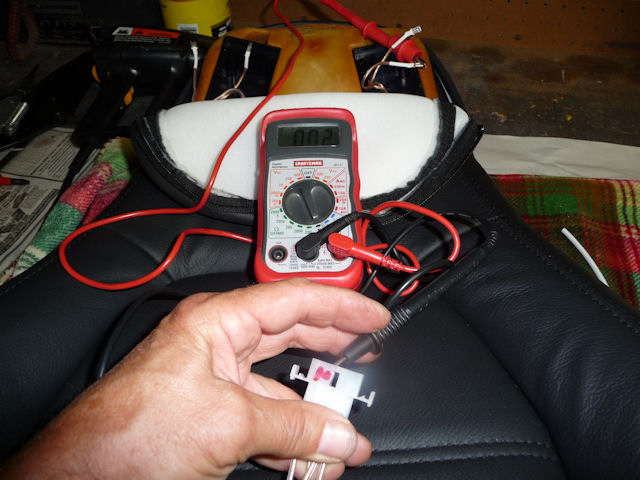
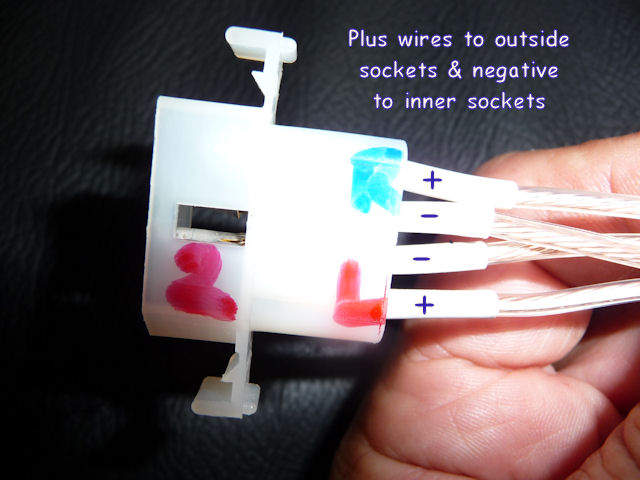
I used my
multi-meter to do a continuity test on each
wire for identification purposes. I actually
did this before shoving the terminals into
the connector but I forgot to take a
picture.
To make it
easy on myself I decided that the plus wires
would go to the outside connectors and the
minus wires to the inside. That eliminated
any screw ups.
I got a thing for
heatshrink tubing.......
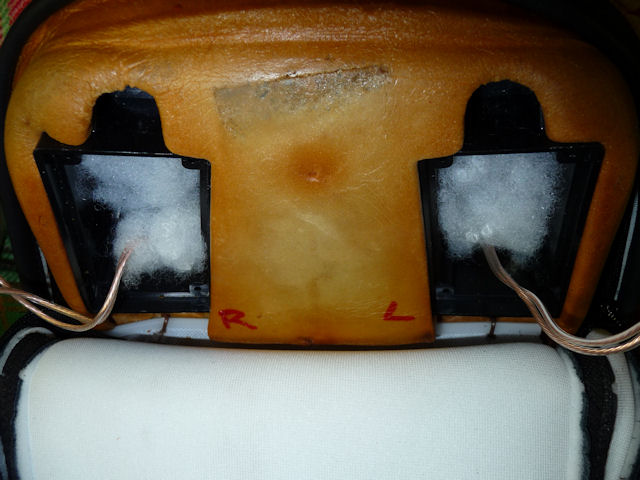
Some acoustic
fluffy stuff in each box and............
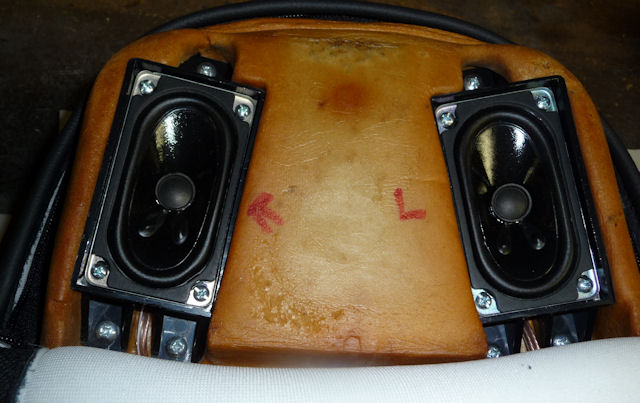
The speakers
are installed. As you can see I did this
after the upholstery was finished. I wasn't
going to risk poking a hole in them.
The speakers
sound great and can actually be heard while cruising
down the highway. I highly recommend installing this
kit.