|
Installing New Leather Covers
Seat
Backs
The seat back
covers are a little more difficult to install because of the muscle needed to pull them over the foam
backs. I wish I had remembered the trick used when I did
my TR6 seats back when I got the car. I had the
Victoria British Guide which suggested putting a
plastic dry cleaning bag over the seat back before
trying to slide the new cover over the seat foam. That
definitely would have helped here too.
BEFORE
starting on your first seat back, MAKE SURE you've
identified the left and right covers and there's only
one way to do that. BOTH of these covers
have map pockets so don't go by the instructions that
say only the passenger seat has a map pocket.
Now that
you can identify the correct seat back cover, the rest of
the installation is easy!
NOTE:
READ the Miata.net instructions in Step 4, Page 6
towards the bottom for covering the seat back. Hopefully
you've already read the instructions for the seat
bottoms!
Try sliding a
dry cleaning plastic bag over the foam to see if that
helps with sliding the cover on. It takes a lot of
pulling, tugging, reaching under and working the foam
and the cover to get it on. The sides and back of the
cover DO NOT completely cover the foam. You can
get it pretty close but you'll see how you need to wrap
the corners and pull the front panel over to the back
side to cover everything up.
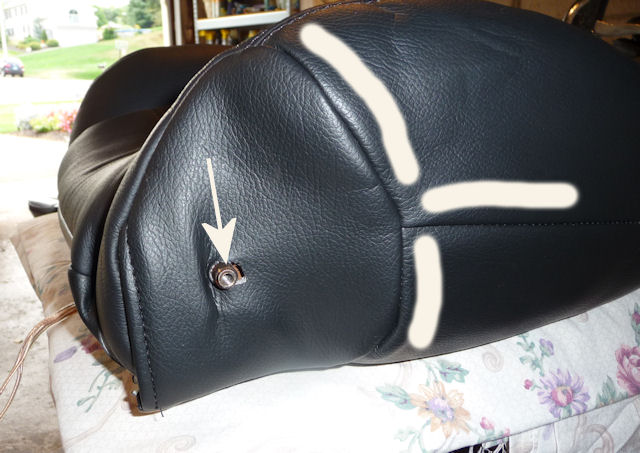
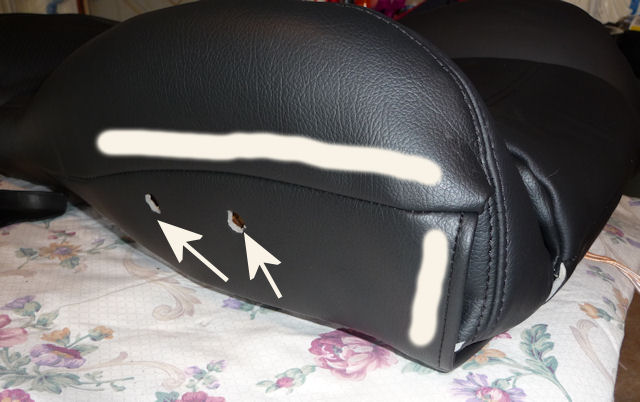
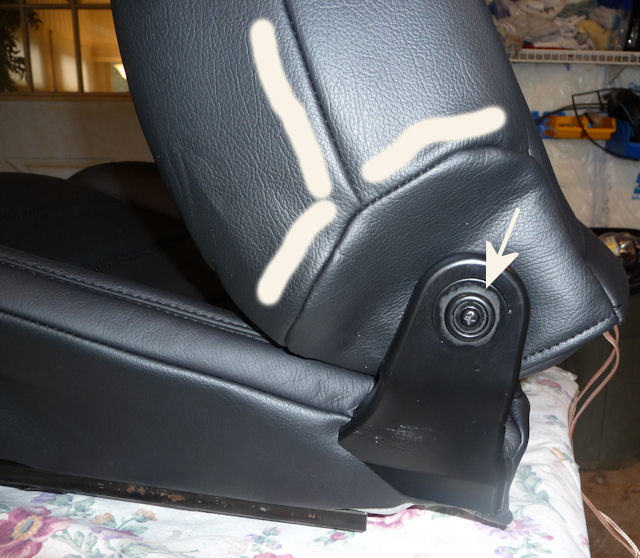
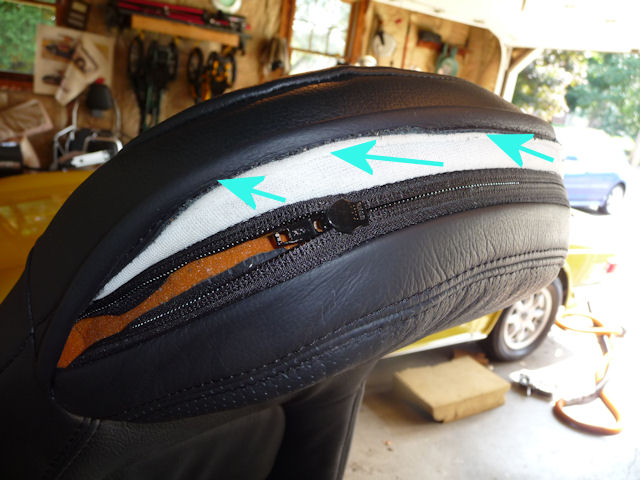
| Unzip the
headrest to slide the cover over the foam.
Once you get the foam all nice and straight
with the stitching running in the right
places, you install the first hog rings under
the speakers. There's 3 or 4 used there, but
go by the number of old holes in the foam. |
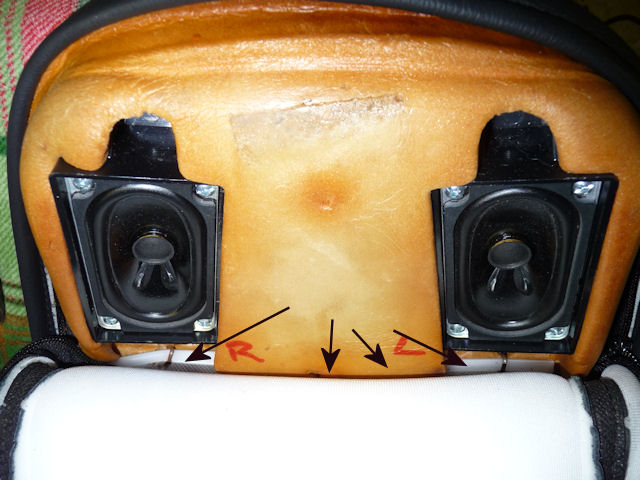 |
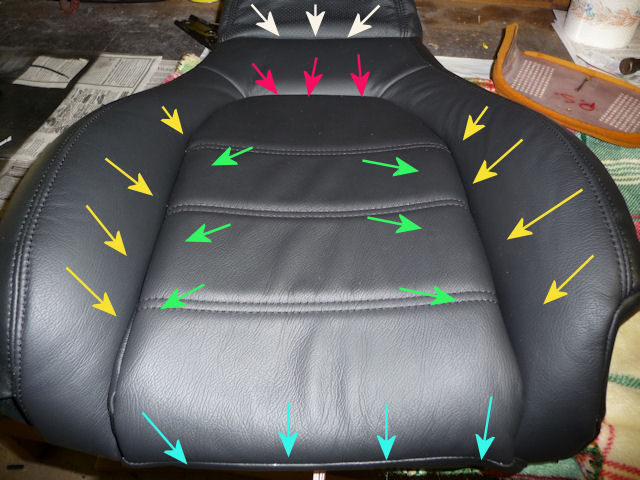
| You work the
hog rings in this order by arrow color:
White, Red, Yellow. Then you put that foam
piece back in the seat center and do the
green arrows. If you're fuzzy about that
foam piece in the seat center
go back to the
upholstery removal section and look at the
pictures. You can also look at the old
covers to see where the holes are. The last
part is to pull the bottom down and around
to the back. |
 |
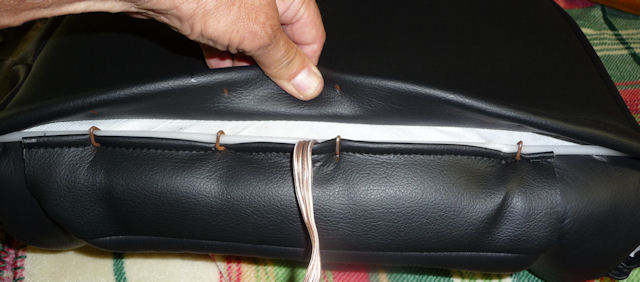
|
Here's the front
flap pulled over and hog ringed to the back
attachment point. |
 |
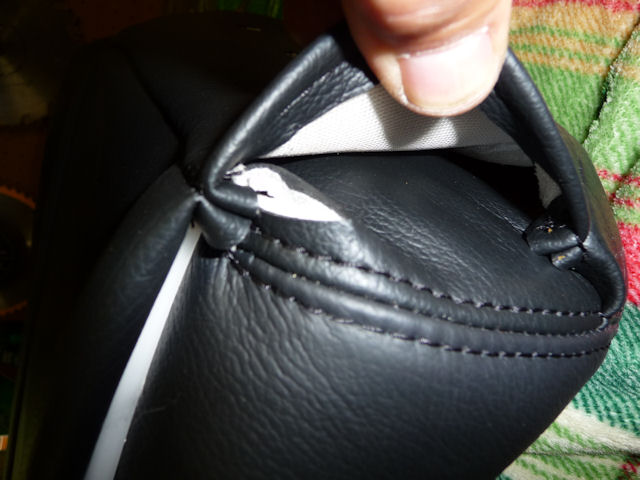
| The corners
are like wrapping a present...... fold,
tuck, snip, swear..... you'll use the 3M
spray adhesive here. |
 |
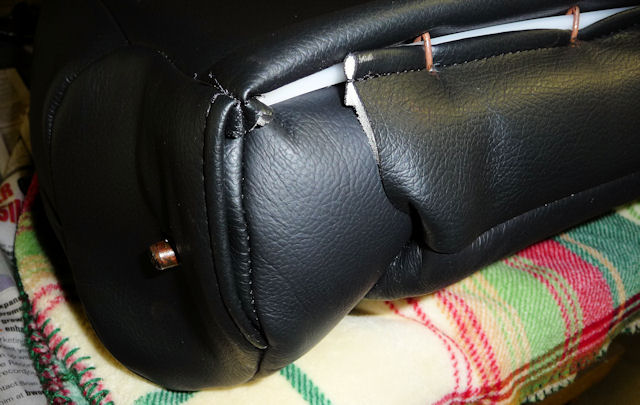
| After fussing
with this part, I realized that in a TR6 you
will NEVER see this part of your seat again!
The fit across this area is so tight in a
TR6 that these sides are right up against
the sides of the car. |
 |
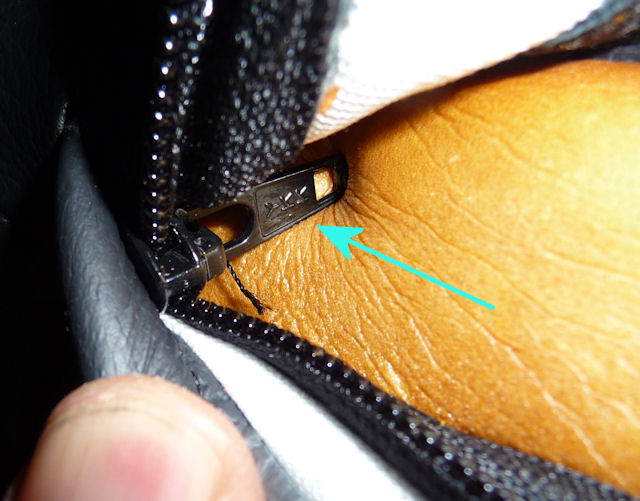
| When I went
to zip up the headrest covers I thought
there was a major screw up back at the
factory. As you can see, the zipper tab is
located on the inside of the cover! I
dropped them an email and had a response
within an hour saying that they make them
that way so the tab doesn't rattle in your
ear. And that they will zip up just fine. |
 |
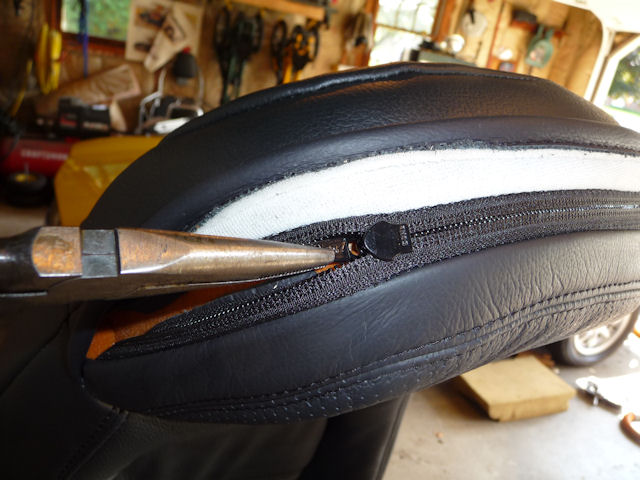
| So I worked
the cover over the foam, rolled the edge
back and squeezed the cover together while
I................. |
 |
|
Slowly pulled the
tab with needle-nose pliers. Piece of cake! |
 |
|
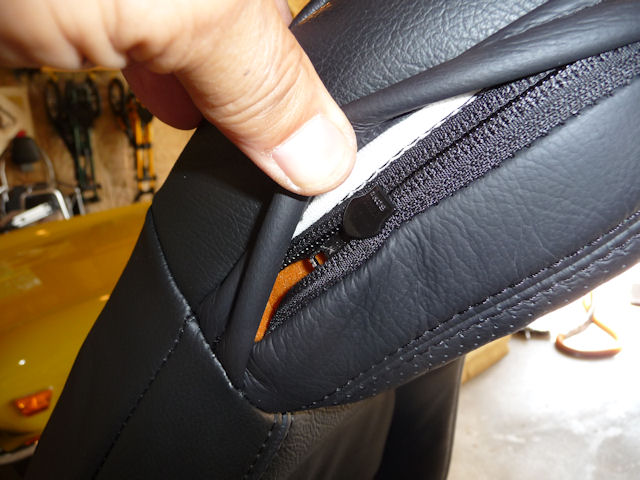
I only went this
far as the cover hides it nicely. |
 |
|
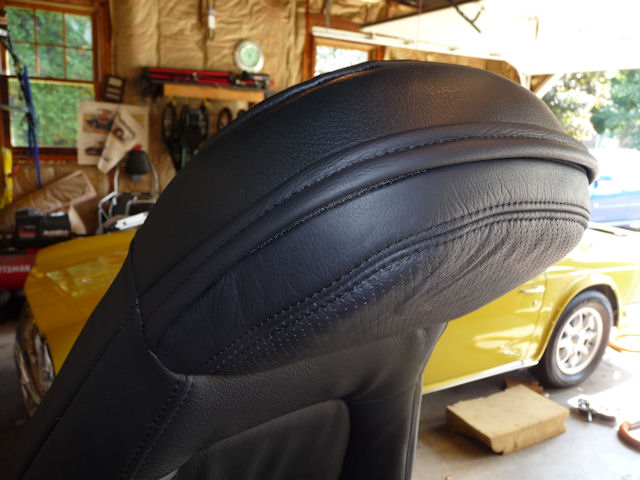
Perfect |
 |
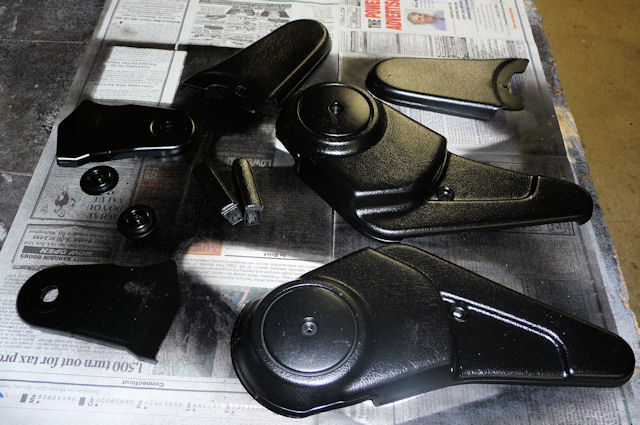
| All you need
to do now is reassemble the seats with your
freshly painted covers...... you did take
the time to paint them I hope. |
 |
|
So here's what we started with...... nasty
weather-beaten seats out of a wrecked '93
Miata that had spent years sitting in a junk
yard. |
 |
|
A
new life, covered in leather, riding around
in a '75 TR6. A 20 year step back in time. |
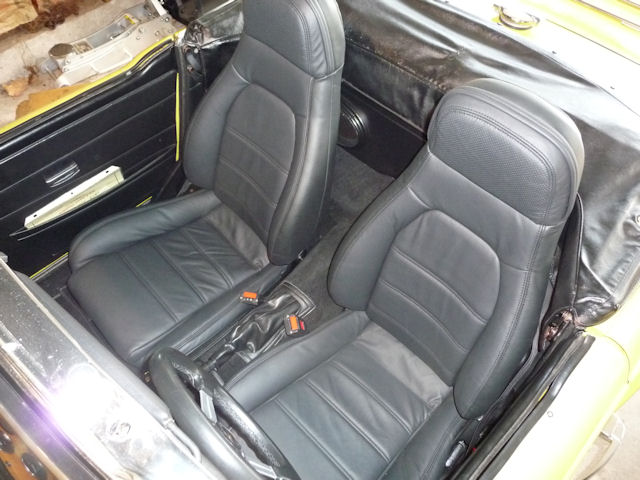 |
Installing
the seats in the car...........
|