|
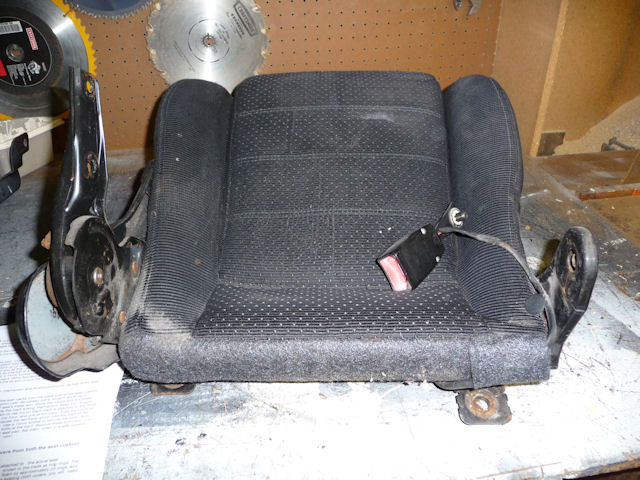
Separating the Seats
There are a couple of
excellent "How To" guides available on line for
reupholstering Miata seats. One is at
LeatherSeats.com and the other is at the very
helpful
Miata.net Forum. I
mostly
used this one
from Miata.net and found it to be "spot on"!
The first step after
getting them out of the car is to separate the back from
the base. This is pretty straightforward and requires a
12 & 14 mm socket and/or wrench and a Philips head
screwdriver. But the first thing you want to do is to
release the reclining mechanism so that the seat is
fully titled forward.
NOTE: The Miata seats
are asymmetrical just like a TR6 so there's a driver's
seat and a passenger's seat and the two are not
interchangeable. Make sure you mark the pieces Driver or
Passenger.
NOTE: DO NOT just cut
the old covers off as you will need to refer to them
during the re-upholstery process.
| Make sure the
seat is fully tilted forward as you'll be
removing that whole reclining mechanism and
you don't want it snapping forward and
removing a finger or two! |
 |
Now that the seat back is
in the proper position, it's time to flip it over and
check for any wires that need to be disconnected. The
driver seat will have a seatbelt interlock wire and
there may also be headrest speaker wires. Grab some
baggies to label and store all of the screws and bolts.
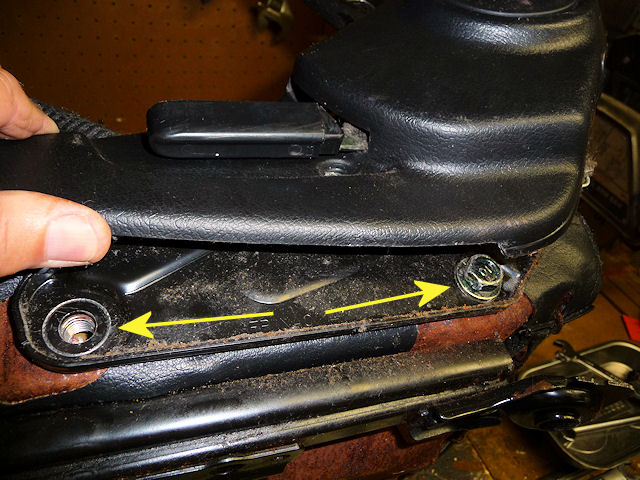
Let's start
with the seat belt side of the seat.
|
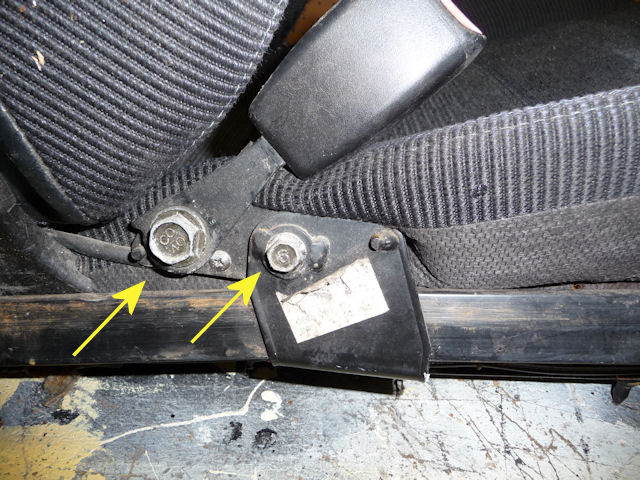
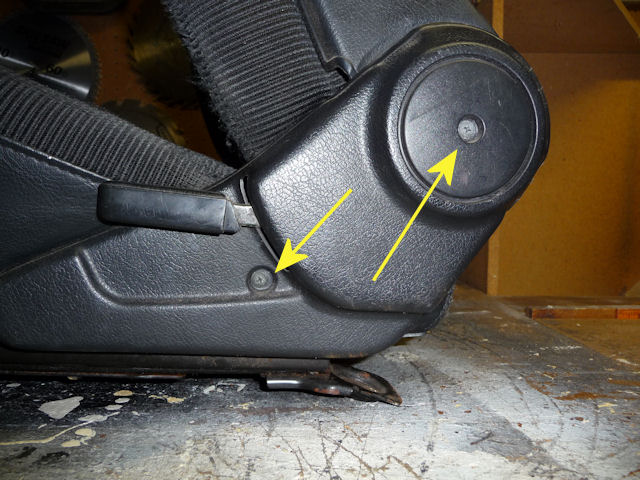
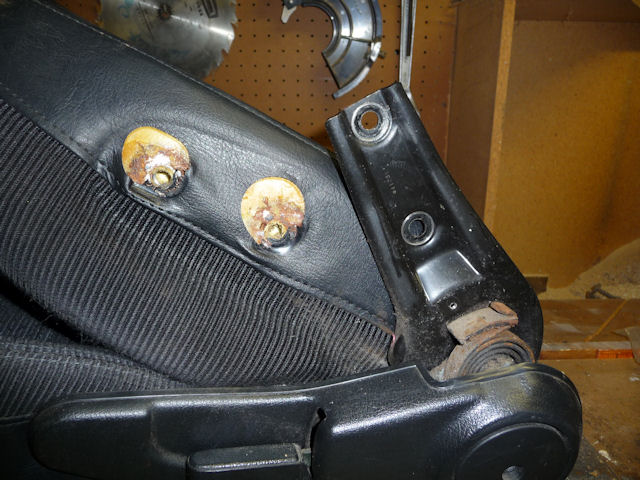
Remove these two
bolts |
 |
|
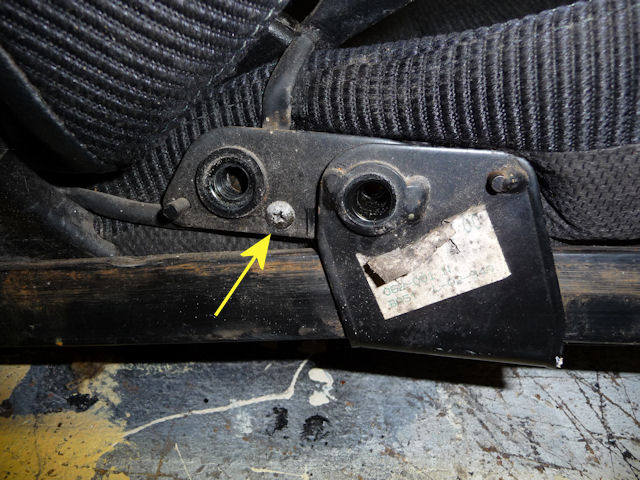
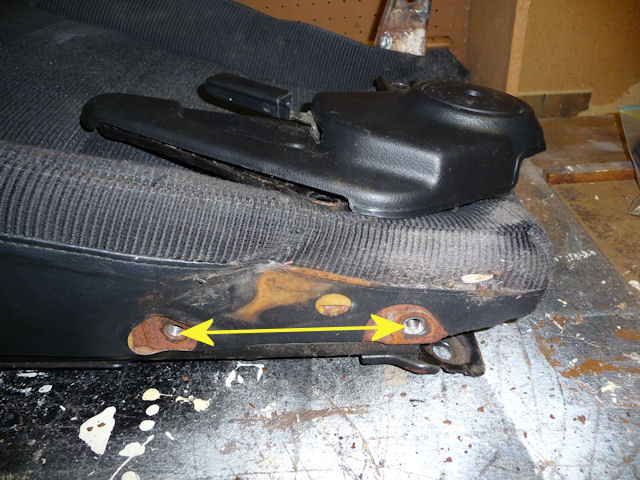
And then the
screw |
 |
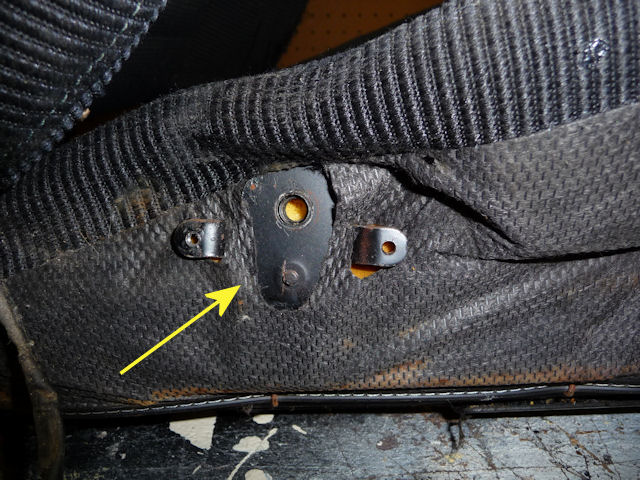
| and your left
with this bracket that we'll be cutting off
later on. |
 |
|
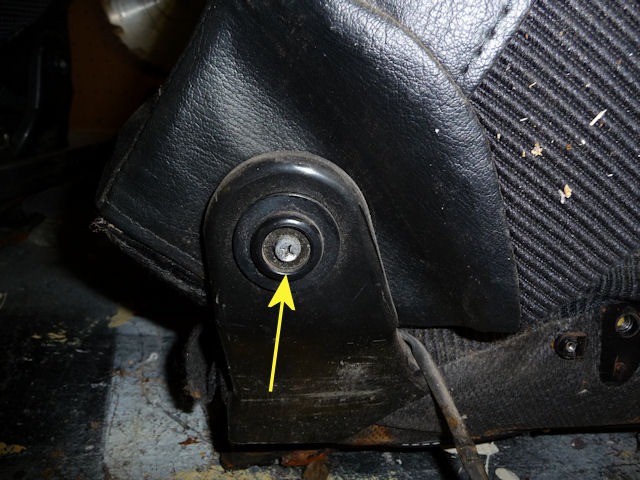
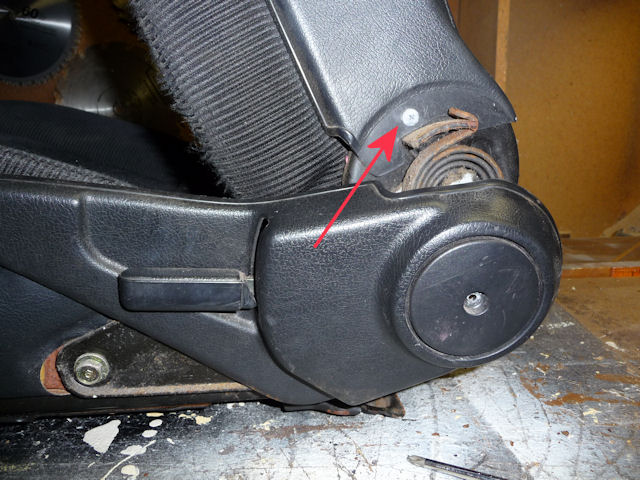
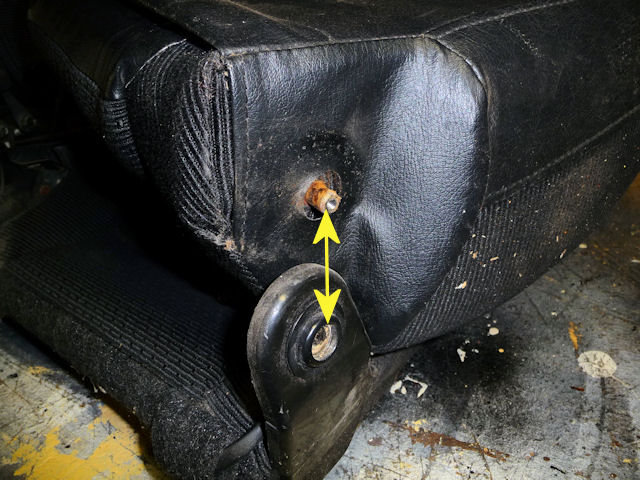
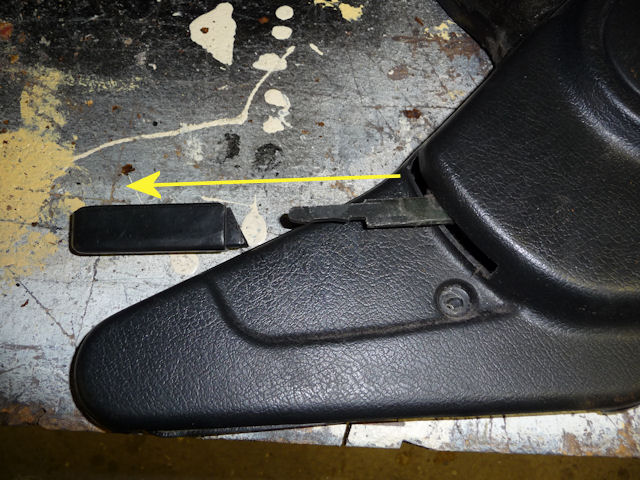
On the hinge side
of the seat remove the Philips head screw.
Make a mental note of the upholstery design
at this location on the hinge side versus
the tilt mechanism side. The sides are
different and this is the only way to tell
them apart. |
 |
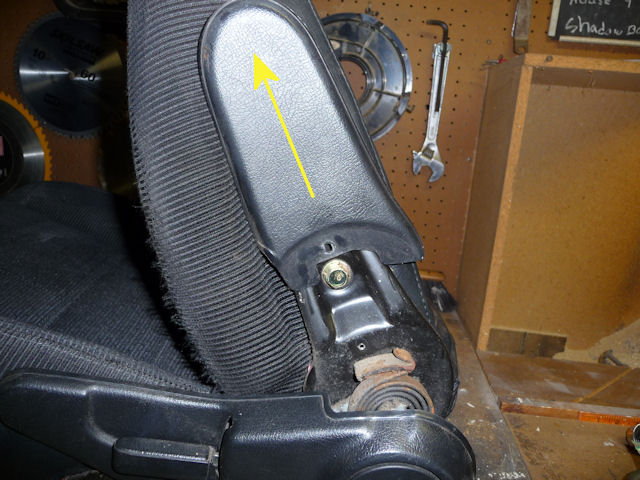
Now we move the seat
side with the tilt lever mechanism.
|
Remove these two
screws to get the cover loose |
 |
|
Another screw to
remove |
 |
|
Now you can slide
this cover up and off |
 |
|
Which exposes
these two bolts to remove |
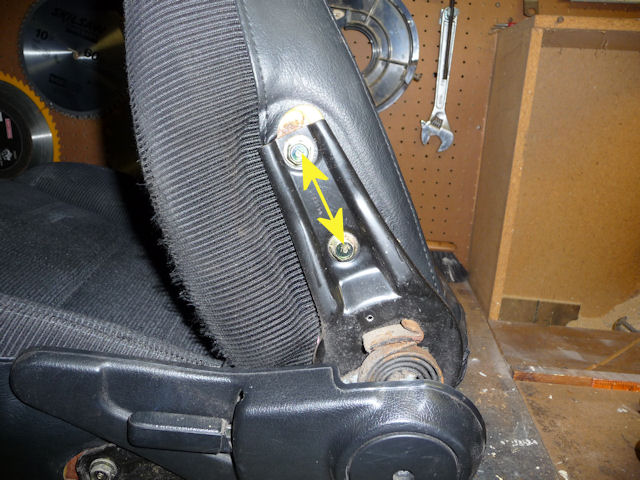 |
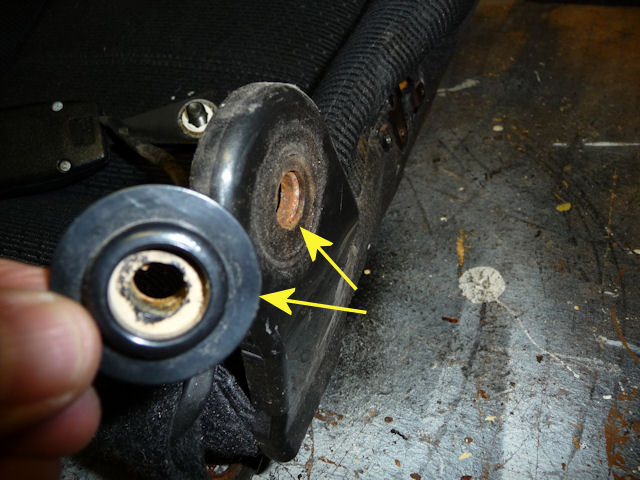
| Now you can
move the seat top forward and lift and twist
it to remove the post from the other side
where the hinge is located..... see next
picture. And here you can see the upholstery
difference from the hinge side. |
 |
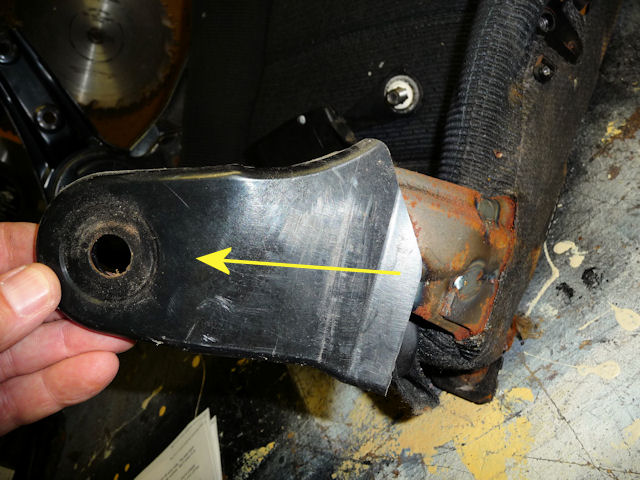
| This is the
hinge side, and once you get those pieces
separated, you can lift the seat back away
from the base. |
 |
|
Pop this piece
out |
 |
|
And slide this
cover up and off |
 |
Now that the seat back
is separated from the base, let's get that tilt
mechanism off
|
Seat Back is gone |
 |
|
Lift up the cover
and you'll see two bolts that need to be
removed. |
 |
|
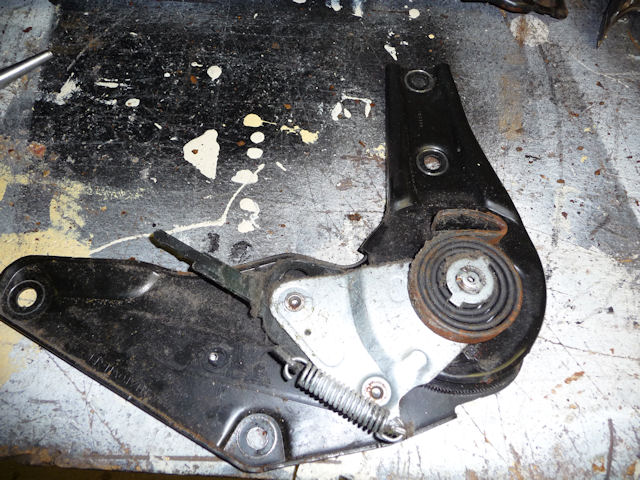
The tilt
mechanism is removed |
 |
| Grab a long
punch and tap the handle off with the punch
and hammer. It should slide right off. |
 |
|
It needs a good
cleaning and lube |
 |
Now that we have two
separated seat pieces, it's time to cut some Hog Rings!..........next
|


