|
Sometime around November 2011,
I started to
make Fender Blankets that caught on with the guys in
The
6-Pack Forum as well as people finding my web site.
In the space of about 3 months I sold fifty blankets at
$50 each which netted me sufficient funds to make two
"major" purchases........... Goodparts Wilwood front
calipers and a set of grey
VTO LeMans wheels.
Richard Good is a TR6 racer who has turned his talents
to sourcing and producing many upgrades for the TR6.
Anyone who has cruised my site has seen his: radiator
shroud, solid steering rack mounts, Nissan differential
conversion, adjustable trailing arm kit, Nylatron
bushings and CVJs........ whew.......and I paid full
price for everything! I toyed with getting his dual
master cylinder but decided against it at this point.
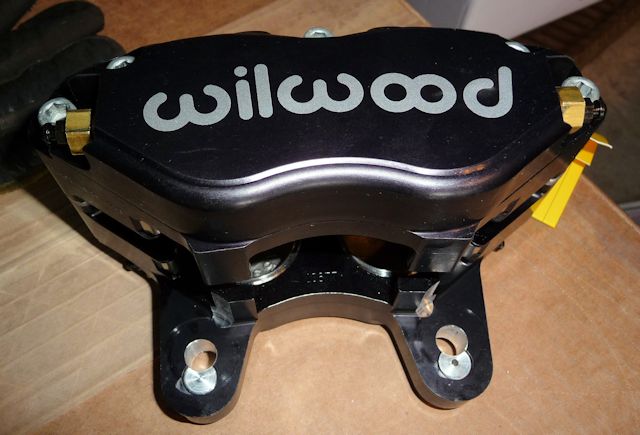
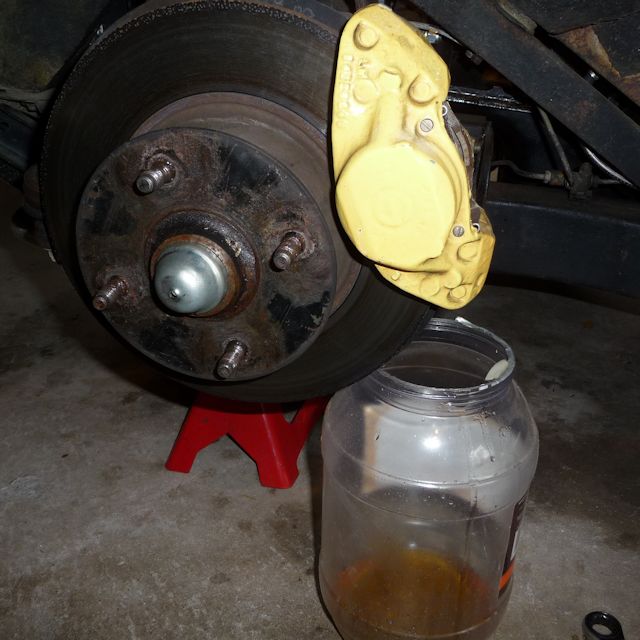
The first thing you'll notice with the
Wilwood calipers is how light they are at only 5 lbs. By
comparison the stock calipers weighed in at 9 lbs 8 oz.
Almost twice the weight. When you order them Richard
will ask what size your rear brake cylinders are as that
will determine which Wilwood piston size you get. To
quote Richard: "I have the front
calipers with 1.38" or with 1.62" pistons. The 1.38"
will provide a better front to rear balance when used
with stock rear brakes but will require a little more
pedal effort. The 1.62" are best used with upgraded rear
brakes." I have the larger Morgan/Sunbeam
cylinders so I got the 1.62" pistons.
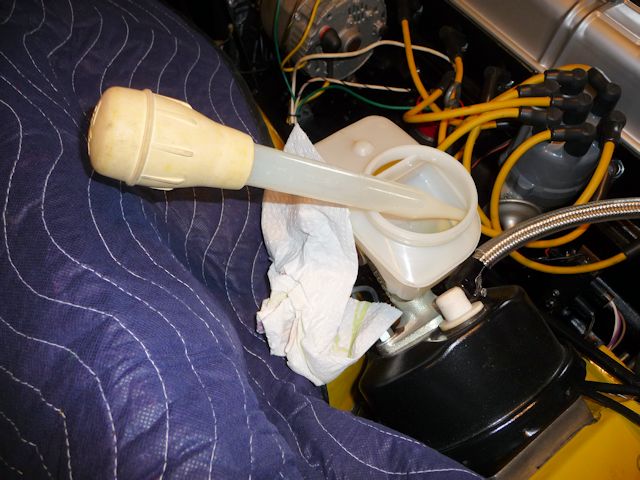
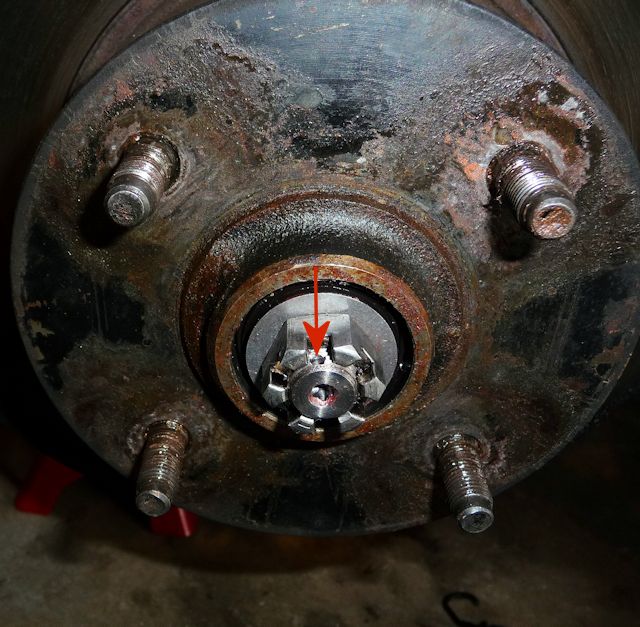
Now it's time to move to the basement
to get the old rotors off, bearings cleaned, packed and
new rotors installed. I worked one side at a time so I
always had the other side as a reference.
On to
the basement for the next steps.........more
here
|