|
Woodworking 101
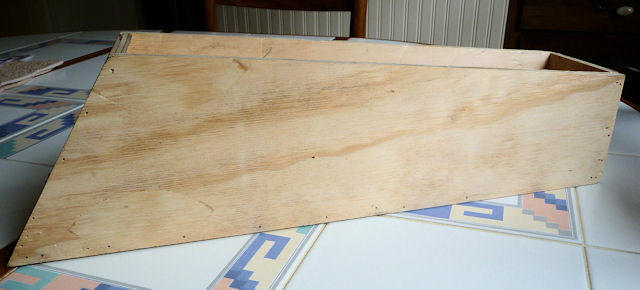
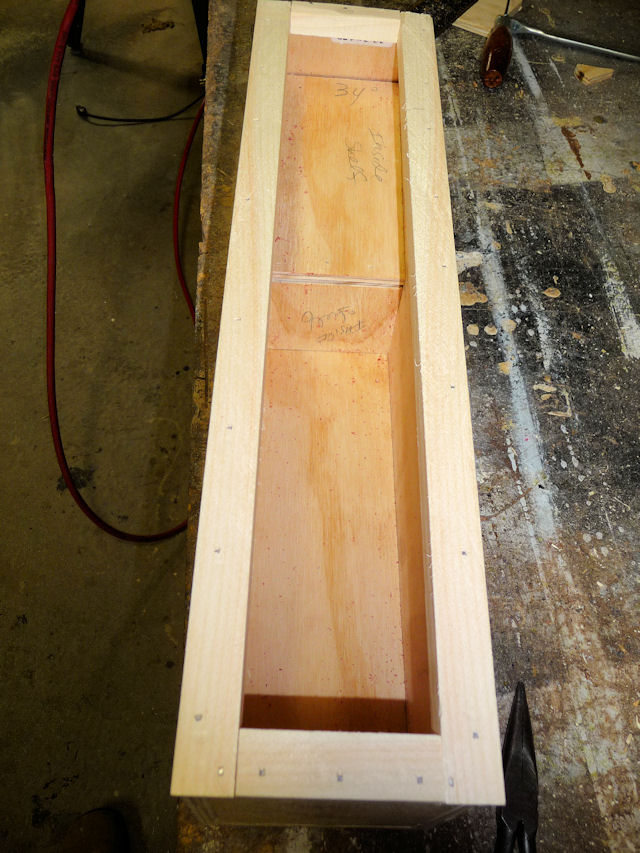
After taking a few
measurements, it's obvious that you can't fit anything
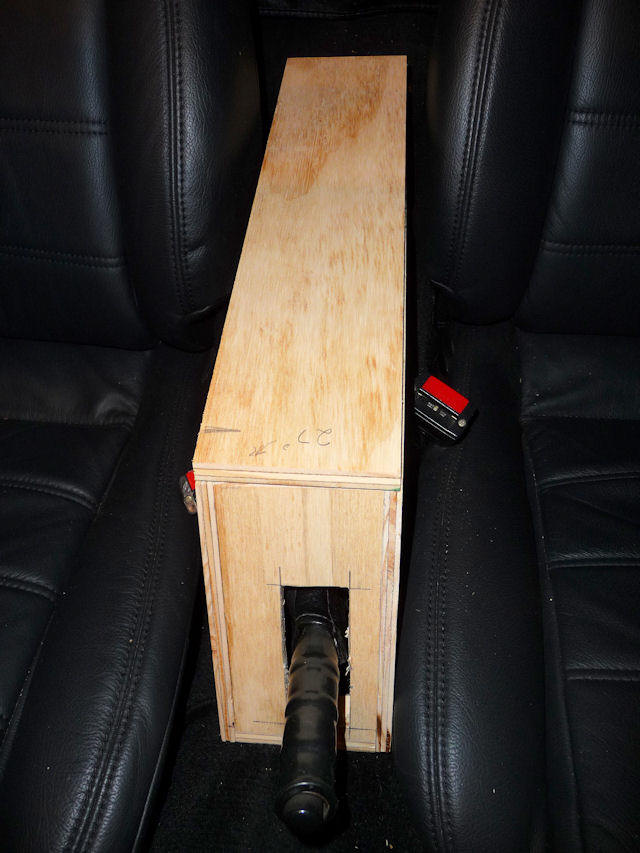
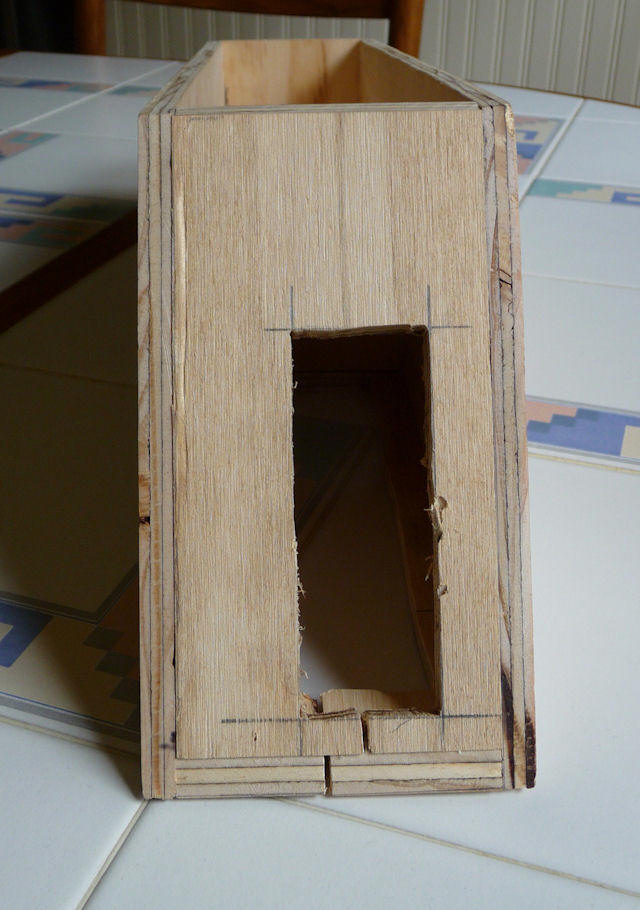
wider then about 4" between the Miata seats. I also knew
I wanted it to cover most of the handbrake and go back
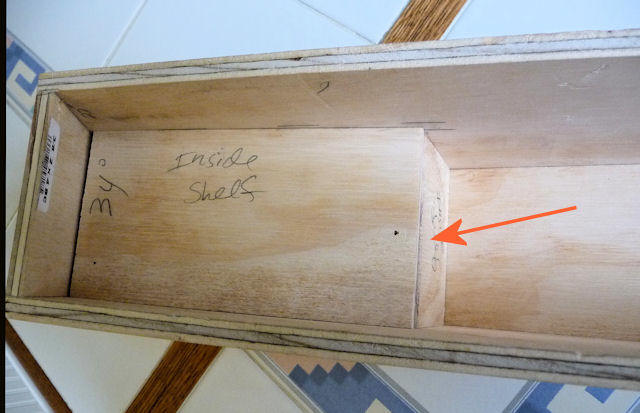
to the edge of the rear shelf. That gave me an overall
length of 18". As for the height..........that's more of
a personal preference based on how tall you are and
what's comfortable to you. I guess that's one of the
advantages of making your own console. I settled on 6"
high for the base at the front and it ends up at about
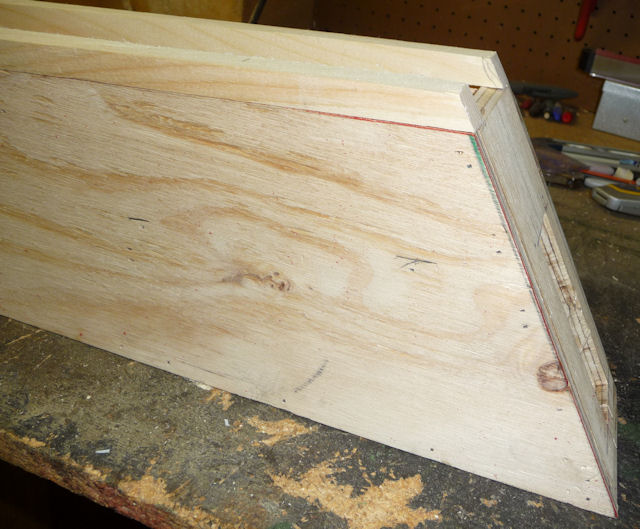
7" when the top is in place. The console does taper from
front to back due to the slope of the drive shaft
tunnel. I think I ended up at around 4" high at the
rear.
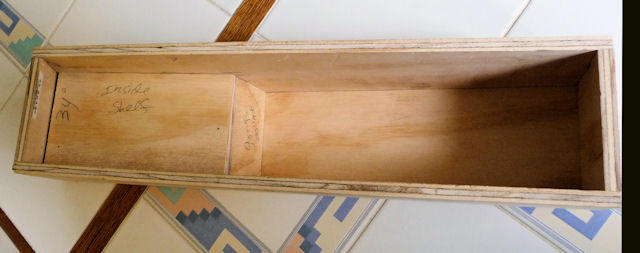
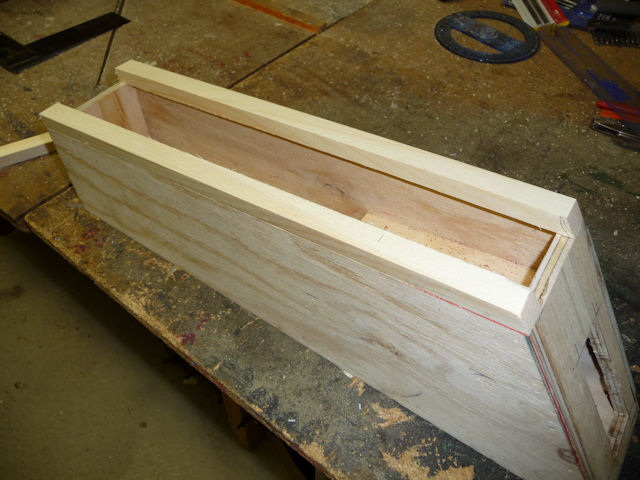
I had a 2'x4'x3/8" plywood
panel that I used to make the base and top. I toyed with
using some 1/2" poplar but was afraid of it warping over
time. Because it would all be covered in leather and
wouldn't be subjected to any stress I just butt joined
it and hit it with 1" nails.
Now that the wood is all done,
it's time to cover it with foam and
line it with..............more here.
|