|
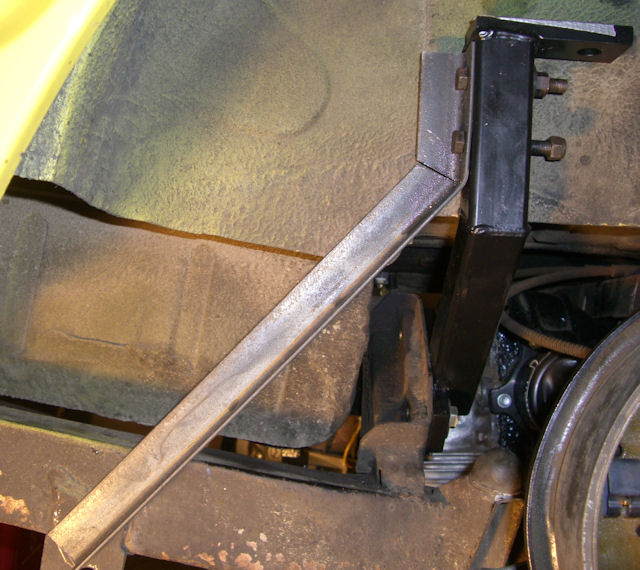
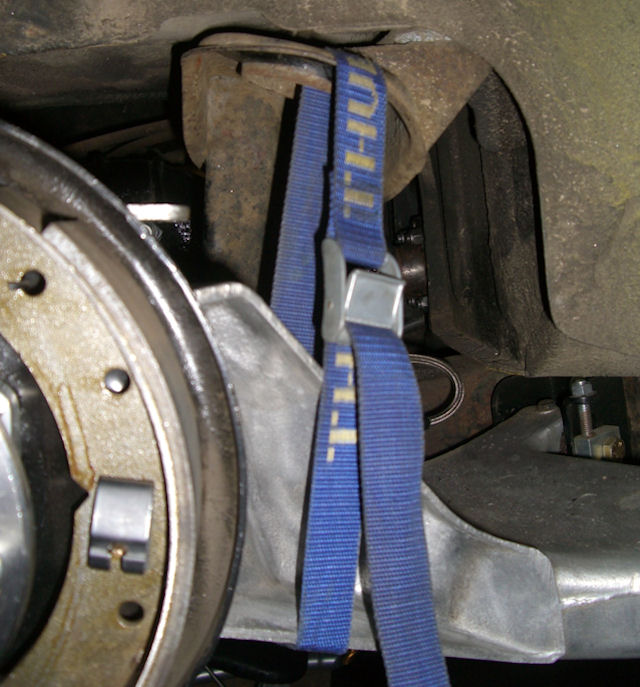
My good old Thule strap
holds the Trailing Arm up |
 |
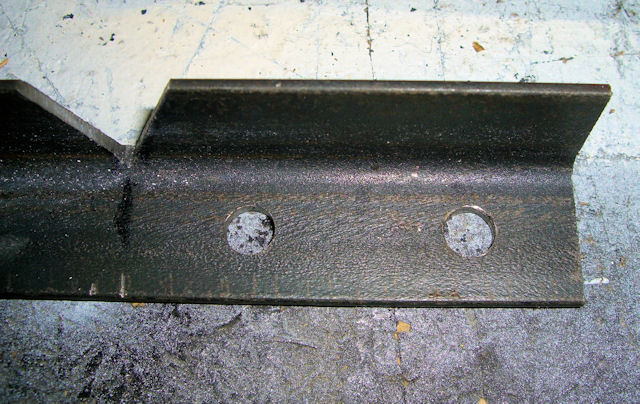
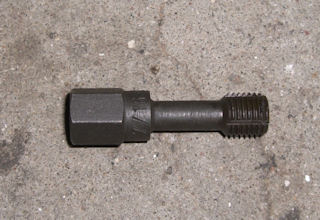
Sears sells a kit that
cleans out threads. It doesn't cut them, just cleans
them and
it makes a big difference. Just a socket or wrench
to run it through the threads. |
 |
.jpg) |
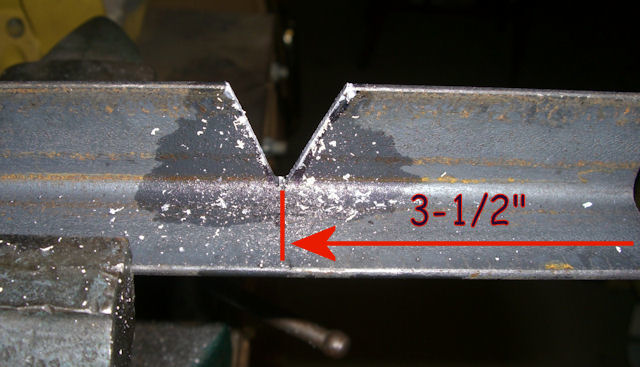
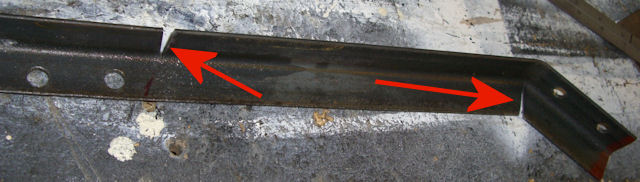
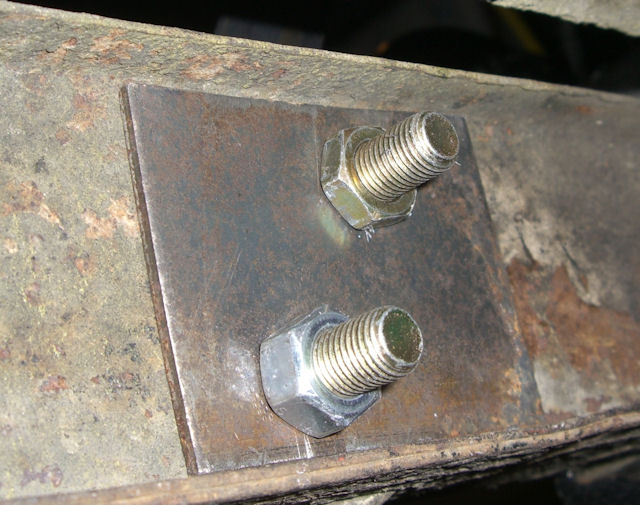
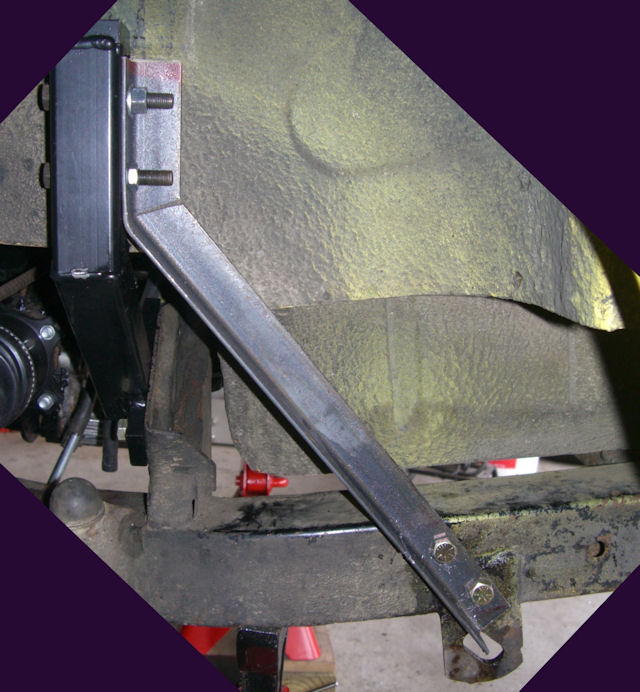
The brace
material used is 1-1/4" weld-able angle iron that is 1/8"
thick. I bought a 3' piece from Lowes for about $6.00 and
then cut it in half.
NOTE: Work one
brace at a time as there's a very definite left and right
hand side brace and they will be made as a mirror image of
each other.
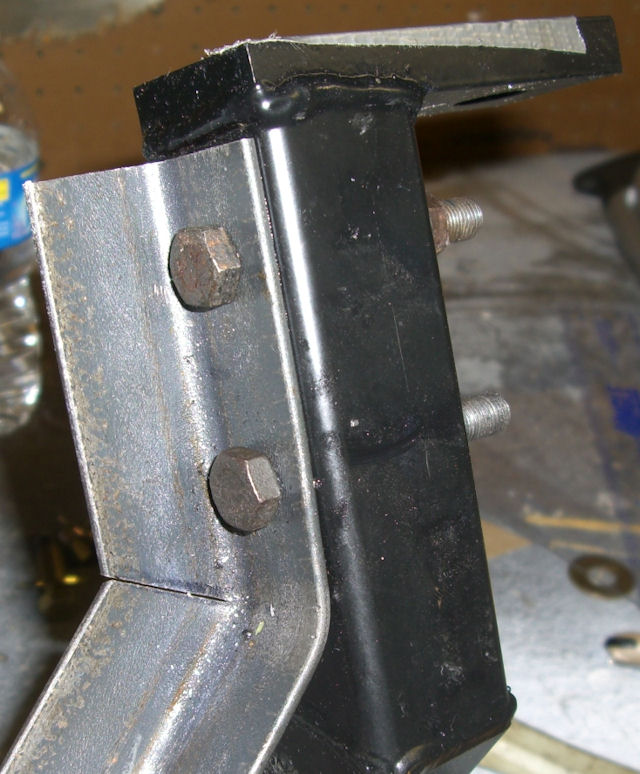
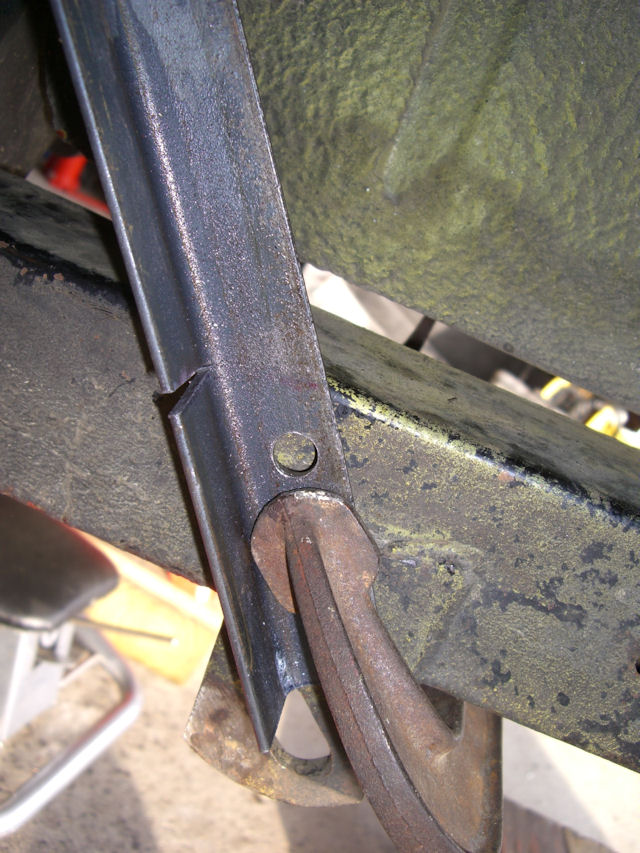
NOTE: I used all
test hardware and nuts that I could re-use as the brackets
and mounts were on and off of the car numerous times. The
final install will have grade 8 hardware.
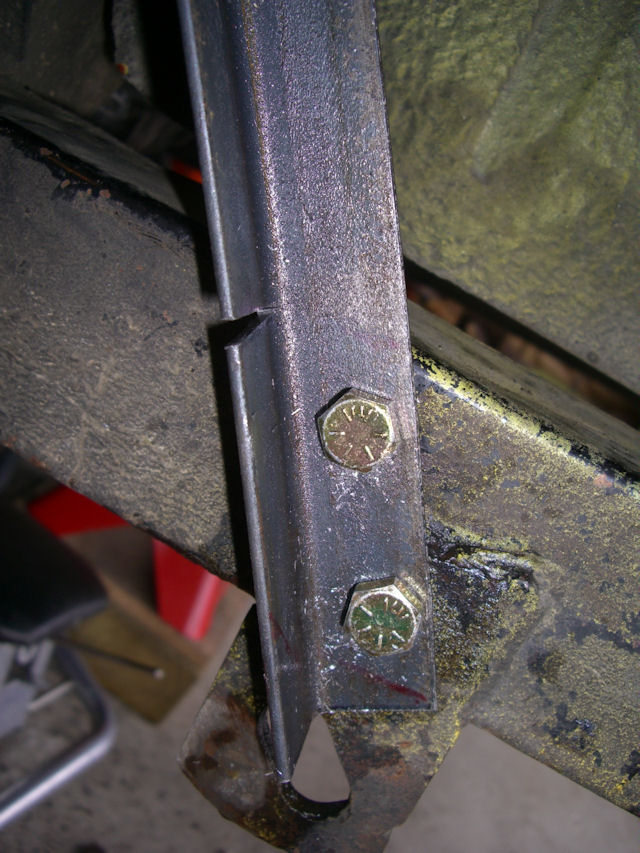
All that left to
do is to have the notches welded up and then a coat or two
of paint.