|
Finishing the Interior
With the interior stripped out of
the car, what better time to make some improvements that don't
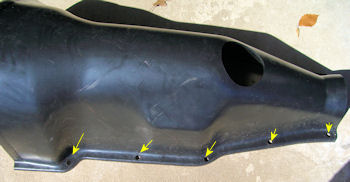
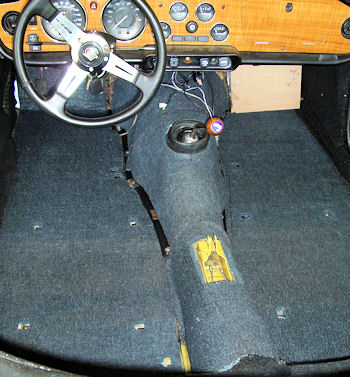
cost a lot to do. First up was a new poly transmission tunnel.
My old fiberboard tunnel wasn't in the best of shape and ended
up in even worse shape when I missed a screw way up by the
firewall. Hmmmmm.......seems stuck.....better give it a good
pull and....Oopssss.......why is the tunnel in my hand and yet
there's a big hunk still attached to the car?!? The downside of
the poly tunnel is the fit. Shape-wise they fit fine. Mounting
holes are another story. And center console fit is another
matter altogether. The holes were an easy solution. All I did
was drill out all the floor holes with a 1/2" drill. Then I did
a temporary fit, got under the car and marked all the firewall
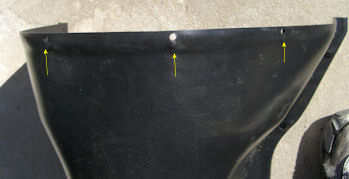
holes on the tunnel and drilled them out. The rubber sealing
strip was test fitted to the floor, notched to flow with the
bends and each hole was punched out with a grommet punch. When
it came time to do the final install, I laid a bead of
Ultra-Black on the floor, smoothed it down and put the sealing
strip over it. It looks like a nice tight seal.
|
All the holes were
drilled out to 1/2" which made installation
relatively easy. |
 |
 |
|
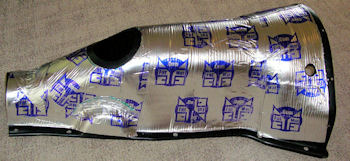
FatMat and new padding
adds to sound deadening and heat control |
 |
 |
Last year I
installed FatMat sound deadening on the floor, trunk, gas
tank and in the doors. This made things a lot quieter and the
doors closed with a nice THUNK. One thing I learned when doing
that project was that, 10 years ago, I used way too much spray
adhesive on the carpet padding and the carpet itself. Carpet
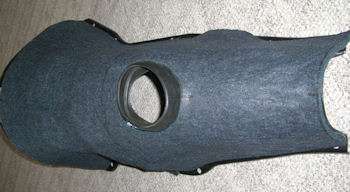
padding was stuck everywhere! So I decided to toss the padding
and buy some new padding at Lowes. This is a synthetic fiber pad
that's very light, about 1/2" thick, easy to work with and tough
to cut. I used one long piece in each foot well, two pieces to
cover the tunnel and one piece for the driveshaft cover. The
floor pieces are held in place by heavy duty Velcro and the
cover pieces have a minimum of double sided carpet tape on the
edges. For the carpet I used the Velcro so everything should
come apart a lot easier the next time.
|
Padding complete with bolt holes cut out. |
And
all back together...finally! |
 |
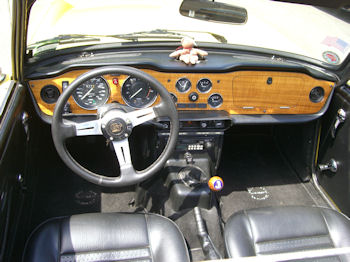 |
The only problem I had was getting
the center console to fit between the tunnel and the dash.
Between the solidity of the poly tunnel and the 1/2" padding, I
was cursing the console as I tried to work it into place and get
all the holes to line up. I thought about just using a BFH
but.............went with patience instead.
|
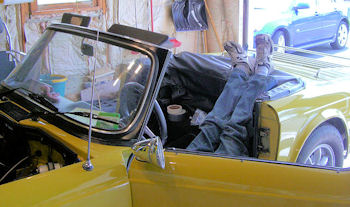
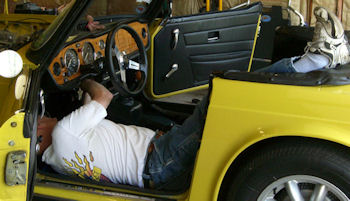
Yes.....I've assumed the LBC position. We've all
been there! |
 |
 |
|


