|
CVJ Kit
CVJ Install Plunge Test
Test Drive
CVJ
Installation
There's two ways that these can be
installed: either remove the differential or remove the trailing
arms. I removed the differential because I wanted to have the
rear mounts boxed in and welded. Once you have the
differential removed you need to take out the old hubs and axles
and remove the springs. Follow the Bentley or Haynes manual for
the proper procedure to remove them. Once you have the
springs out, hook the shocks back up. At this point I decided it
was time to install KeenSerts in the trailing arms to give the
hub/brake plate studs a nice firm un-strippable foundation.
This was a simple task with the jig that Rick Patton made up
and is documented here.
|
Here
are the repaired studs locked into the trailing arm.
|
|
 |
|
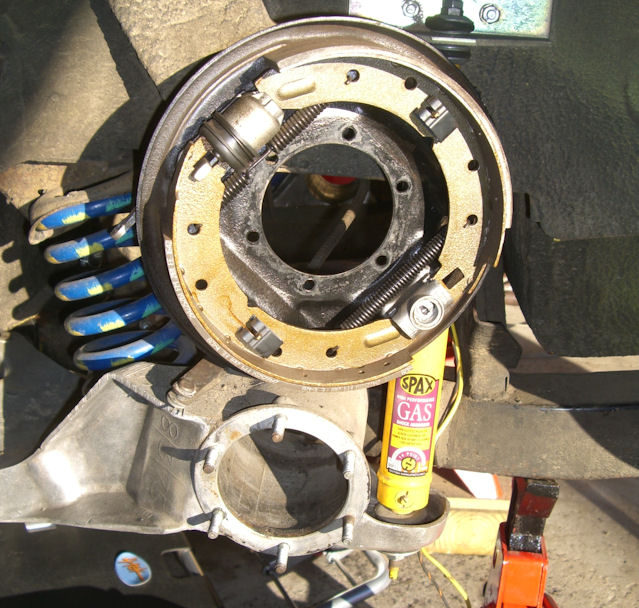
I
didn't even have to disconnect the brake lines to
move the brake assembly to here |
 |
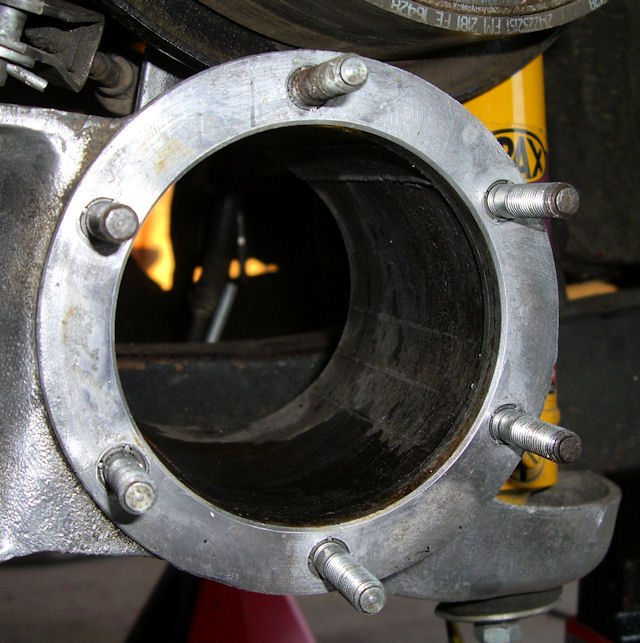
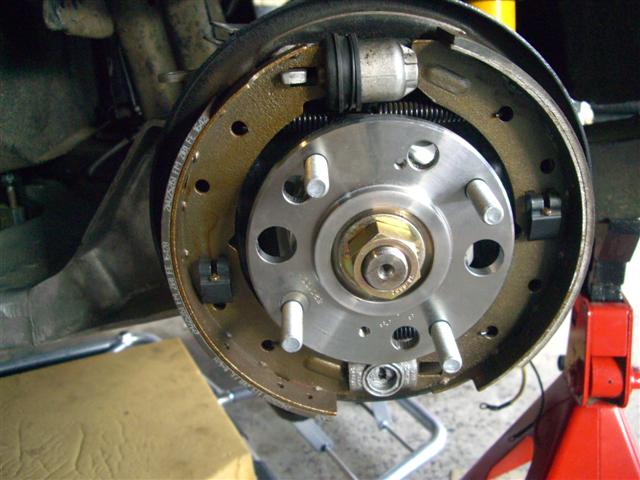
Now was the
moment of truth........... a test of the new hub and axle.
The first iteration of these CVJs from a couple of years ago
had fit problems that required some grinding of the inside
of the trailing arms. But these new ones are supposed to be
a perfect fit unless you have some material left over from
the casting process of the arms.
|
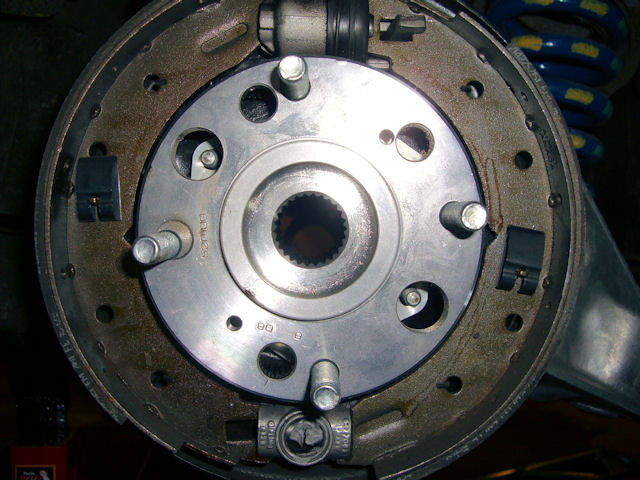
Make
sure you do the test fit with the brake assembly in
place |
 |
|
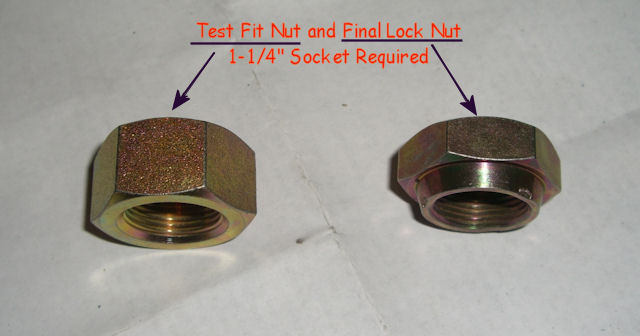
The
CVJs come with three nuts: the non-locking one and
two lock nuts |
 |
|
Use
three 5/16-24 nuts to hold the hub assembly in
place, slide the axle in and
use the non-locking axle nut to hold the axle tightly in place. |
 |
Now that you have it in, turn off
the radio so you can hear, then slide under the car, grab the inner
hub and rotate the whole axle assembly and LISTEN and FEEL for
any resistance, scraping, binding etc. If it feels good, repeat
on the other side. I couldn't feel or hear anything but I did
take one extra step.
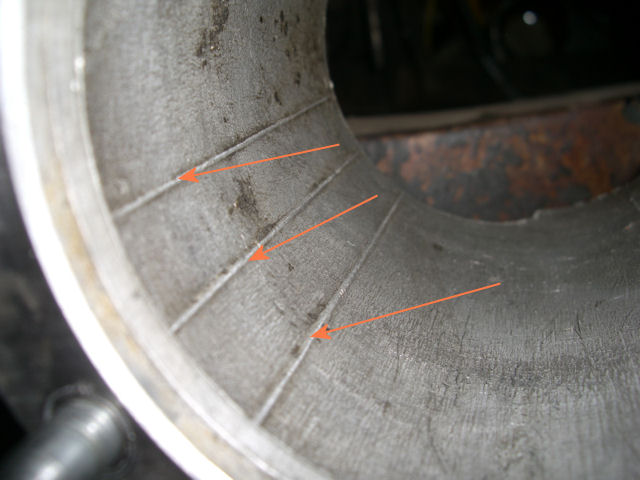
| I
wanted to clean up the inside of the TA and try and
grind these ridges down a little. |
 |
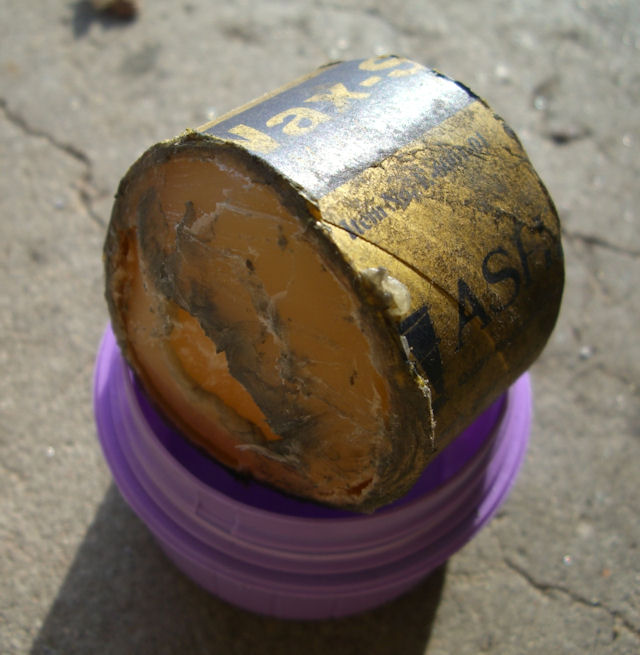
| This
is some wax that helps to keep things from clogging
up |
 |
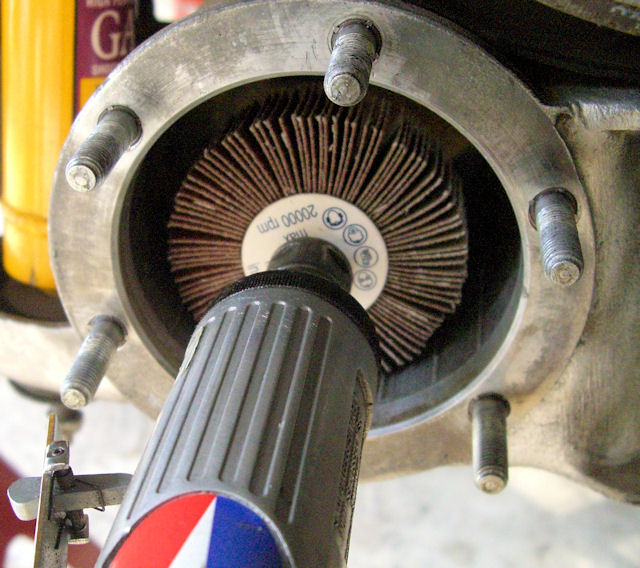
| I used
a flap wheel on a die grinder which did a decent
job. |
 |
Now it was time to
put the axles back in, re-install the
differential and test the plunge reserve range
|


