|
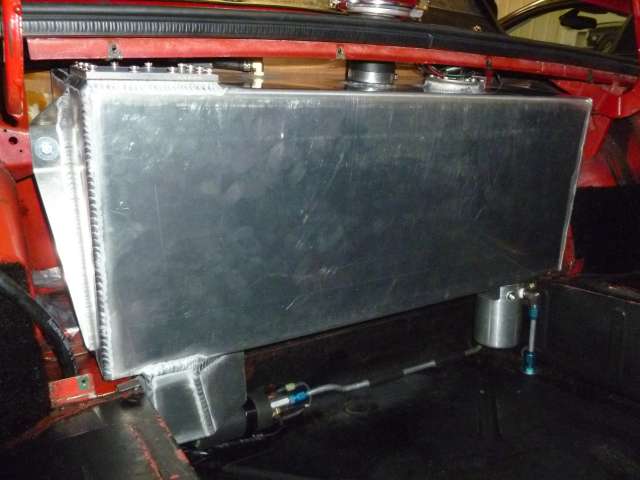
Aluminum Fuel Tank -
Exactly
15 gallons
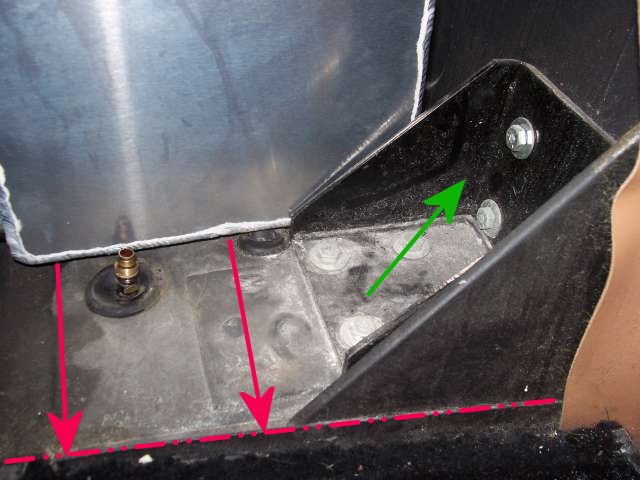
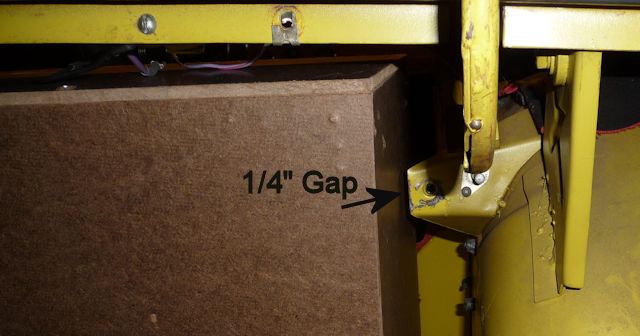
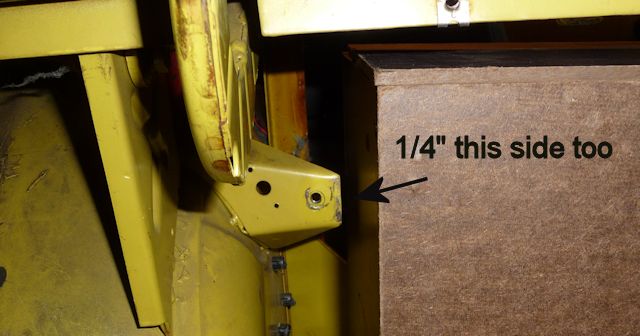
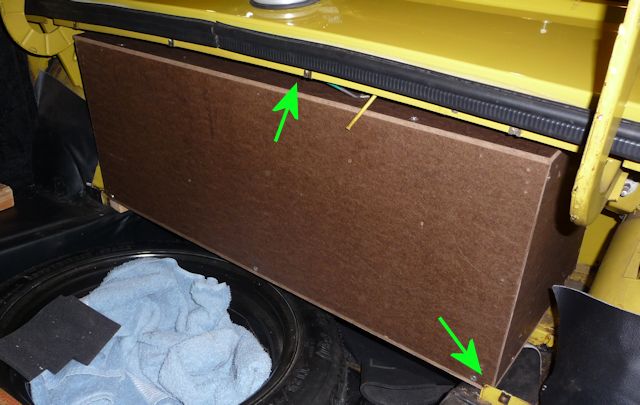
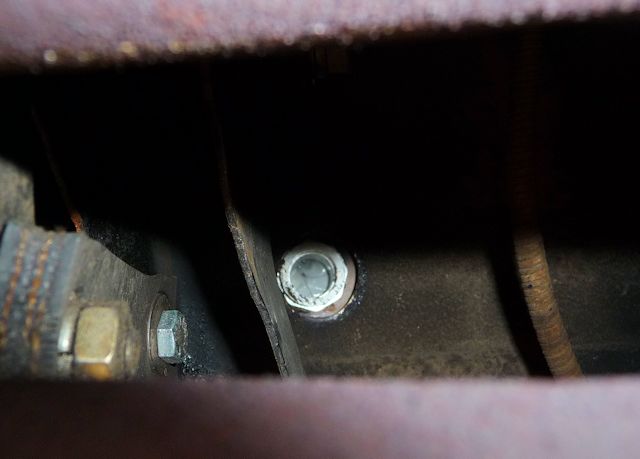
NOTE: There is ONE tube shock
conversion that has an upper bracket located inside the trunk next to the tank
that interferes with placement of the tank. The green arrow points to the shock
bracket and you can see how it's keeping the tank from moving to the dotted red
line. Not all shock conversions have this bracket. I've had two different tube
shock conversions on my car and the tank would have fit with no problem.
I don't do a whole lot of long
distance driving but it doesn't take a real long drive to bring the stock tank
down to 1/4 on the gas gauge........... and seeing as I've run out of gas twice
at the 1/4 mark..... I figured there had to be something better.
And then there's the
annual trip to The British Invasion in Stowe Vermont where exits are 10 - 15
miles apart and there's not necessarily a gas station at the end of the exit
ramp.
My plan was
simple.........more capacity and in an aluminum tank
that won't rust over time. The capacity of the stock
tank seems to depend on what resource you're looking at.
Two of my reference books say 13.5 gallons for '69-'72
and 12.9 gallons from '73 on. My driver's manual that
came with the car says 11.4 gallons..... then factor in
that no one in their right mind ever fills the stock
tank all the way up......unless of course, you love the
smell of gas permeating the cabin. Maybe the 11.4
capacity in my manual was Triumph's way of saying ....
the tank may hold 13 gallons but don't even think about
putting that much in it! Finally there was
price......... a stock capacity aluminum tank from Moss
was $620 and TRF was $700! And steel tanks weren't a
whole lot cheaper.
NOTE: In 2018
Boyd Welding did a production run of about 10 tanks and
one of the recipients did an accurate filling of the
tank with water before he installed the tank..... to the
bottom of the filler tube was exactly 15 gallons. My
"math" estimates were 13.75 - 15.2 gallons. I'm glad to
see it hit the 15 gallon mark.
I started
with Dan Master's aluminum tank design for his V8
powered TR6........ a very nice tank but he modified the
trunk to get an 18 gallon tank fitted. Then one of the
6-Pack Forum guys, Craig Kenyon came up with a very
special design that incorporated a swirl pot and an
external pump.
|
Craig's beautiful
tank designed specially for his car and his
needs. |
 |
He was
kind enough to let me use his design as the basis
for my design. I wanted a tank generic enough that
it would easily fit any TR6 and possibly the TR4.
The primary difference between the two tanks is that
my design is shorter in height to make installation
easier and I approached the mounting points a little
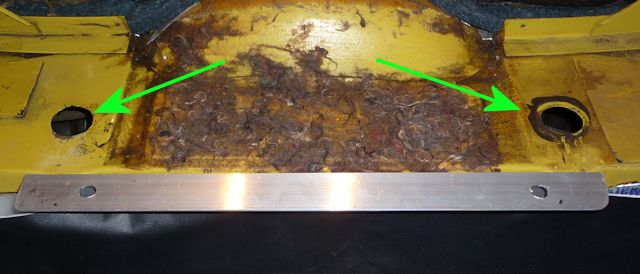
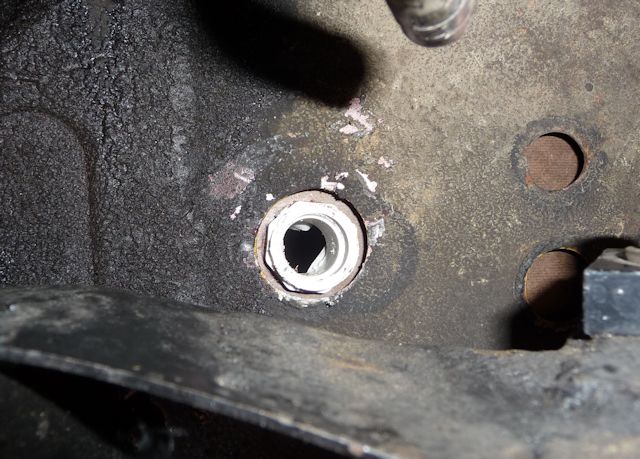
differently. I also wanted to take advantage of the
fact that the TR6 has floor openings for outlets on
either side of the car. The "spirited" drivers out
there have reported fuel starvation during sweeping
corners when the tank was low on fuel. Putting an
outlet bung on each side gives them the options of
draining from both sides. They're a stock 1/4" NPT
fitting so an unused one can just be plugged.
I also wanted the tank equipped with a return line
fitting and an evaporative canister fitting. If
someone doesn't need them, they can just cap them.
The last things were two baffles and, ideally, use
of the stock TR6 sender unit.
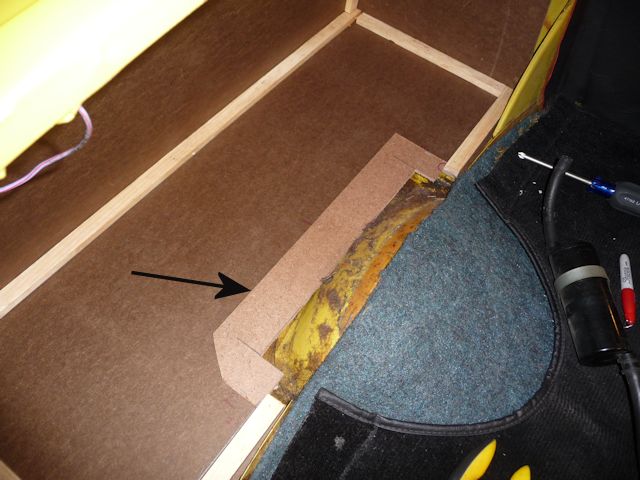
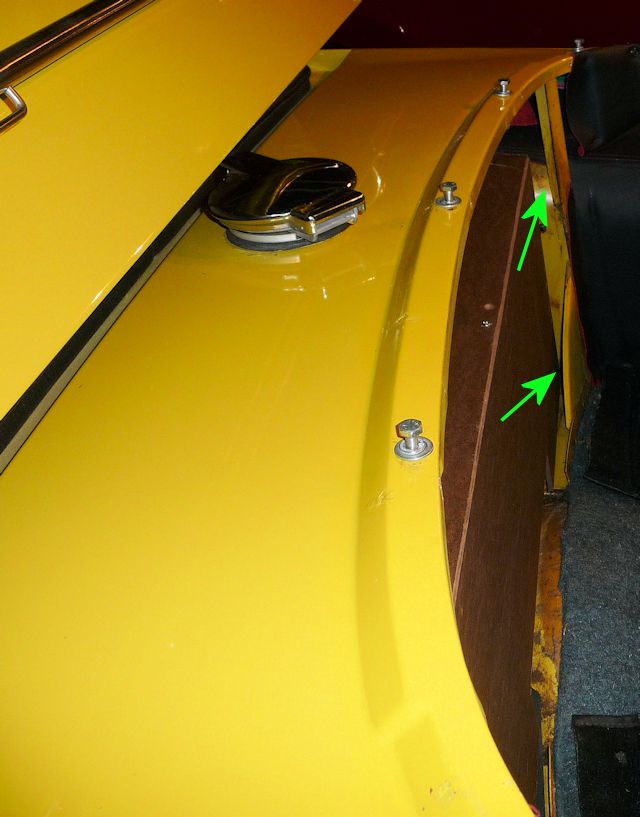
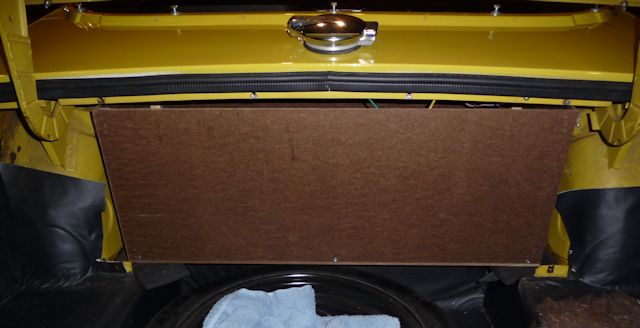
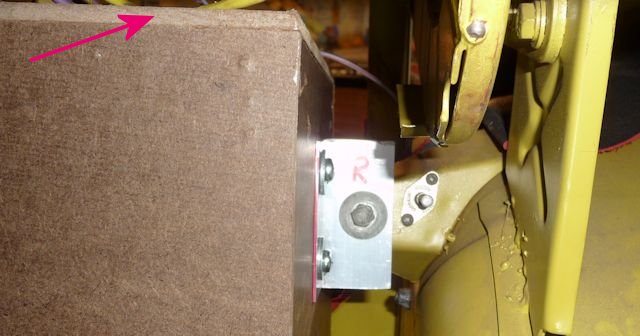
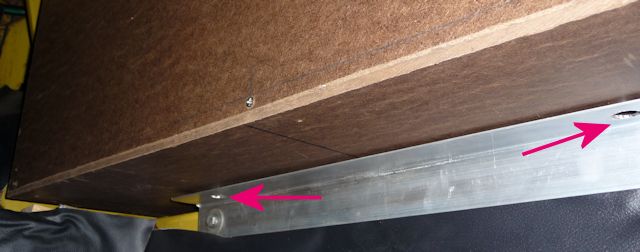
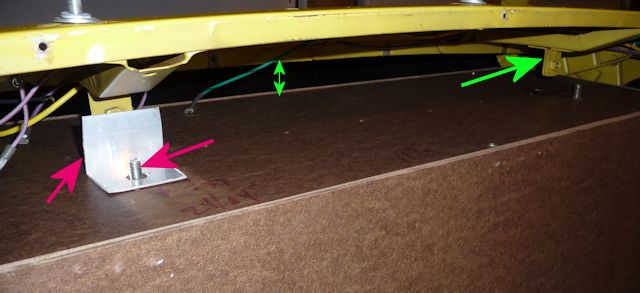
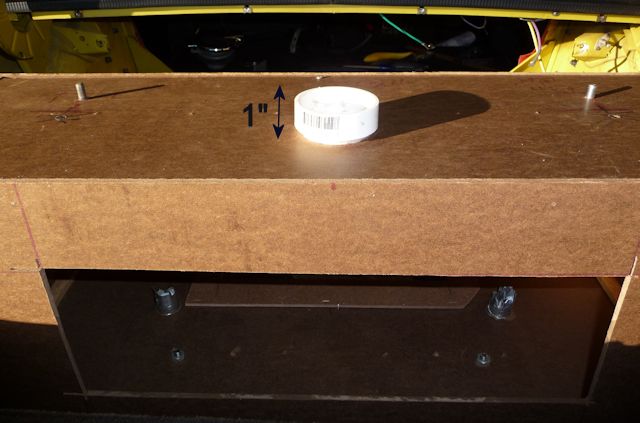
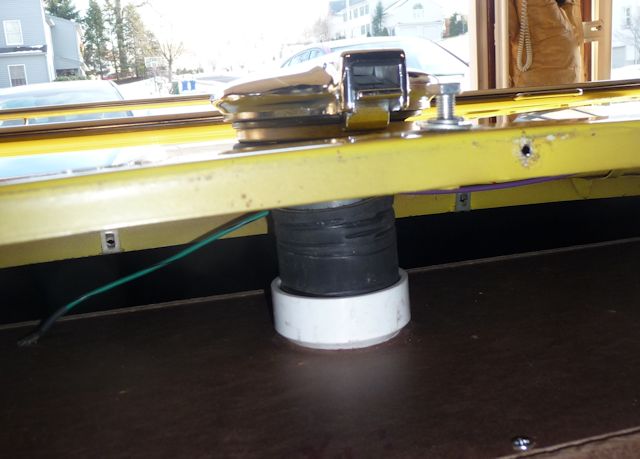
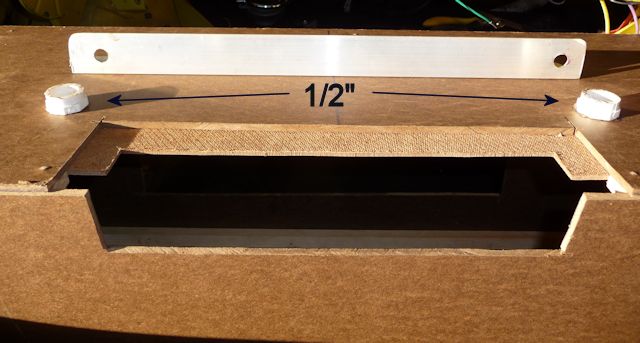
But you
don't just draw up a design and have Charlie the
welder at the local garage bang one together for
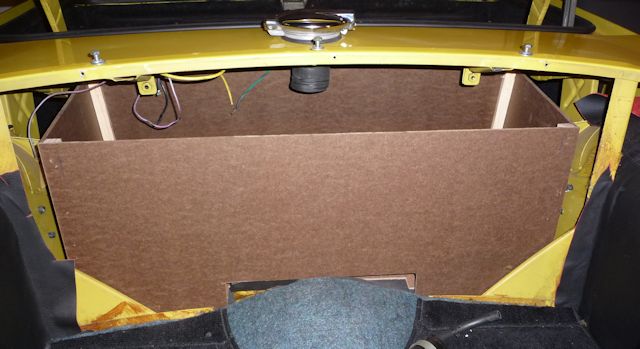
you. I started with the design and built a masonite
mock up.
Now comes the scary
part.........drawing all of this up with accurate measurements so
that the tank can be made. And...............finding someone to
build it for me.
Next up...... Boyd Welding |