|
I've had my car for 13 years
and I'm embarrassed to say that I've never checked my
Thrust Washers (TW)! So this winter I decided to do a
few things: replace the TWs, Check the main bearings,
blueprint the oil
pump and install
Marc Goldblatts steel sealing block which I've had
for 3 years.
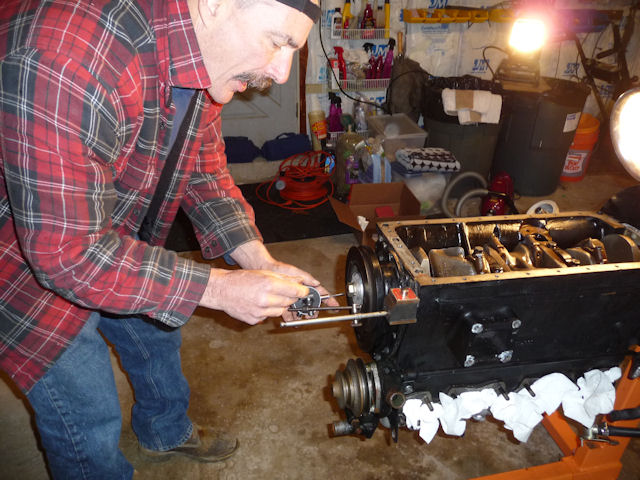
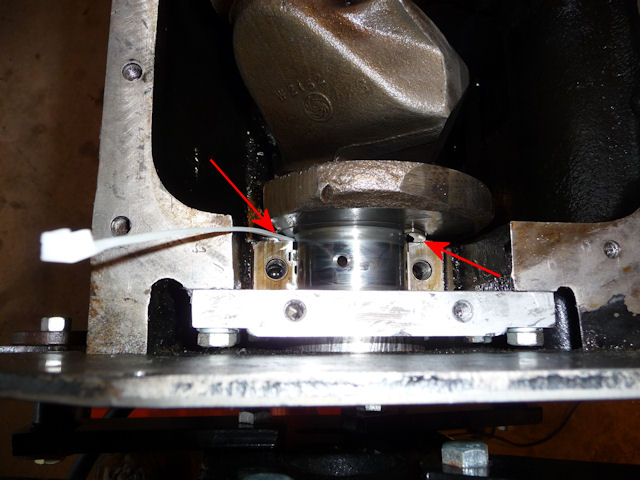
Fellow 6-Pack member Bob
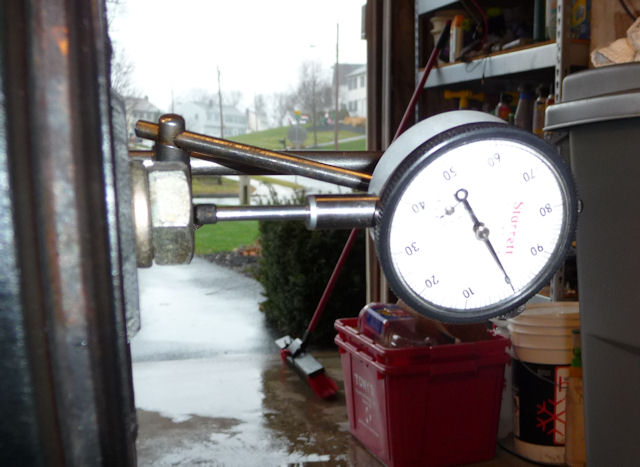
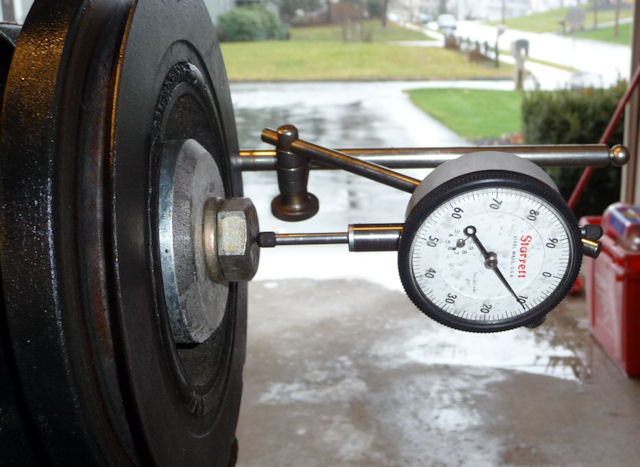
Murray stopped by with his professional measuring tools. With the engine out of the car
it's pretty easy to push/pull the crank back & forth to
check the end float.
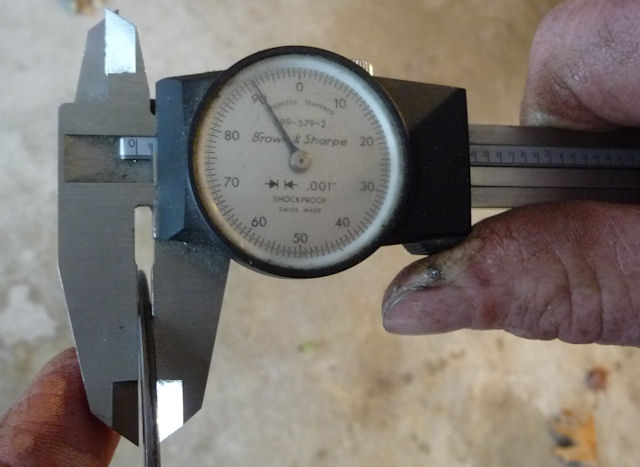
Now that
I had the necessary information, I
emailed Scott Helms who makes custom thrust washers
out of a special alloy to get his advice on what
sizes I should get. The goal is to get the end float
to be from .006" to .008". Where it should be is an
"argument" among guys over having a tight versus a
loose engine and shooting for better oil flow versus
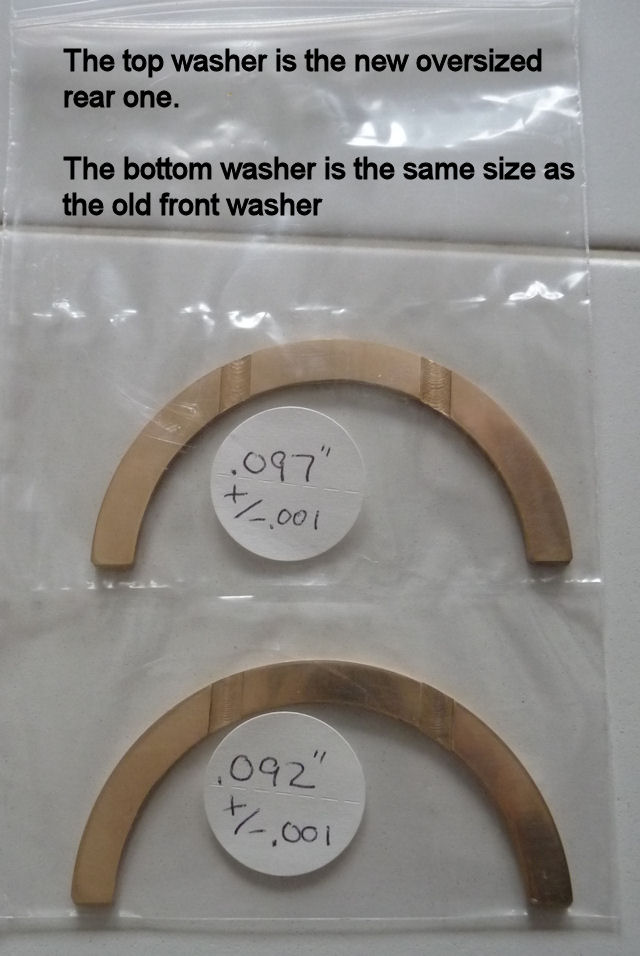
oil pressure. Scott's reply to me was that we keep
the front TW at the same .092" and go to .097" which
will give me an end float of .005". He preference is
to go a little tighter as the float will only get
larger as the TWs wear.
|
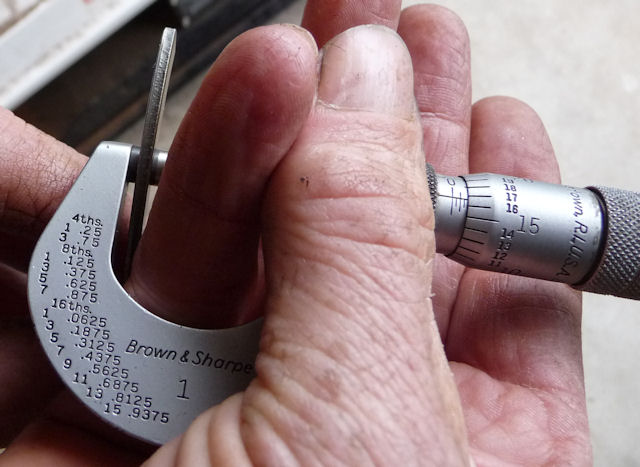
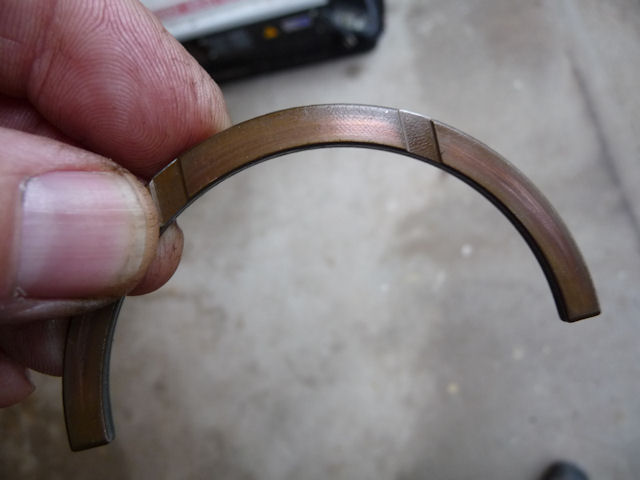
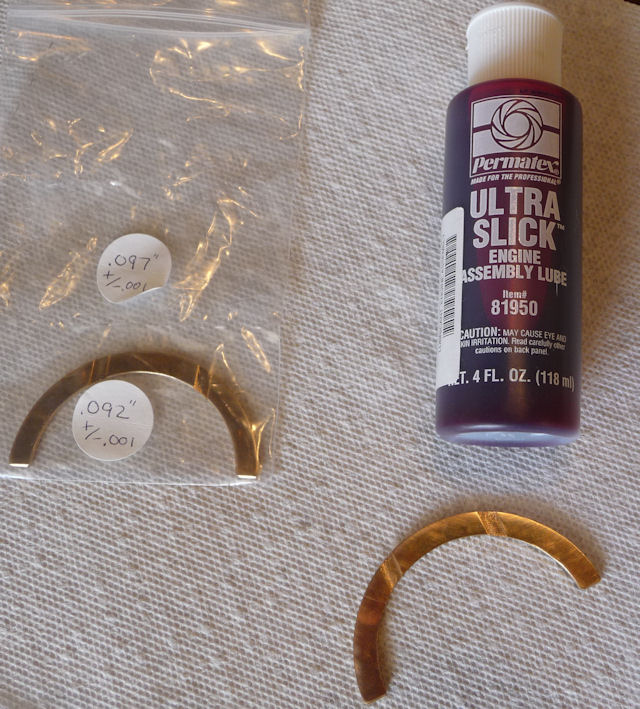
Here's the two new TWs from Scott. Even
though he marks them as +/- .001, they were
spot on the measurement. |
 |
|
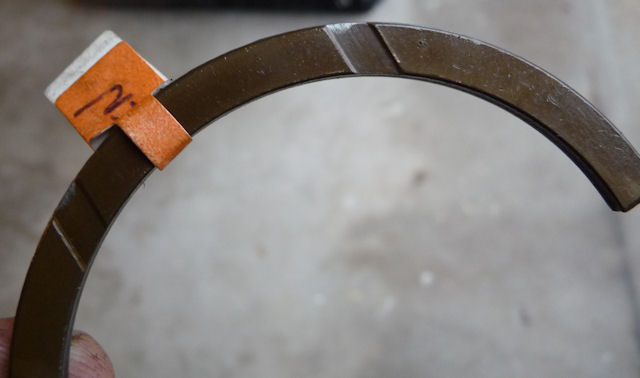
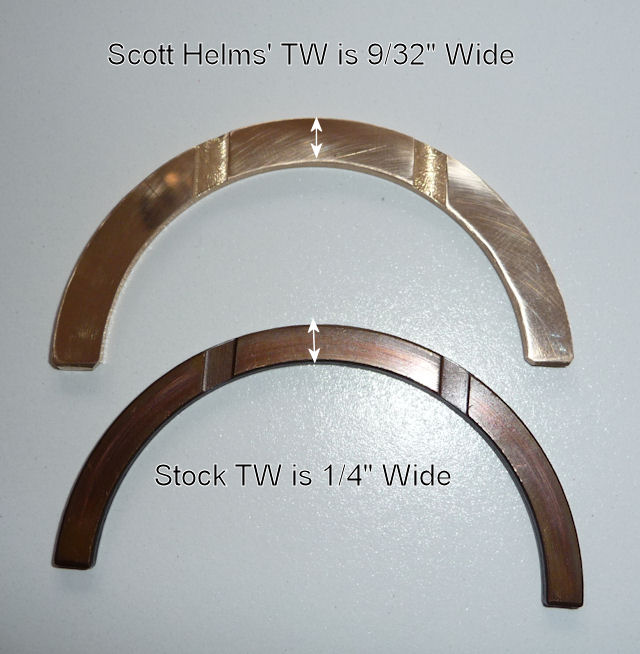
One noticeable difference is that Scott's
TWs are wider which gives a greater contact
surface and still fits with no problems.
|
 |
|
This is the
assembly lube we used. |
 |
|
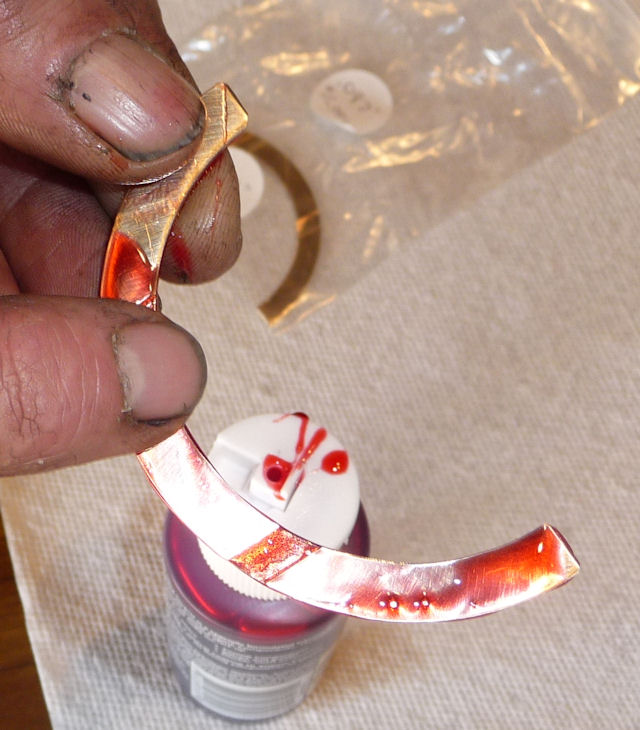
We covered all friction bearing surfaces
i.e. both sides with gobs of lube which has
the consistency of honey. |
 |
|
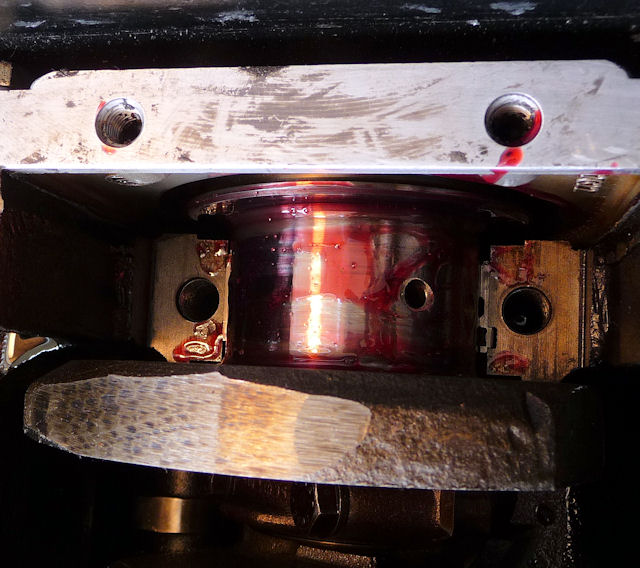
And we did the
same to the crank face and sides. |
 |
|
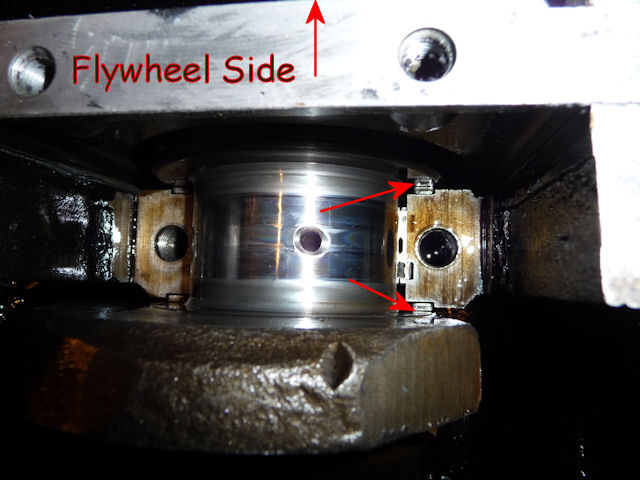
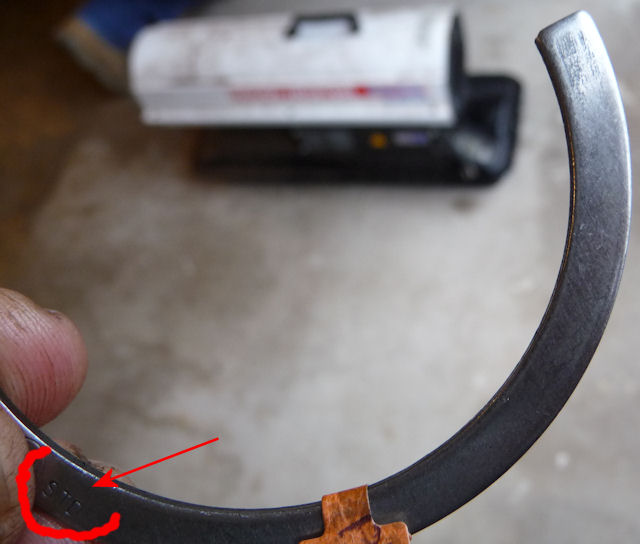
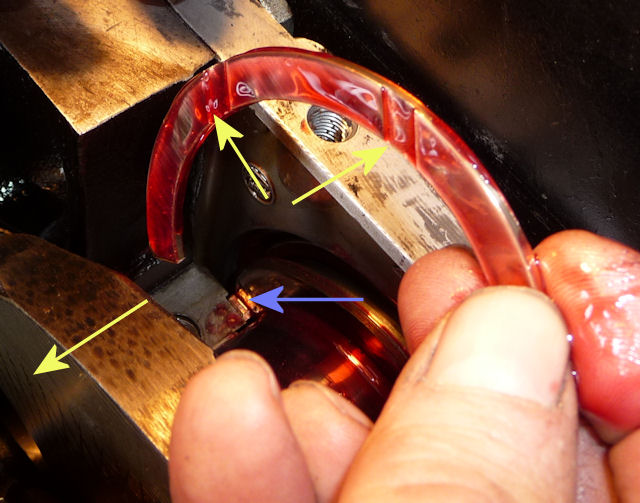
The blue arrow points to the rear TW which
is already in place. The yellow arrows point
to the groove and the direction this TW will
face. The grooves face away from each other
so the rear TW has the grooves facing to the
rear of the engine and the front TW has them
facing the front of the engine. |
 |
|
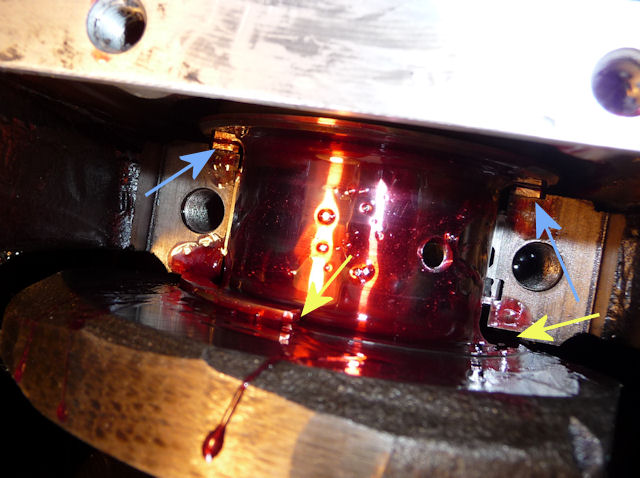
The blue arrows show the rear one in place
while the yellow arrows point the the front
TW half way in and the opening where it will
wrap around to. |
 |
And that's it. Pretty easy
to do with the engine out of the car and not too
difficult to do with the engine in the car. The hardest
part is probably removing the oil pan!
|