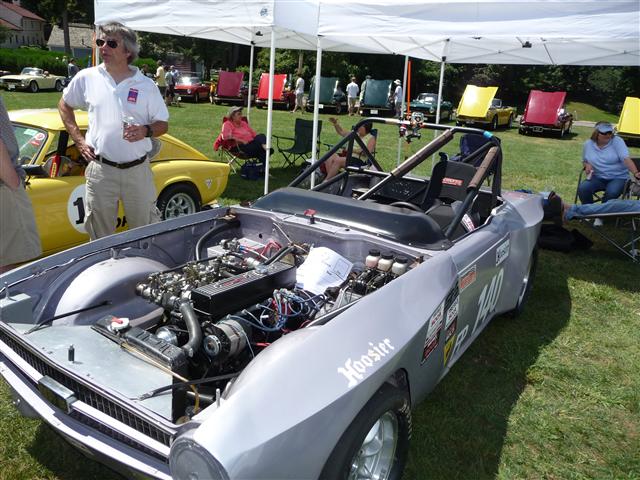
Bob Lang is best known for
his car building and auto-cross talents and he recently
shared one of his tips with the Triumph Mail
List...........he called it "Blueprinting Your Oil Pump"
and he's found that it will raise your oil pressure 10
psi everywhere! If you're dropping your oil pan for any
reason, you should take an extra hour and try his simple
fix.
That's Bob Lang and his very cool Auto-Cross TR6
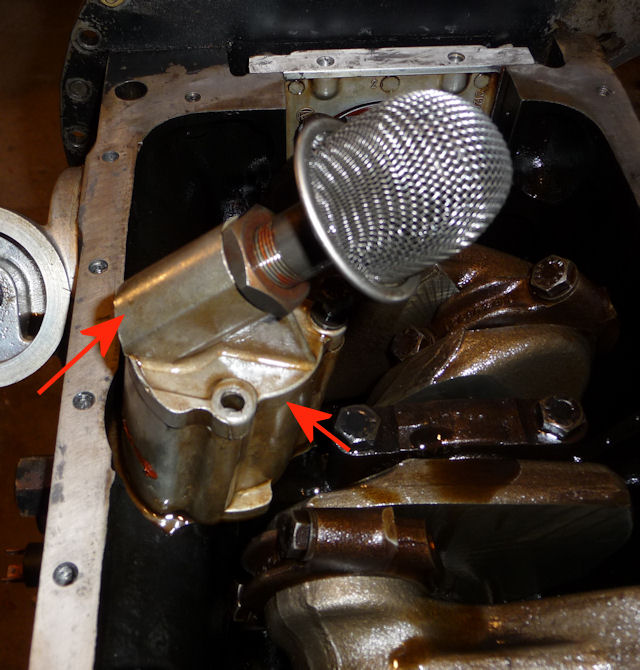
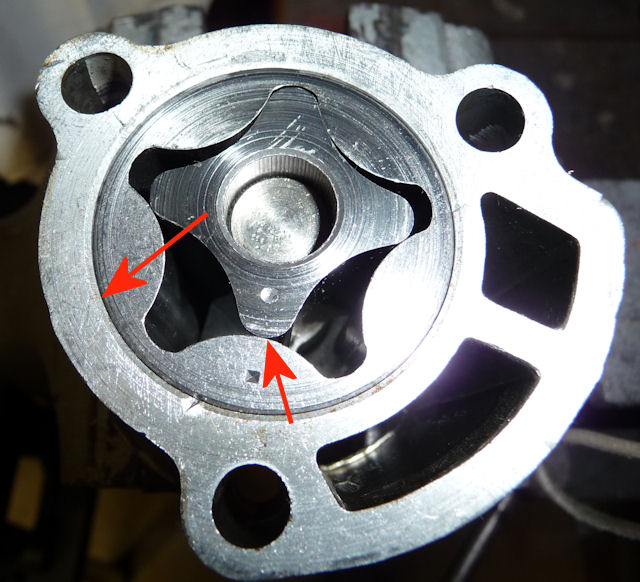
Here's
the oil pump still in the engine with the arrows
pointing to the part we'll be working on.
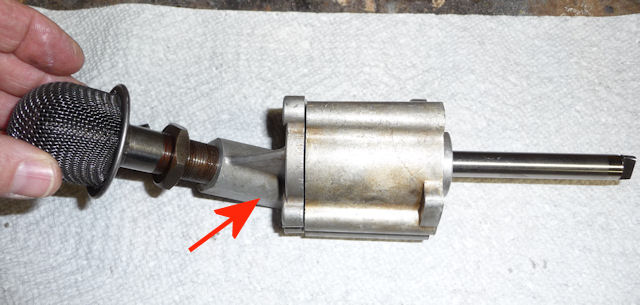
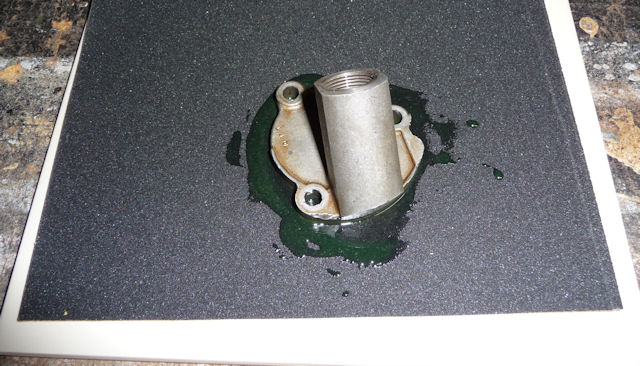
What
it looks like out of the engine
And
pulled apart with that red arrow still pointing to
the piece in question.
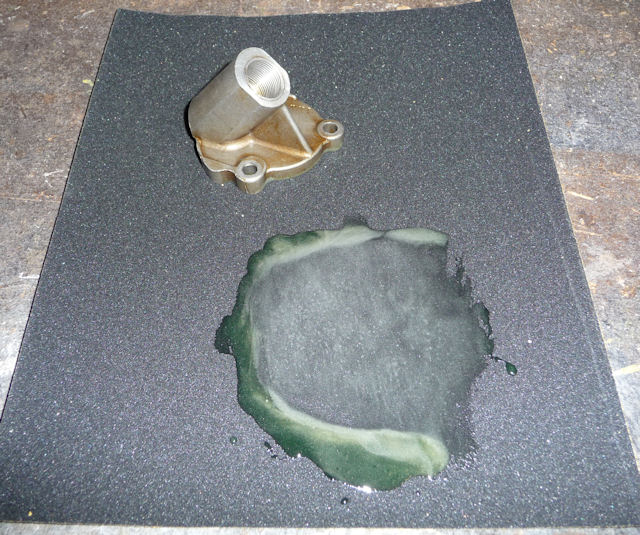
Here
you can see all the scoring on the face of that
piece.
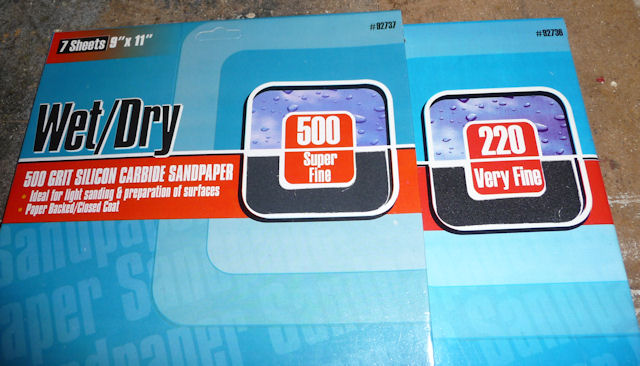
I
ended up using just the 500 grit paper
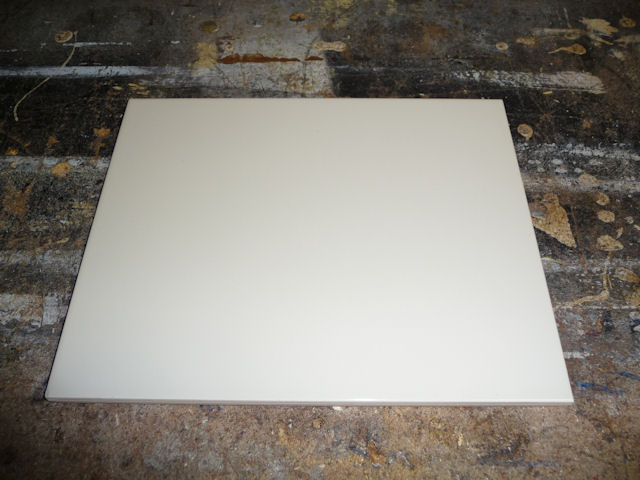
You'll need something perfectly flat so I spent a
buck and bought a 12" ceramic tile.
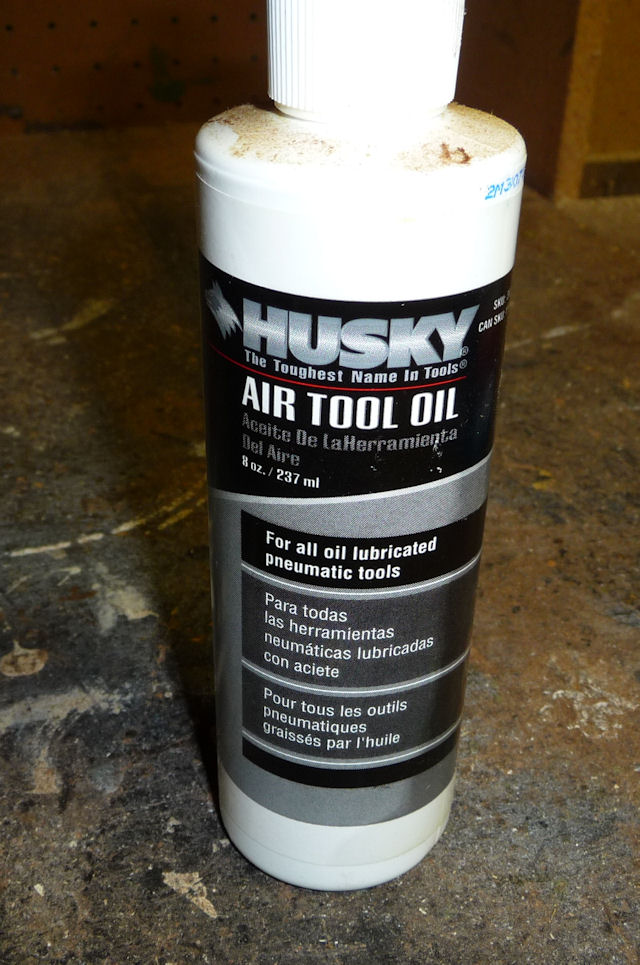
At
first I used some regular oil but found it to be
too thick.
Hold
it nice and flat and work it back and forth and
side to side......
The
oil was a little too thick..........the 50 degree
basement didn't help any!
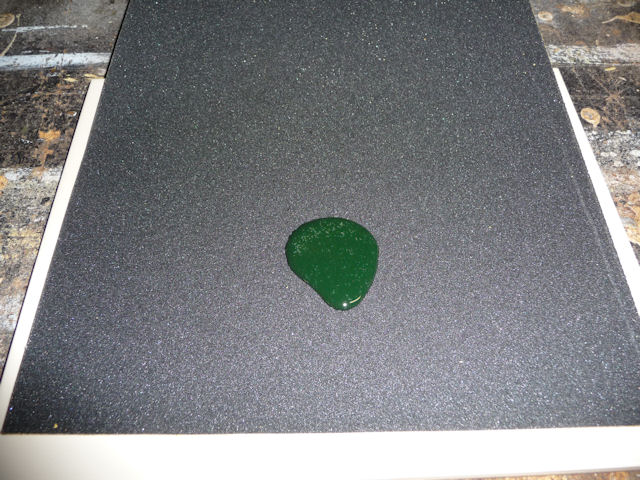
So I
switched over to air tool oil which is much
lighter.
It
took about 5 minutes to get to this.............
after looking like this!
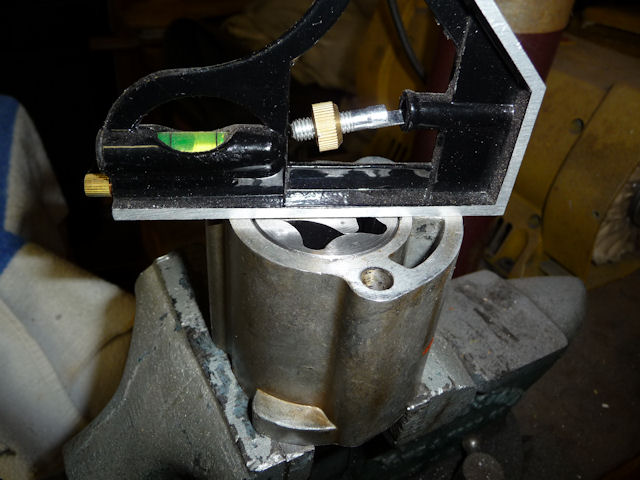
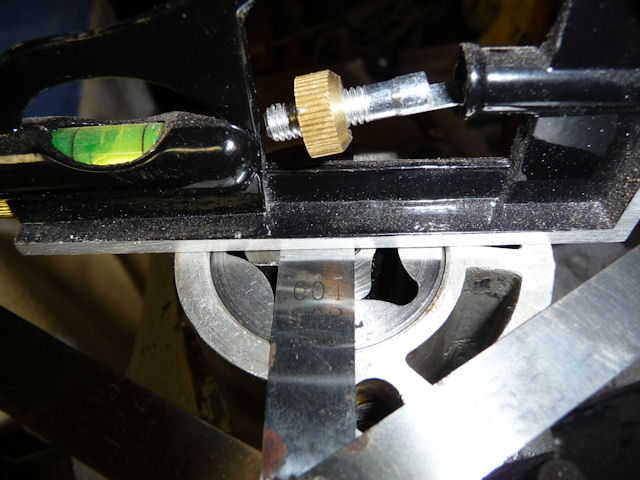
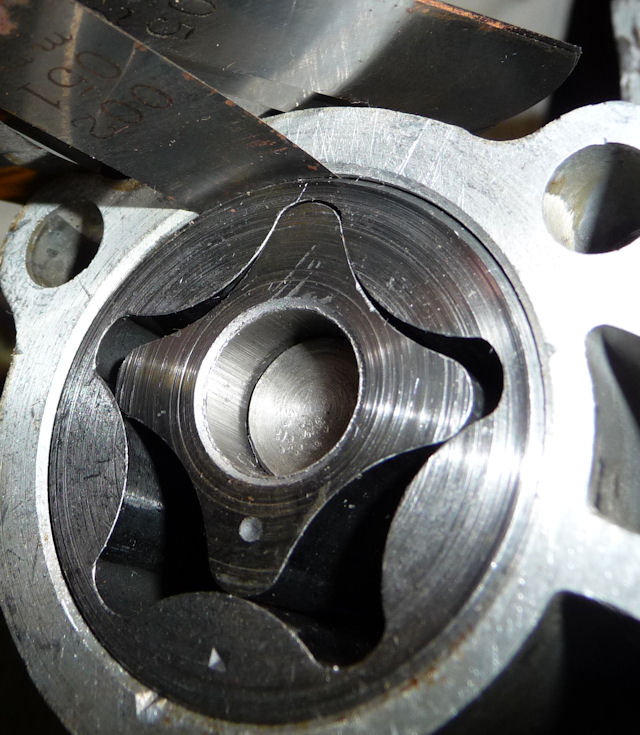
Next
up was to check all the specs..... this was my
straight-edge
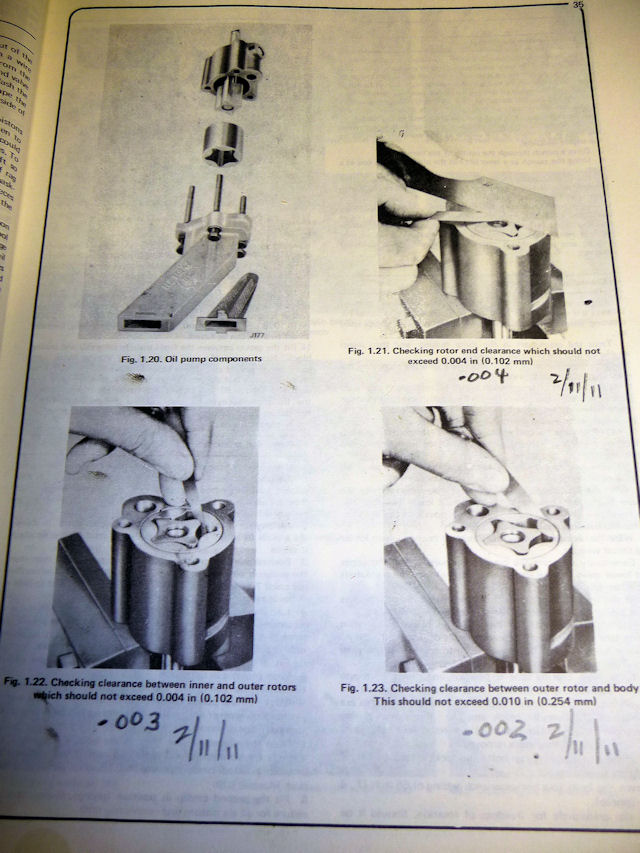
The
rotor clearance shouldn't exceed .004" and I was
right at .004"
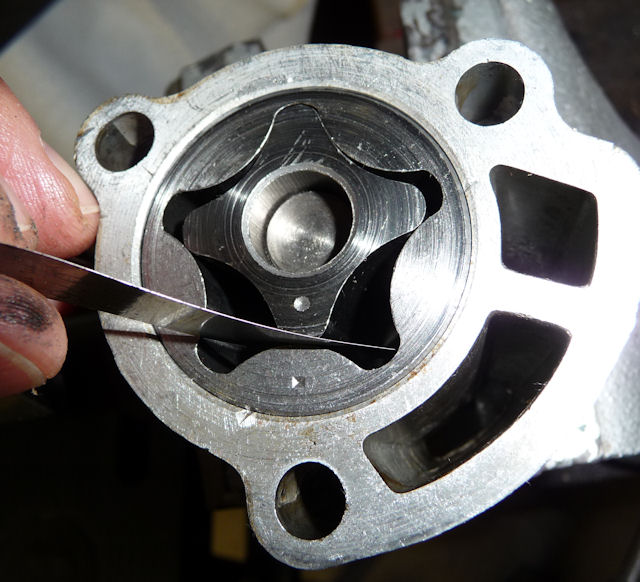
The
next two points to measure are the inner to outer
rotor and the outer rotor to body clearances.
The
inner to outer rotor shouldn't exceed .004" and I
was at .003"
The
outer rotor to body shouldn't exceed .010" and I
was at .002"
I
ended up writing it all in the manual with the
date for future reference.
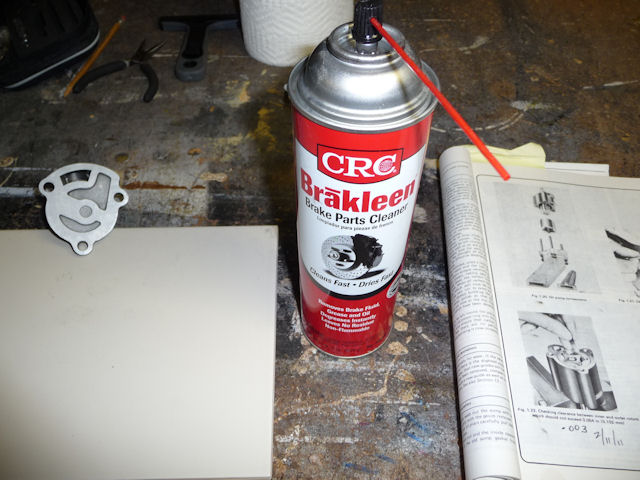
The
thing to do is to give it all a thorough cleaning,
multiple times, to make sure now of that sandpaper
grit is left behind!
As I
get closer to re-installing my engine I'll add
more pictures on priming the pump and installing
it.
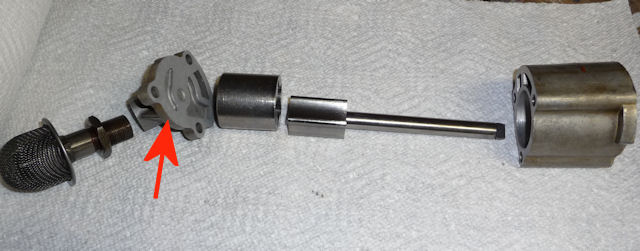
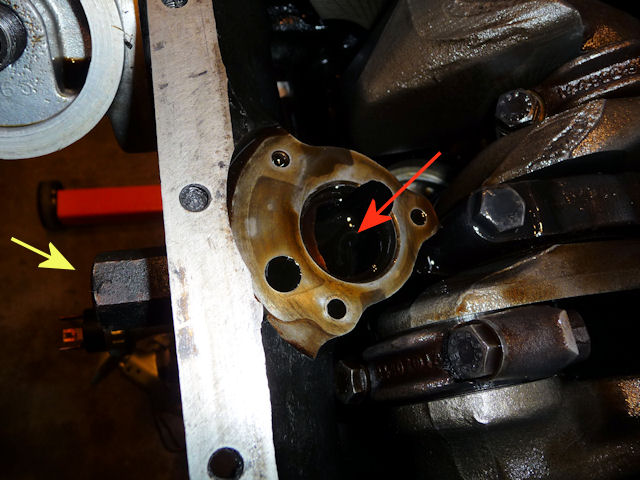
The
yellow arrow points to the Oil Pressure Relief
Valve (OPRV)
which I documented in another section on my site.
As part of this new work I replaced both the
piston and the spring in the OPRV which is a very
cheap fix. I forgot to take a picture of the
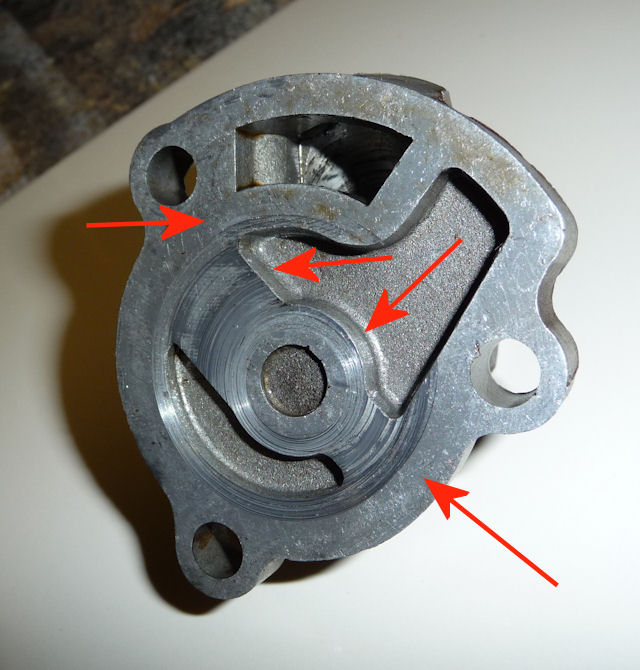
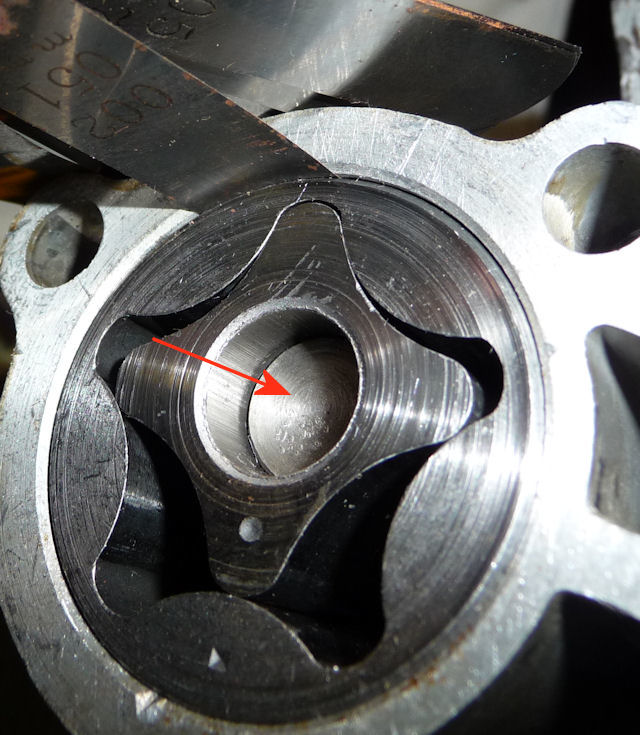
recess in the gear Oil Pump shaft sits in. So look
down in to the OP housing base (red arrow) and you will see a
round piece with a recessed slot in it. The OP
shaft has a corresponding "tang" that will fit in
to that slot.
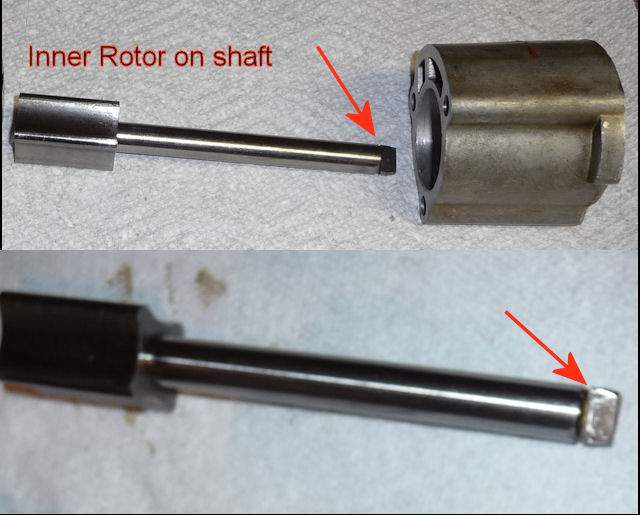
When
you're assembling the OP back into the engine,
make sure you rotate the inner rotor until that
tang on the end of the shaft drops into the slot
that's in the housing base. If you've done it
properly the OP housing will sit flush with the
housing base.
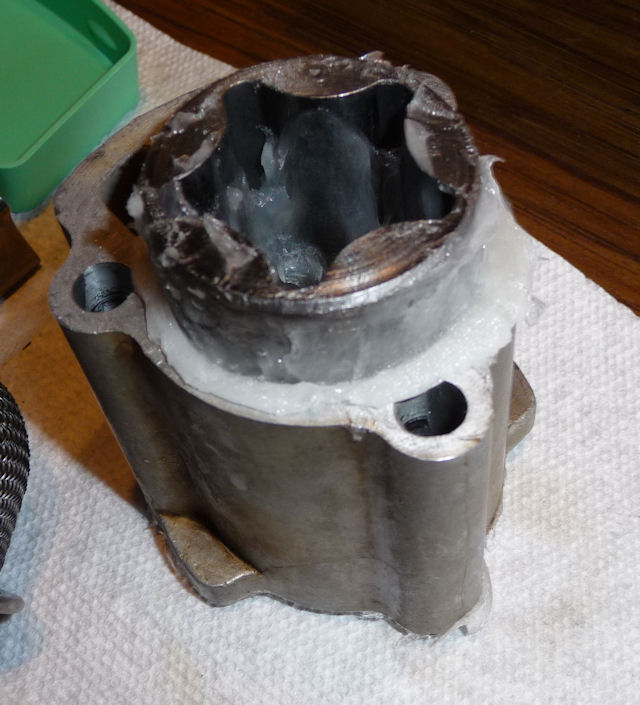
Here's
the other end of the OP shaft as it normally sits
in the inner rotor. This is nothing more then a
pressure fit. If the bottom of the shaft isn't
properly recessed in the slot and and you tighten
the bolts holding the OP in place, you will force
the housing down and push this shaft up into the
inner rotor. Everything will look fine but the OP
won't be engaged with the engine and will not
work. If you've done it right, you will feel the
shaft drop into the slot in the bottom of the
housing base.
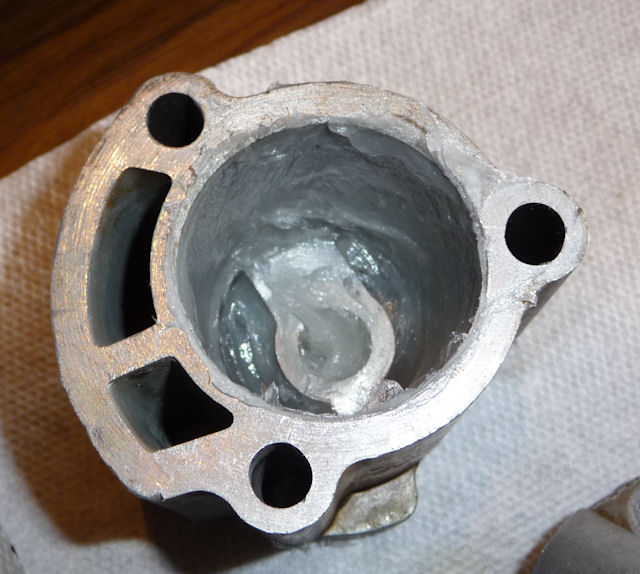
I
used good old Vaseline for packing the OP
And
I packed it up real full........ it'll will
naturally dissolve once the engine is running.