Winter 2007- 2008


 TR6 Home


Brake Upgrades

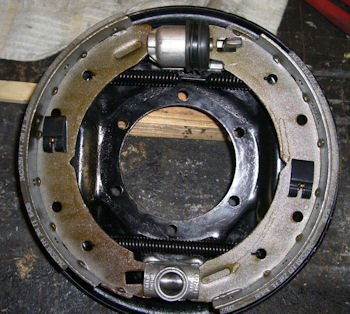
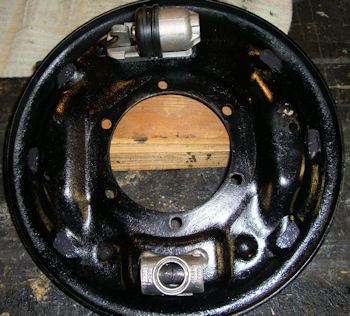
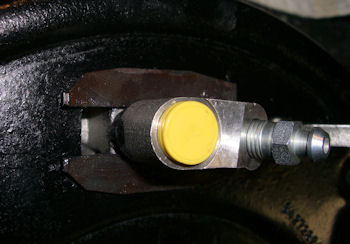
Alloy Drums & Rebuilding Rears

I was planning on doing a detailed write-up of how I rebuilt my brakes but why re-invent the wheel. Buckeye Triumphs has decided to put all of their terrific technical articles back on line and they had a better brake section then I could ever hope to do. I do, of course, have some 
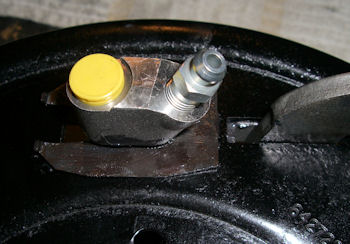
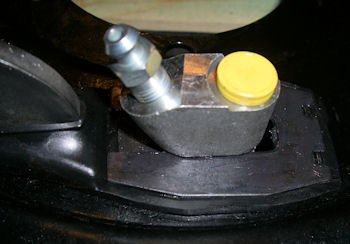
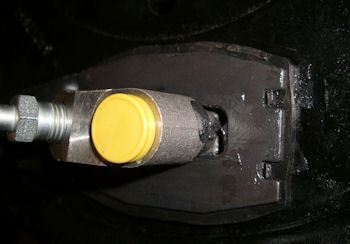
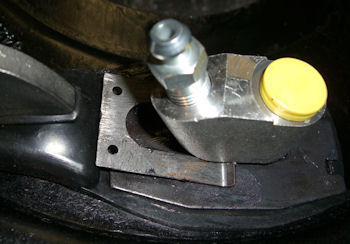
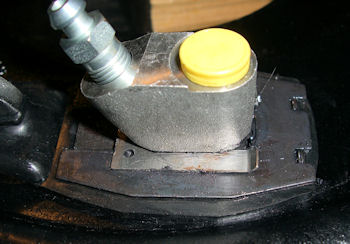
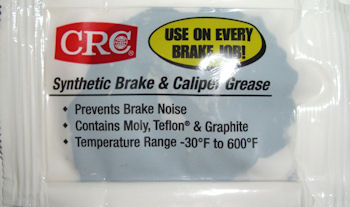
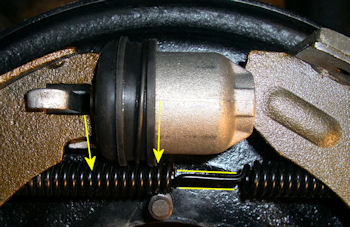
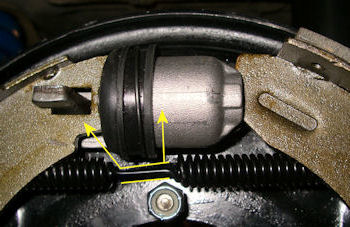
pictures to clarify a few steps of the process.

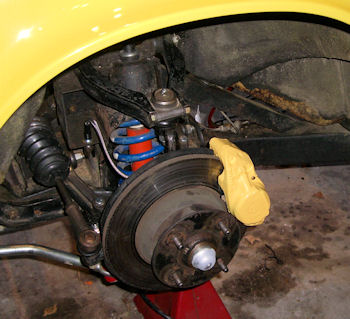
The only disappointment I had with this project was with the POR-15 Caliper paint. I've had terrific results with their other products but the yellow paint just didn't give me the coverage that I was hoping for. It took me 5 coats to get the yellow to cover most of the silver base coat they have you put on first and it still shows through a little on raised edges. I finally decided that once the alloys are back on the car, no one will probably even notice.

Rebuilt Calipers from TS Imports All assembled on the work bench
Cylinder & Adjuster in place E-Brake arm goes in after 1st locking plate
Two views of the 1st plate
The second plate slides on from the opposite direction and locks to the tabs of the first plate. Once
I had the second plate on, I installed the black dust cover that you can barely see here. The Buckeye
article said to install it after the 1st plate but I found it stayed in place better with the 2nd plate on.
While the first two plates can be pushed on by hand, the locking plate needs to be driven on with
a hammer and a punch or screwdriver. Now make sure the cylinder can still slide back and forth.
A better view of the dust seal. This is the grease I used.

And here's my Oops for the rear drums. I didn't even realize that I had made a mistake until I was installing the back plate on the car. I did the left side first which was no problem but when I did the right side, the top spring got in the way of the nut. It took me a while to figure out what was wrong. Evidently there's a right and a wrong way to install the top spring. That spring has a short spring section and a long spring section with a space in the middle. That space is there so that the spring doesn't rub on the rubber cylinder cap.
This one is backward and the spring will rub Here's  how it should look

I also found it's much easier to install the brake pipe to the cylinder off the car. I screwed it in snug and then backed it off a little so the pipe could rotate. I slid it all in place as a unit (back plate & pipe). Because the inner connection is to a flexible hose, it's pretty easy to line everything up and tighten it down.

So this complete brake overhaul included the following with the majority of the parts coming from Ted Schumacher of TS Imports:

  • Rebuilt Calipers

  • Rebuilt Servo

  • New Master Cylinder (last summer)

  • Oversized rear cylinders

  • Kevlar pads and shoes

  • Braided brake hose

  • All new springs and clips in the rear

All told I disconnected about 24 brake connections which had me concerned about leaks during re-assembly. When the bleeding moment of truth came, I had 5 leaks and 4 of those were fixed by a little extra wrench. The 5th one required taking the left front line apart & doing some cleaning which fixed the problem.

It'll be another couple of weeks before I can drive the car to test the new brakes but I'm anxious to see if I got the big improvement I am hoping for.