|
Boyd Welding
Now that I had the mock up
and drawings completed, I needed an experienced company
to make the tank. One of Forum members posted a picture
of a tank made for him by
Boyd Welding out of Florida.
Forget their web site.......spend some time and browse
through the pictures on their Facebook page! These
guys make beautiful tanks ranging in size from 1 quart
to 5000 gallons. And all they make are custom aluminum
tanks........
As usual, there were guys
who knew guys who heard about the guy who had aluminum tanks
crack due to the flexing of the TR6 frame. Along with
warnings that bending aluminum to make a bracket
will crack..... so when in doubt go right to the source,
which in this case, was owner Dave Boyd. Here's the
short version of our conversation:
- They’ve been in
business 7 years and do nothing but custom gas tanks
ranging in size from 1 qt to 5000 gallons. The
made/sold 10,300 last year and over 60,000 in the
past 7 years.
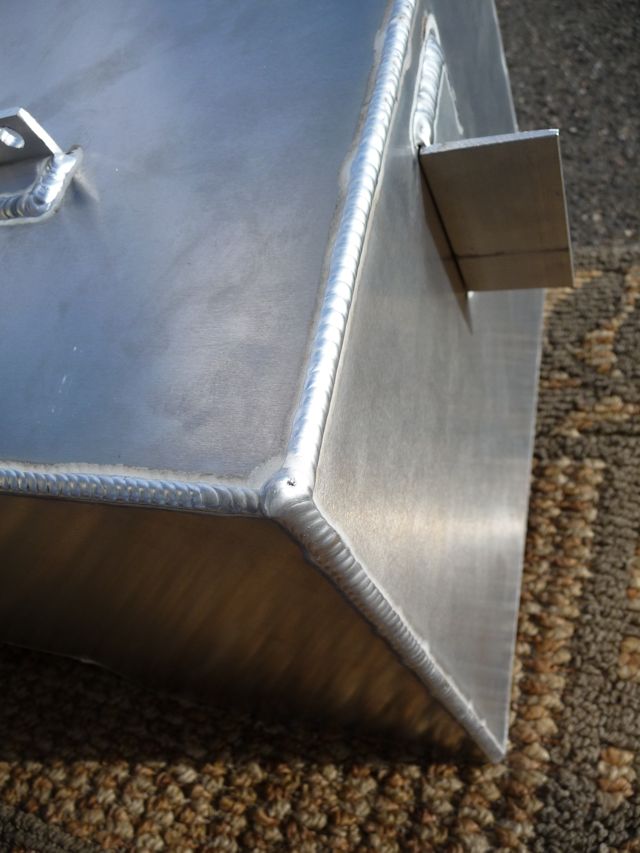
- Tanks or brackets
breaking from metal fatigue is caused by improper
materials and poor welding quality. He has not seen
this as a problem with his tanks which are built to
the highest standards.
- Tanks are made from
.125” 5052 H32 Marine grade high vibration resistant
aluminum
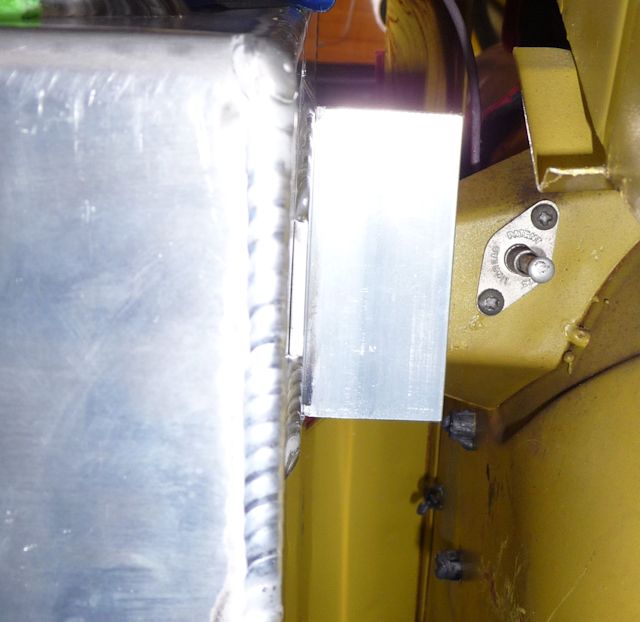
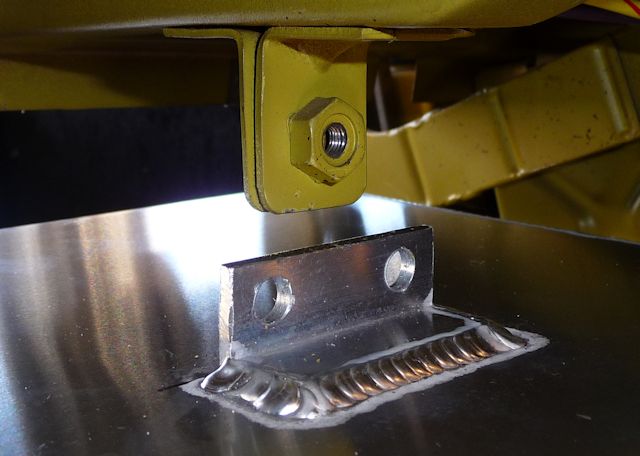
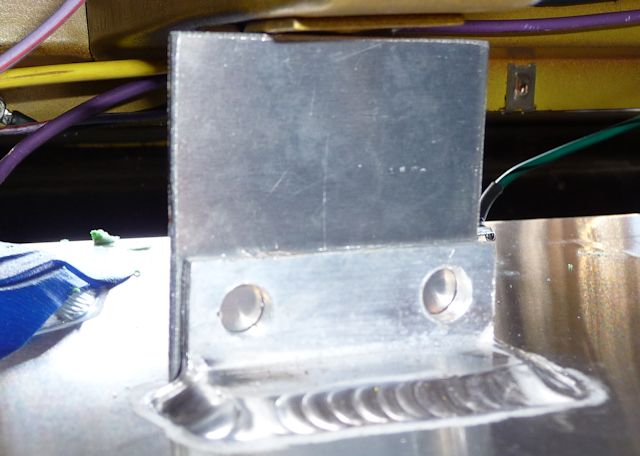
- The brackets ARE NOT
bent on a brake. They are 6061 T6 aluminum that is
already an angle created by being drawn through a
die in the manufacturing process.
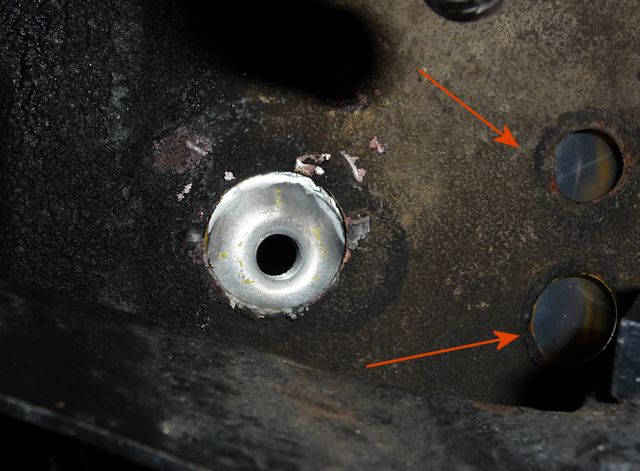
- He was concerned
about having slotted brackets and we decided that it
would be best left to each of us to drill the
bracket holes which will make for the most secure
mount.
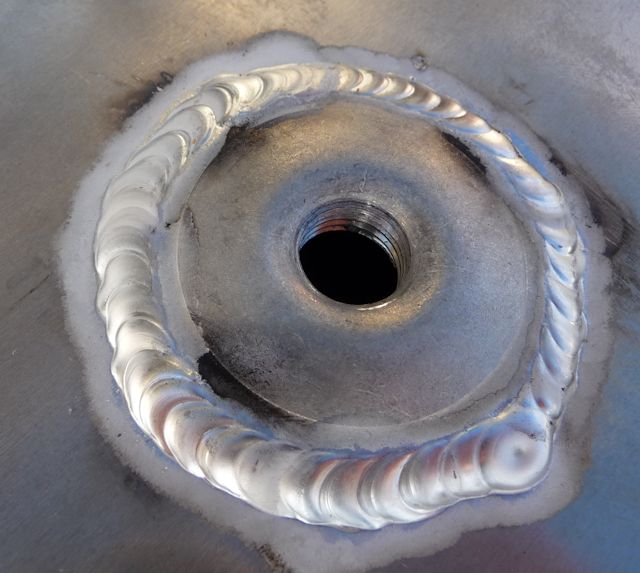
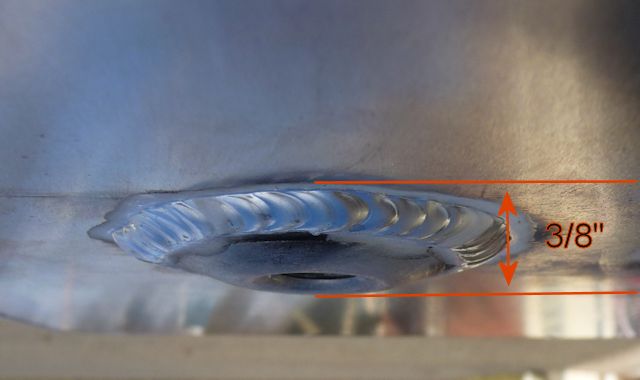
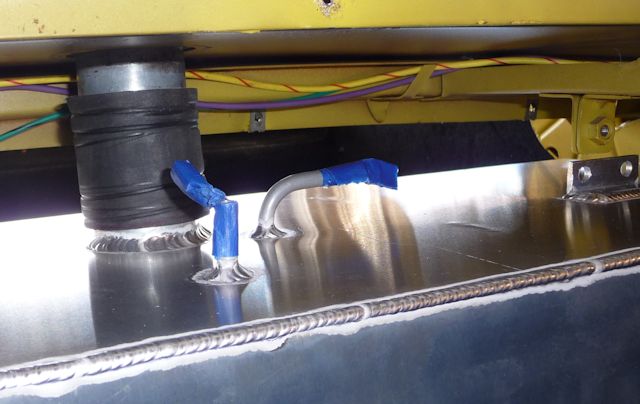
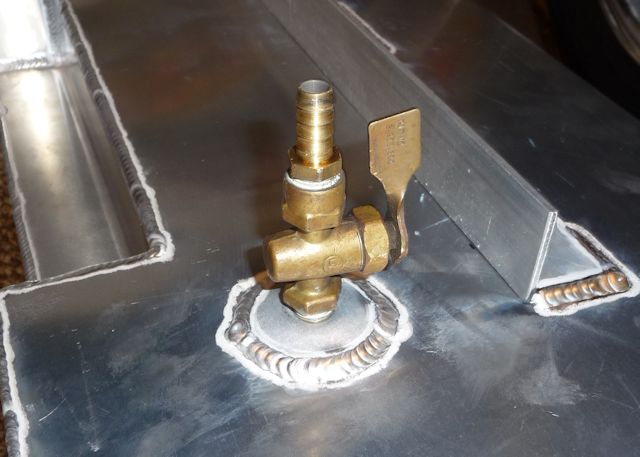
- Outlet bungs will be
NPT fittings.
- No need for a Zinc
Anode kit in a gas environment but if he was
building an inter-cooler tank, you could use one.
I sent Dave the drawings
which he entered into a 3D drawing program to confirm
that all the measurements "made sense and added up". At
this point I've got 16 Forum guys ready to buy the tank
and some are already calling Dave Boyd. We decided that
he'd build my tank first to confirm that everything fit
and then release it for production. So on January 30th I
gave Dave the go ahead to build the first tank based on
my drawings and measurements. Normally, they go from
drawings to completion in 10 business days
but.........they got hit with a 250 tank order
from 3 of their largest production customers that had to
be done in a very short time frame.......... no problem
with me as it's the dead of winter and we got dumped
with over 3 feet of snow!
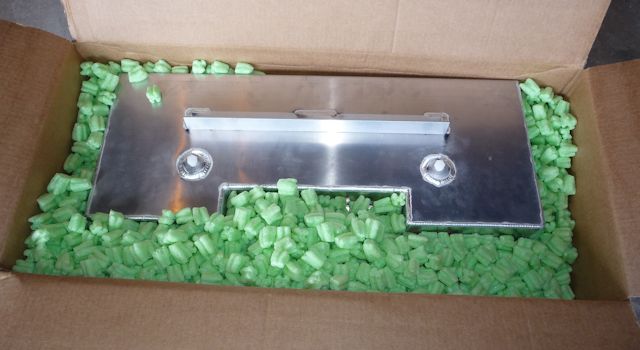
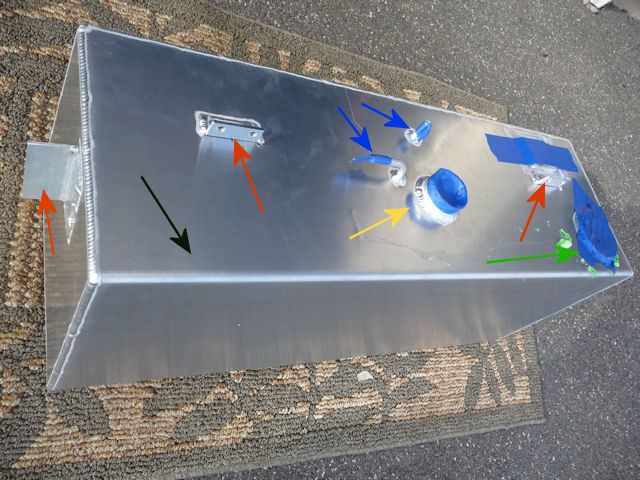
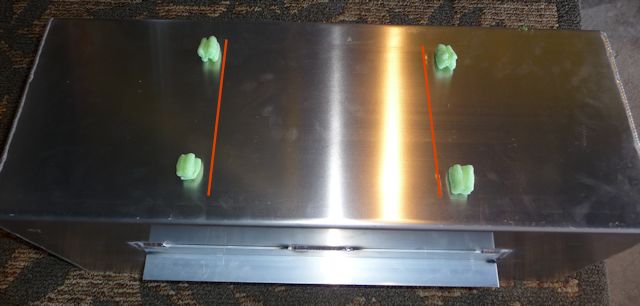
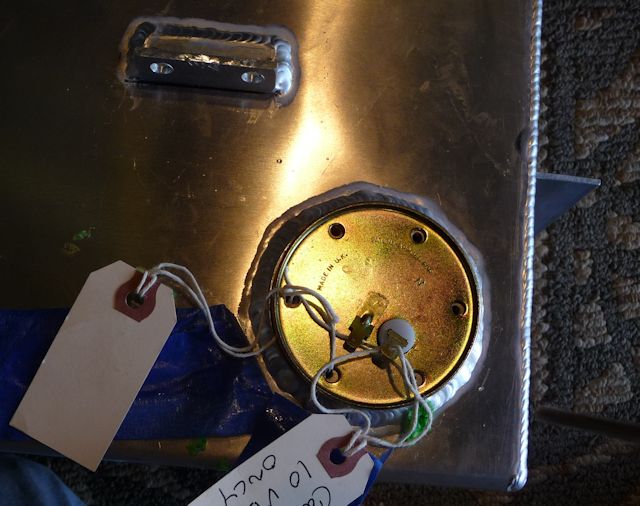
On Monday March 4th I got
home about 3:00 PM and a big box was sitting on the
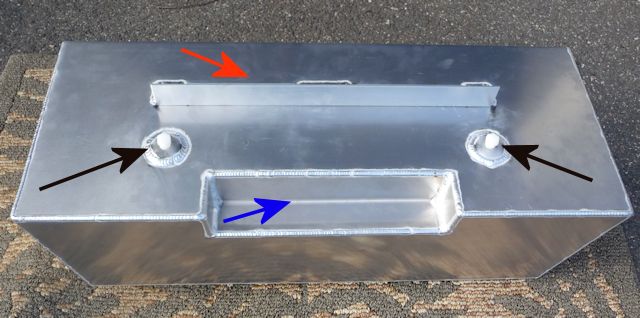
front porch......... the tank had arrived. I was very
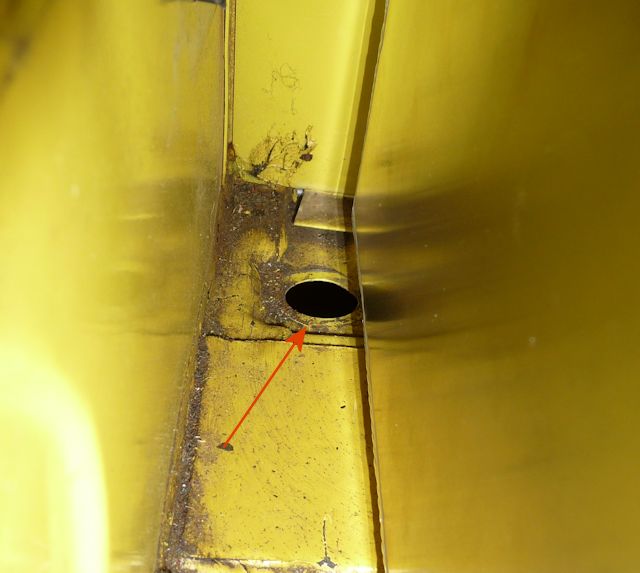
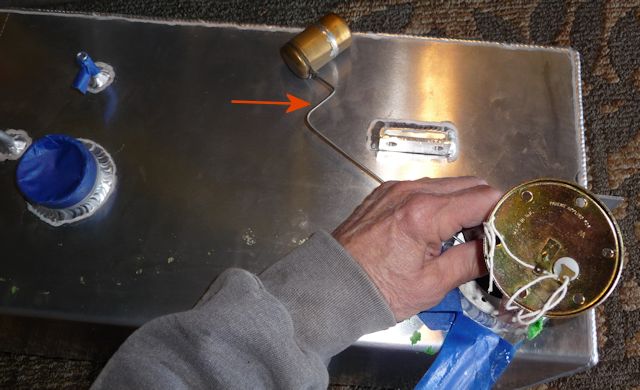
confident about the design fitting and all the mounting
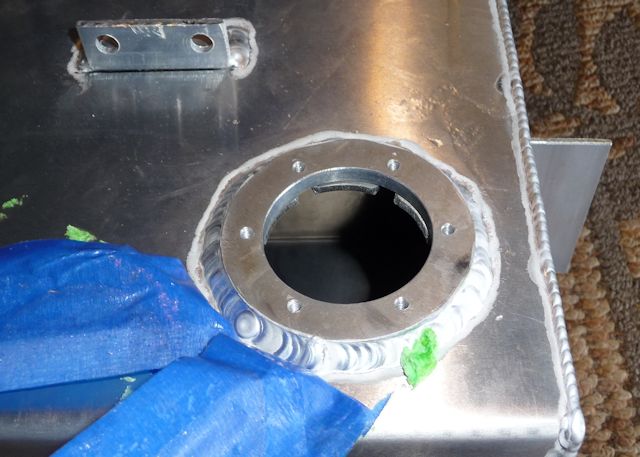
points lining up but I was nervous about the filler
location due to it being installed on a slight angle to
line up with the filler cap and hose.
Now that he's built the
tank and understands all the strange shapes and weird
angles of everything, he determined a final price of
$475 (Part #14020) plus shipping. Keep in mind that a stock aluminum
tank from Moss & TRF sells for $620 - $700 plus
shipping. He also has a Fuel Injected version that
includes an in tank fuel pump for $775 (Part #14021)
plus shipping. Obviously these
prices are as of March 18, 2013 and could change by the
time you're reading this.
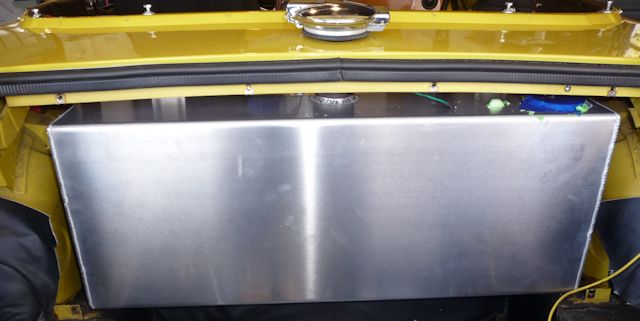
Let's get this tank
installed!............
|