This is one of those projects
that my wife likes to call....... Done In A Day! And it
only cost me $2.27 at Home Depot. And if you have a
friend who wants to do the same thing, you can split the
cost as there's enough product to make two! What's the
last TR6 project you did for $1.13?? I've always wanted to
cover the lower grill opening but couldn't find the
right material to use i.e. diamond pattern, flexible and
cheap. Everything I came across was the really
heavy duty stuff that some folks use as a grill
replacement that makes your car look like a Bentley.
Then one of the guys in
The
6-Pack Forum posted that he had found the cheap
solution that was as close as your nearest Lowe's or
Home Depot.
BTW...... if you've never
visited or browsed through the 6-Pack Forum, you're
missing out on the best source for help and information
about the TR250 & TR6 out there. It's free to join the
Forum, so check it out!
So what is this magic
material that I used? Hint: You probably have to live
where there are Deciduous
trees to find this
product.
Lowe's
sells them packaged for $10 while Home Depot lets
you buy single ones for $2.27............
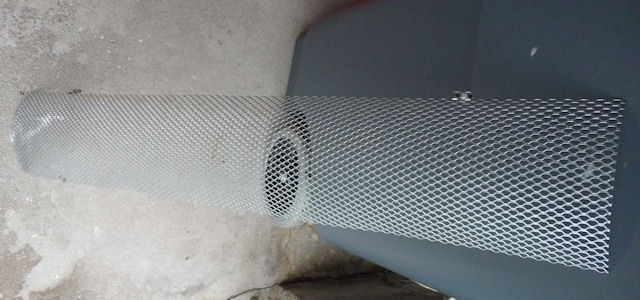
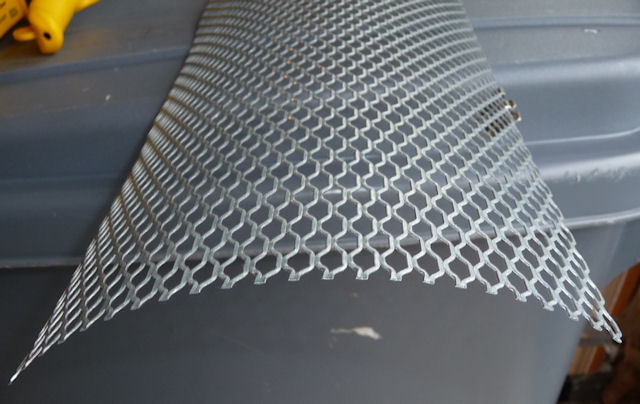
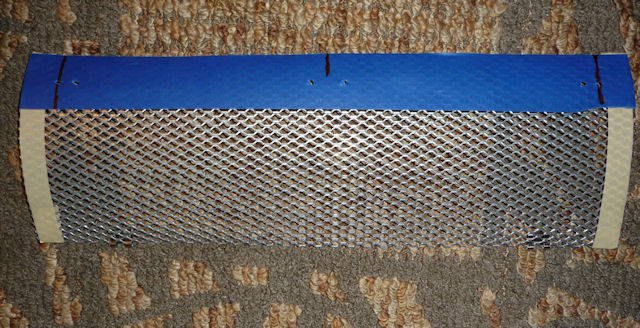
It measures 6" x 36"
and comes curved which worked out great..........
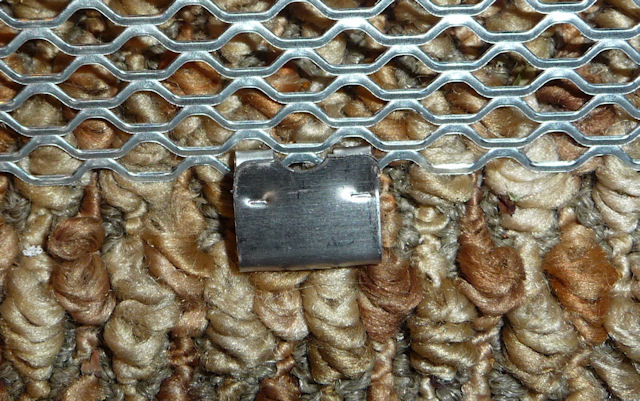
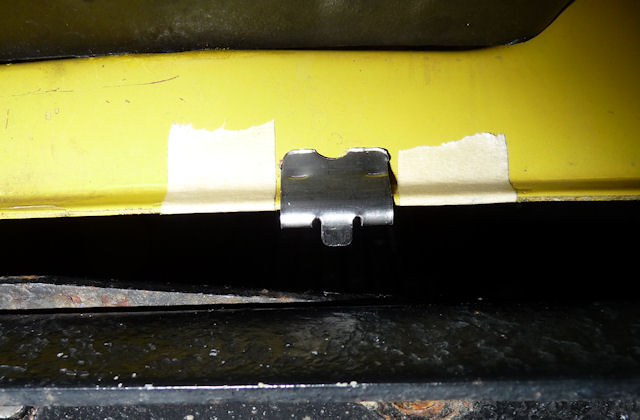
And it comes with two
clips that ended up being perfect for my use......
Figure it out? It's aluminum cutter guard to keep
leaves out of the gutter
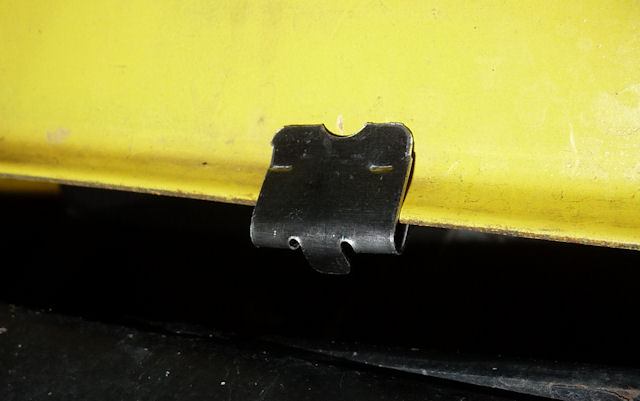
The clips fit right
over the lower valance (?) to hold it in place at
the bottom.
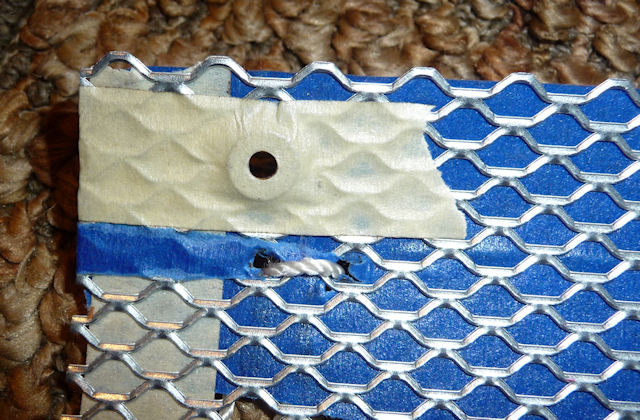
I cut
it in half as 6" x 18" is all you need. The
masking tape on the ends was used for alignment
and won't be seen once installed. The blue tape I
used to locate the holes I had to drill.
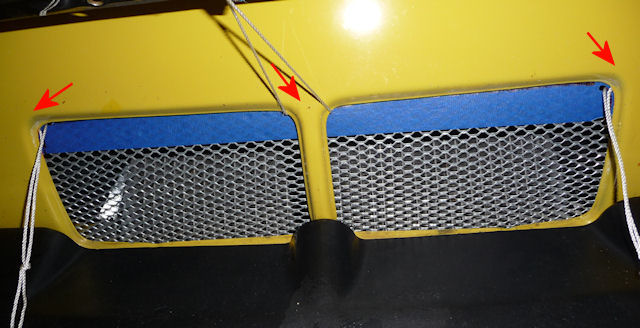
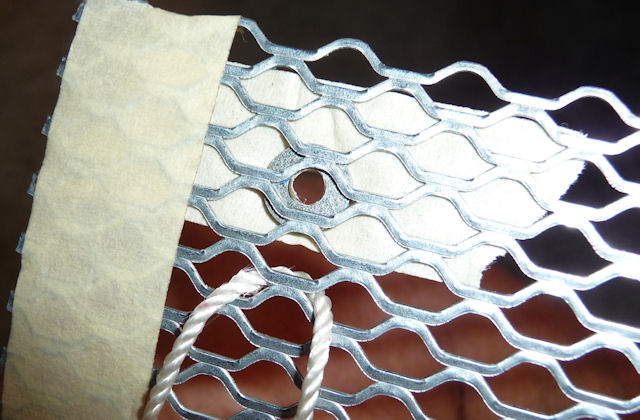
The
grill goes in with the curved ends away from the
front and clips on to the bottom of the valance.
Then I used some cord to pull the top edge in
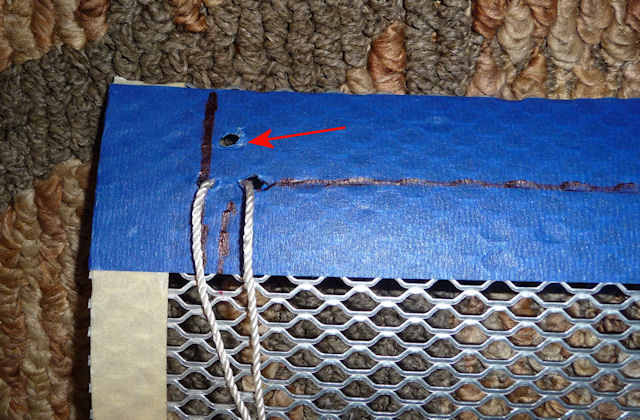
against the car. Holes were drilled where the
arrows are pointing and then I used an awl to poke
a hole in the tape to mark where I had to put a
washer.
I also
marked the clips with tape so I could get the
grill positioned correctly after I removed it for
the next step.
There's the hole from the awl.
On
the back side I placed a washer over the hole.....
And
tapped it in place.........
This is
the side that goes against the car. Once I put the
grill back in car, I used a pop rivet with a 1/2"
grip to grab the washer and secure it in place. If
my radiator shroud was removed I would have used a
nut & bolt but I didn't feel like pulling the
shroud off of the car.
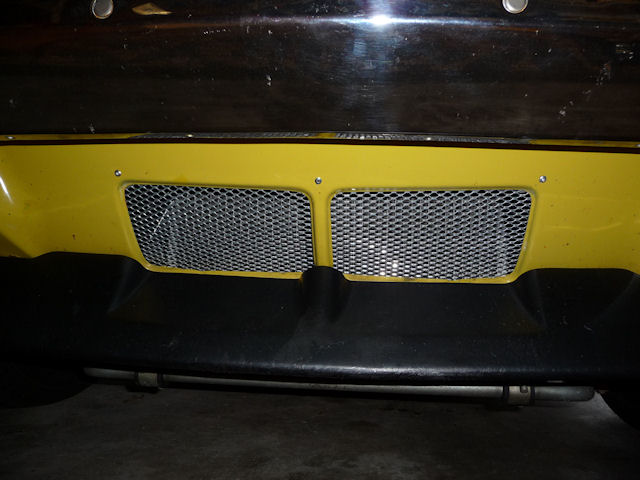
Here's
what it looks like installed. Those rivets are
1/8" with a 1/2" grip and a 1/4" head. I may or
may not hit them with some touch up paint. No
rivets on the bottom as the clips hold that firmly
in place.