|
Components |
 |
So now
that I figured out what I wanted to do and had the
needed parts, it was just a "matter" of measuring,
fitting, testing, fitting, measuring, fitting,
painting and assembling!
|
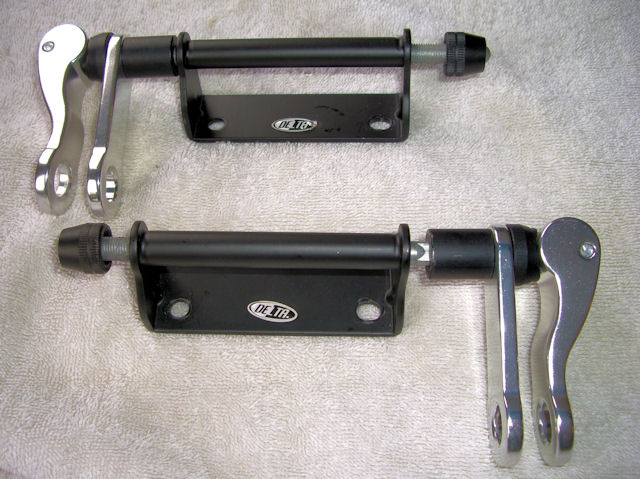
These are the
Delta axle blocks that I bought. They even
accommodate a padlock. |
 |
|
S/S hex bolts and
a fender washer to spread the load over the
aluminum bar. |
 |
|
And nylock nuts
to hold it all together. |
 |
|
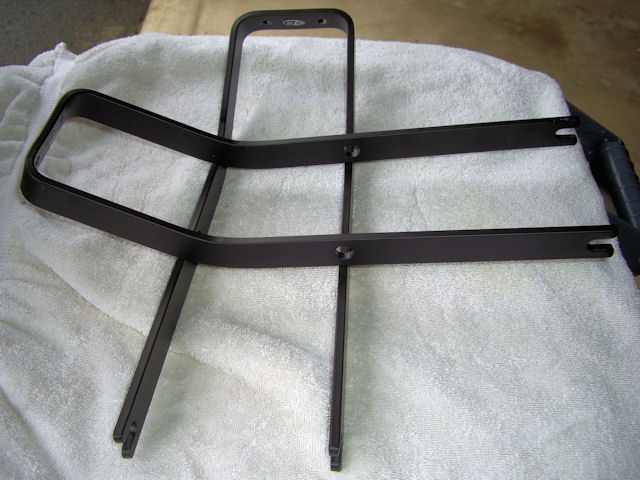
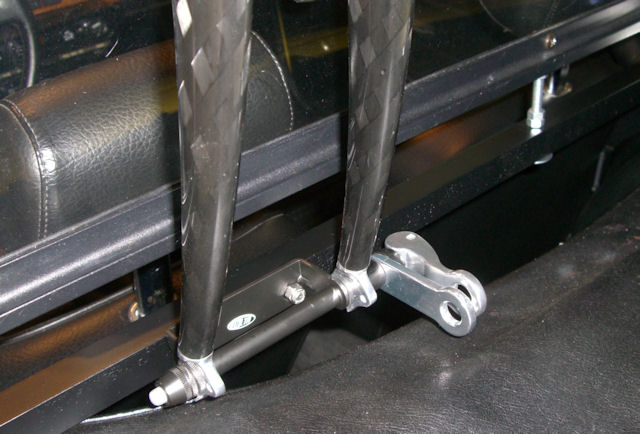
The aluminum bar
mounts under the wind blocker brackets and
utilizes the windblocker's mounting points.
I only had to buy longer S/S hex bolts. |
 |
|
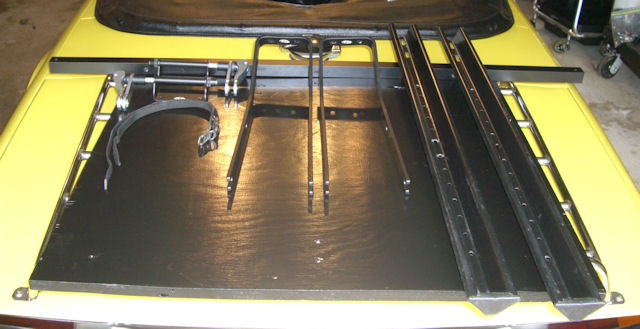
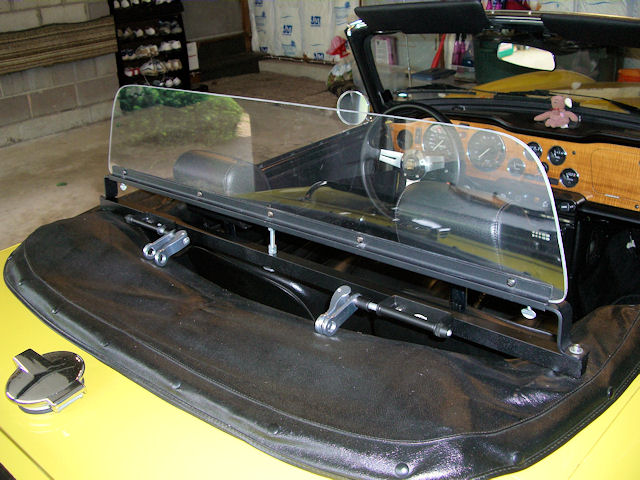
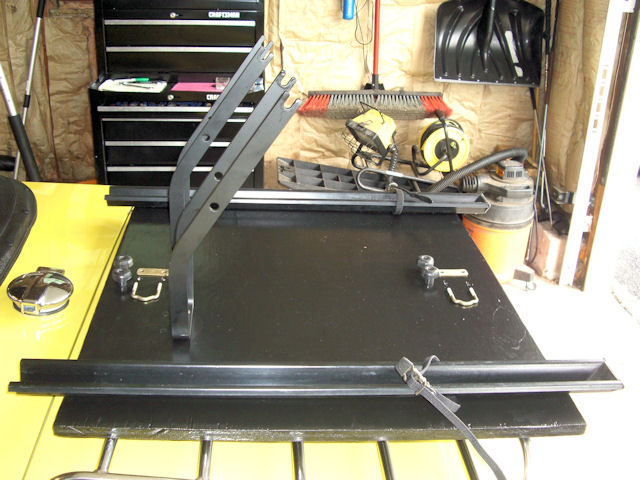
Here's the wind
blocker in place with the bike rack mounted
under it. The bolt in the middle of the wind
blocker is explained below. |
 |
|
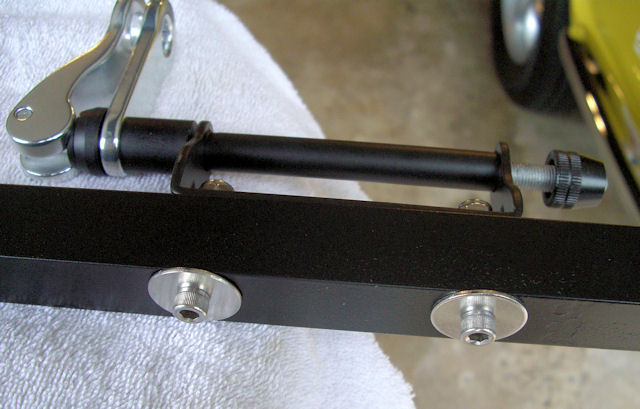
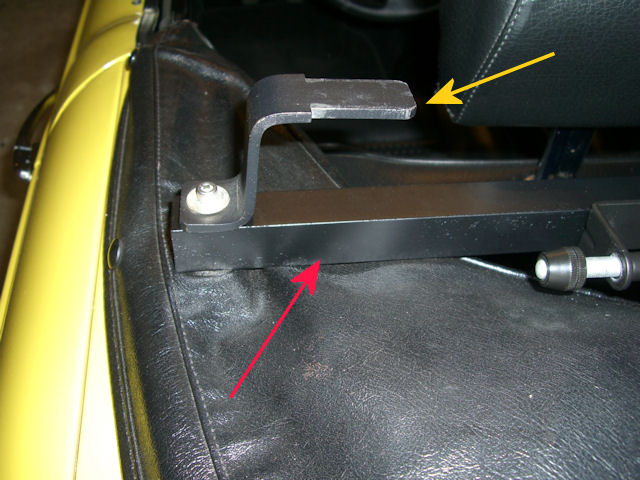
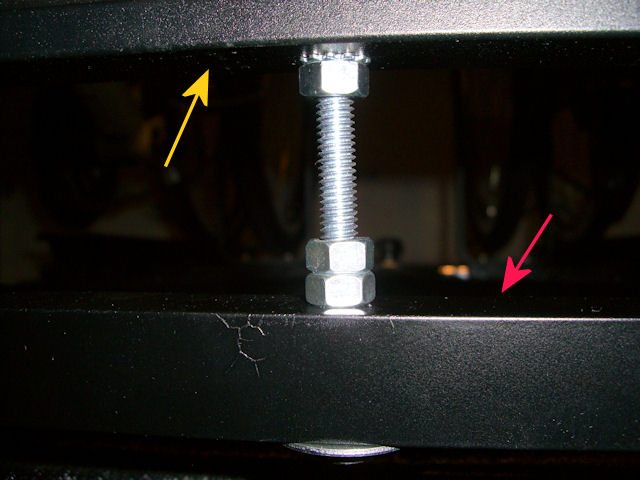
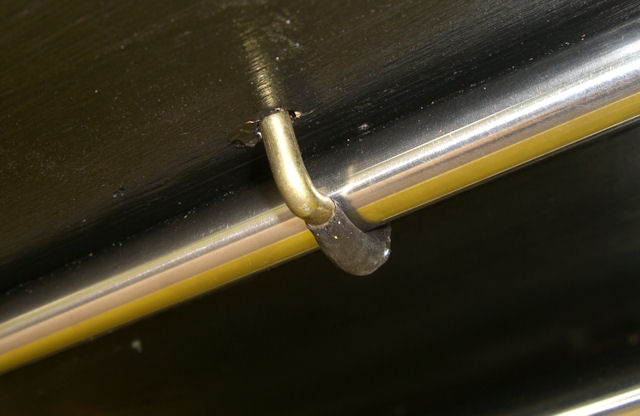
After doing my
initial test mount of the bikes I noticed
some slight flex in the aluminum bar. Seeing
as the wind blocker frame is very ridged, I
decided to drill and tap the bottom of the
frame and use a bolt through the rack's tube
(red arrow) and screw it up into the frame
(yellow arrow). The double nuts ensure that
the it won't flex and slap against the
bolt's washer. |
 |
|
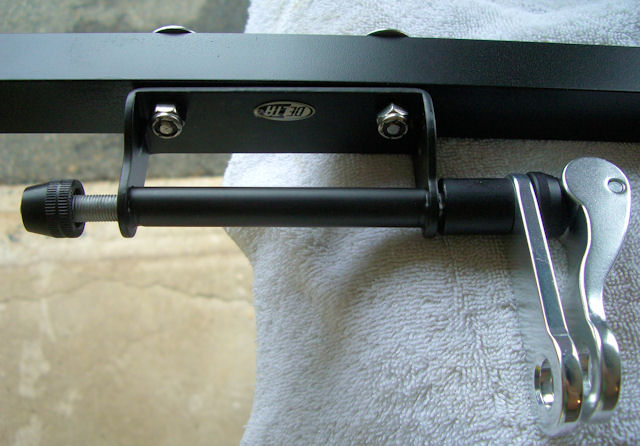
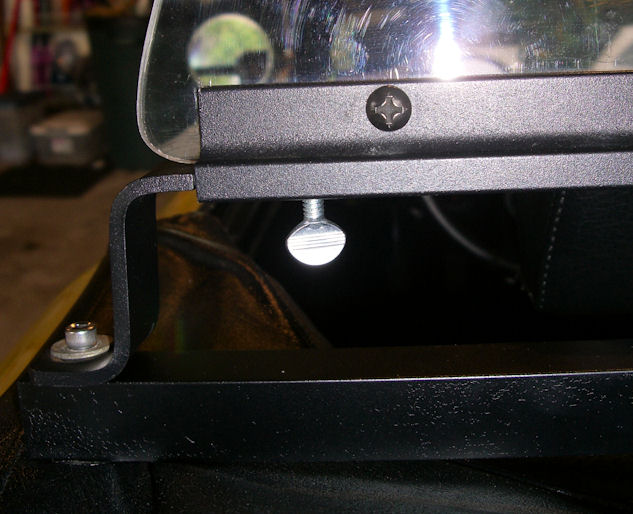
I also added
these thumb screws to the ends of the wind
blocker frame. |
 |
OK......... that takes care of the front part of the
rack. Now for the supporting pieces for the rear of
the bike. I had an old Thule upright bike rack that
mounted on the car roof with the bike's tires
sitting in a U-shaped metal runner. The bike rode in
an upright position just like I wanted for the TR6.
Even better, each runner was made up of two 32"
pieces bolted together and that worked perfectly for
my needs. I just unbolted one and had my two
runners.
|
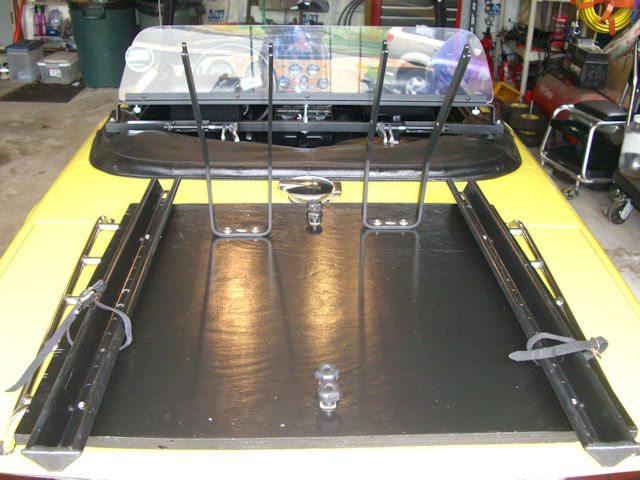
Here's a rear
view of the runners bolted in place. |
 |
|
And here's one
from the side |
 |
|
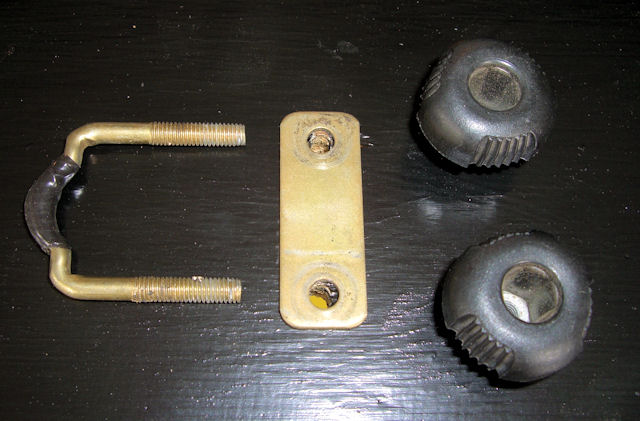
These are the
Delta wheel hitches that I bought. |
 |
|
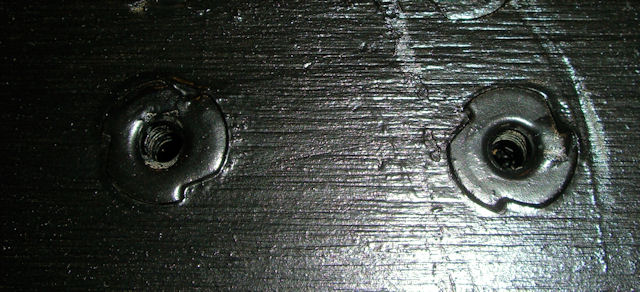
These are the
captive nuts that I used for the runners and
the wheel hitch. I don't remember the
correct name but you drill a hole in the
wood and hammer them in place. They have
prongs that get driven in to the wood and
when you screw in to them they draw up even
tighter into the wood. I wanted a flat
bottom to minimize any damage to my luggage
rack. |
 |
|
These are from
the old Thule bike rack. Not much more than
a fancy u-bolt. |
 |
|
I used them as a
way to secure the board to the luggage rack.
The first picture in this series has a good
shot of them screwed in place. |
 |
Now that
it's all together, it was time for a final test run.
Everything was nice and solid up to the 60 mph that
I hit on the local main drag. Definitely more wind
noise but I was expecting that. Now if we can only
get the sun to shine we'll take off for our first
TR6 bike trip!
|
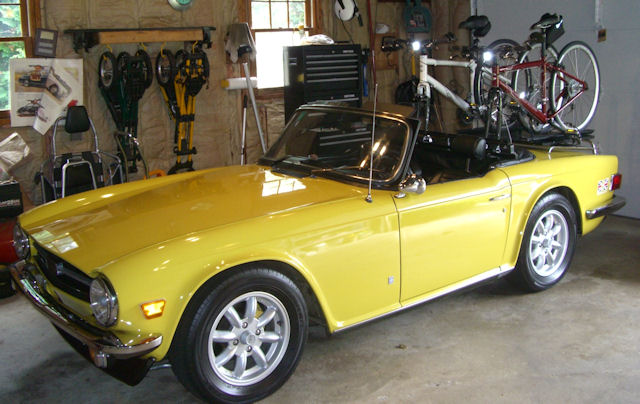
Side view |
 |
|
Rear View |
 |
|
Fork Attached |
 |
|
Ready to roll if
the rain ever stops! |
 |


