|
Trailing
Arm Jig - The Set Up
So now that you know what's
in the kit, it's time to put it to good use. The first
thing I did was remove the brakes from the TA without
the need to drain the brake fluid. Basically I unhooked
the E-Brake and then loosened the brake line from where
it attaches to the TA. This gave me enough slack in the
brake line to remove the brake back plate from the TA
and rest it on the hub.
|
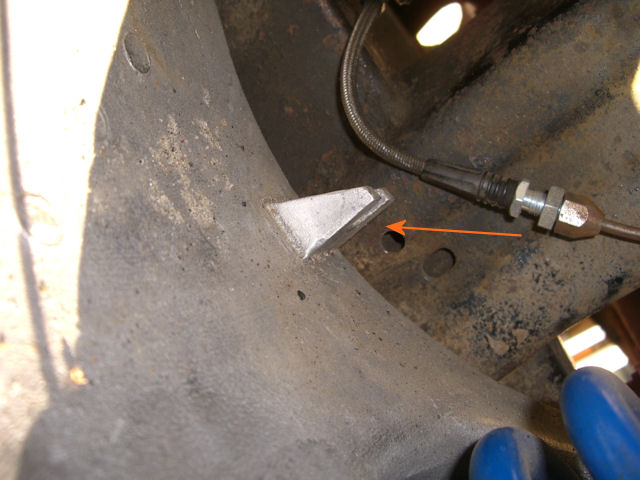
Remove the
E-Brake and then the Brake Line from the TA |
 |
|
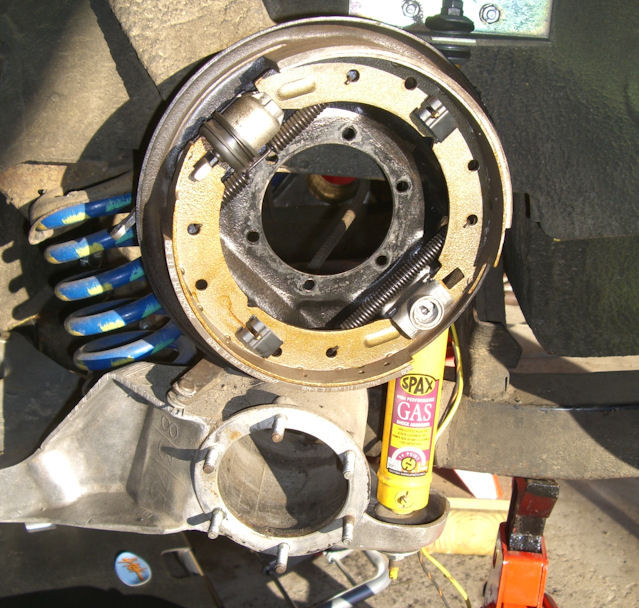
This lets you
rest the brakes on top of the TA without
losing any brake fluid. |
 |
Next up was a test fit to
make sure things lined up before I started drilling
holes in my perfectly good TAs. Rick machined everything
to very very tight tolerances..............probably
tighter than Triumph engineered anything to.......so it
does fit when put on properly. You really have to line
it all up and then slowly work it on. A few times used a
block of wood to tap it into place. Once I was sure it
fit, I backed the first three studs out using the old
double nut trick.
|
A very tight but
perfect fit |
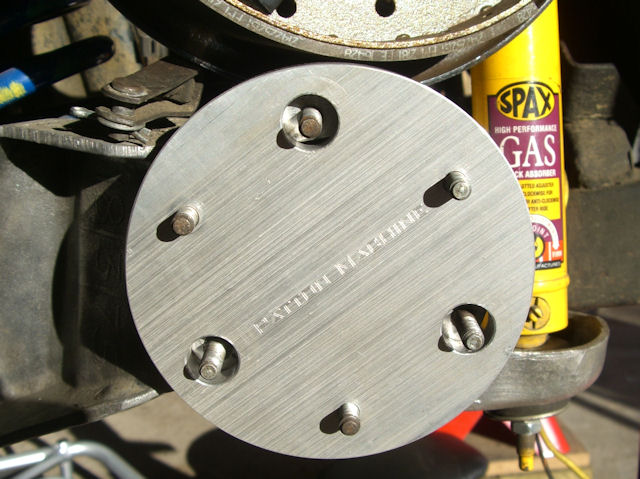 |
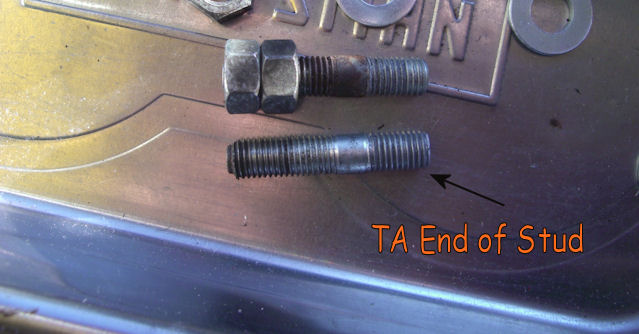
Tighten two nuts
against each other and you can back the stud
out. Just take out the
first three you want to drill & tap. You
need the other three to lock the jig in
place. |
 |
|
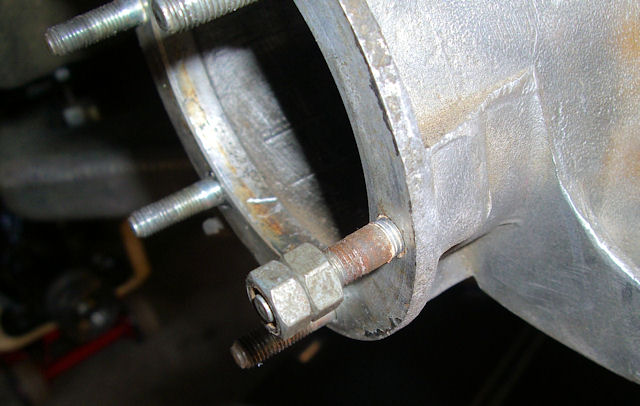
The TA end of the
stud has the shorter thread length. |
 |
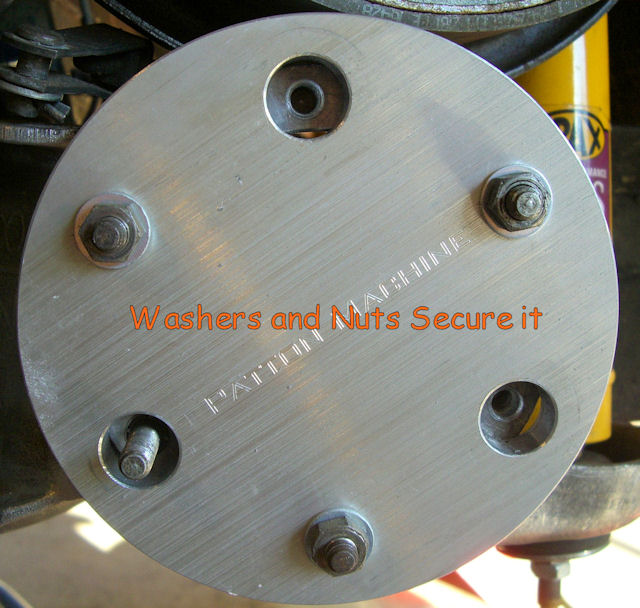
Now you need to clean up
the face of the TA so that the jig lies nice and flat
against the TA. If it doesn't lie flat, you'll get
crooked holes! I used a wire wheel on my drill which was
more then sufficient. Once you put the jig over the 3
remaining studs, lock it down with washers and nuts.
|
A wire brush got
the face nice and clean |
 |
Three washers &
three nuts....and one stud?? The stud is the
KeenSert I did by hand
last year. Doing that one by hand was enough
to convince me NOT to try and do all
12 by hand. There's no way to keep it all
square by hand. |
 |
Now it's finally
time to drill and tap.
|


