Over the past year or so
my headlight switch had trouble keeping the headlights
on unless I fiddled with the switch. I'd flip the switch
to the headlight position and they'd come on and then go
off. Play with the switch a little and it would find its
"happy place" and stay on. Taking electrical switches
apart isn't high on my "to do" list given the unknown
number of small interlocking parts ready to pop out when
you separate the case. So my options were to: hope it
never completely failed...yea right, buy a new/used
switch or try and repair it. I checked Dan Masters'
Electrical Handbook and he had a picture showing how to
separate the case and said how easy it was to
disassemble and clean but nothing
more..................so the next stop was
the
6-Pack Forum. As usual I got fast and informative
advice but no one had ever taken any pictures of the
actual steps. Seeing as I had a few Forum members PM me
offering used switches, I figured I might as well
attempt the repair knowing I had some used switches to
fall back on.
If it wasn't for the fact
that I took over 60 pictures to get 20 good ones, the
whole process would have taken about 20 minutes. Even
with the picture taking, it took less then an hour.
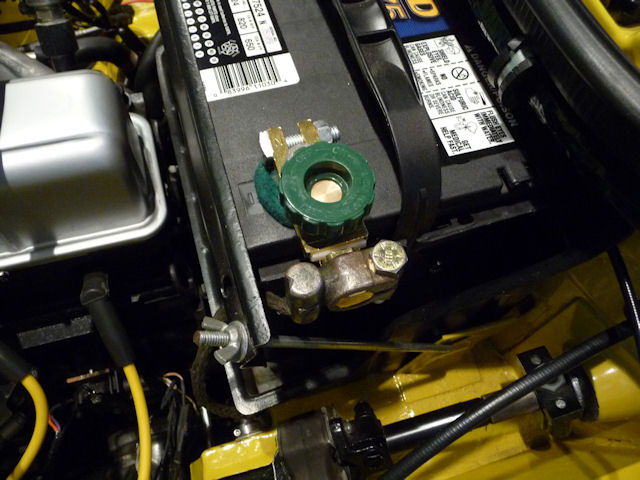
The FIRST
thing you do is disconnect the battery. I've
got one of these quick disconnects that you
can buy at Wal-Mart or any Auto Parts store
for about $10.
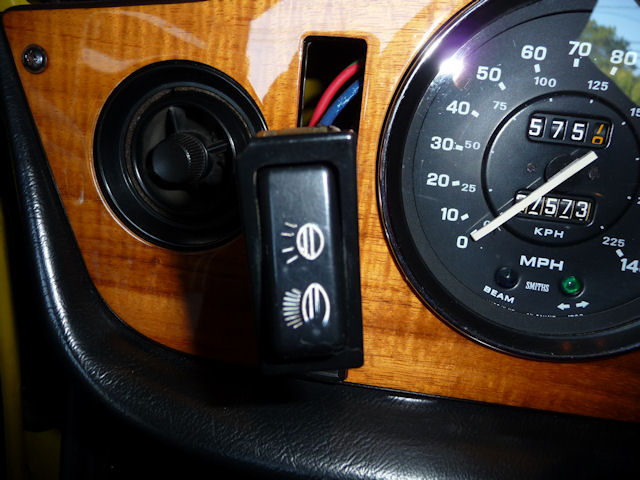
I was able to
just pull my switch out from the front
though I've been told some guys have to
remove their speedometer to get at the
switch from the back. When I installed my
AAW wire harness I also left enough wire
to easily get at the rear of the switch
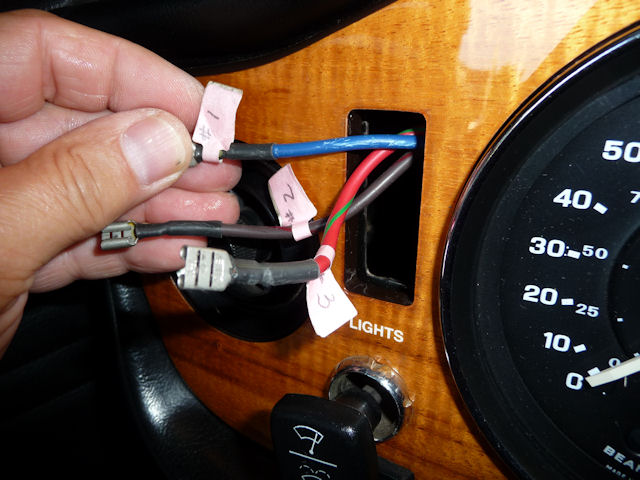
I also tagged
every wire under my dash when I did the new
harness which saved me time for this repair.
The numbers on the wires correspond to the
spades on the back of the switch.
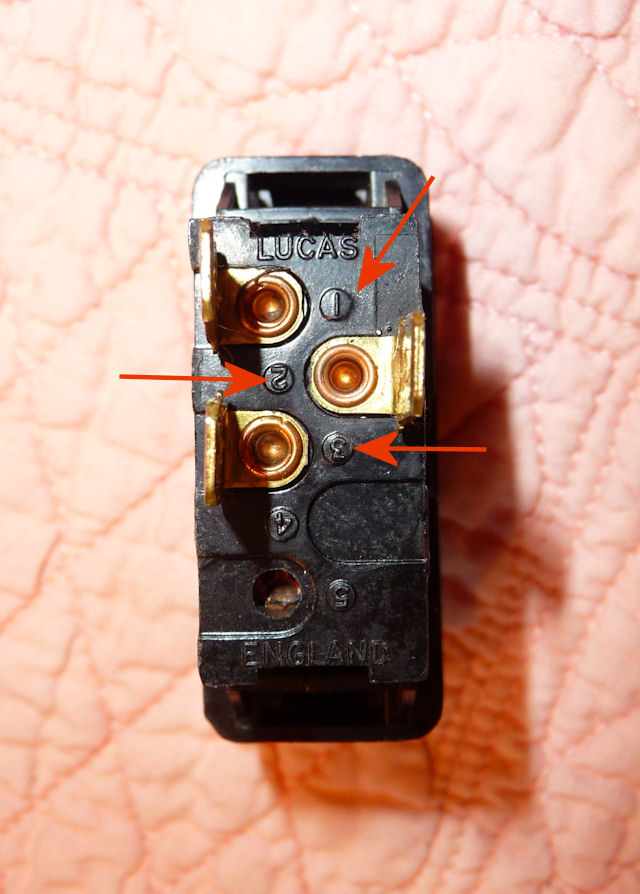
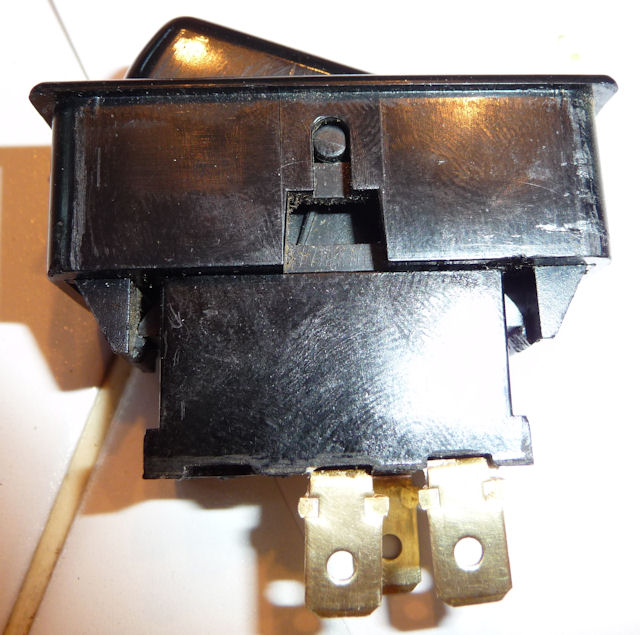
Here you can see
how the spades are numbers 1, 2 & 3
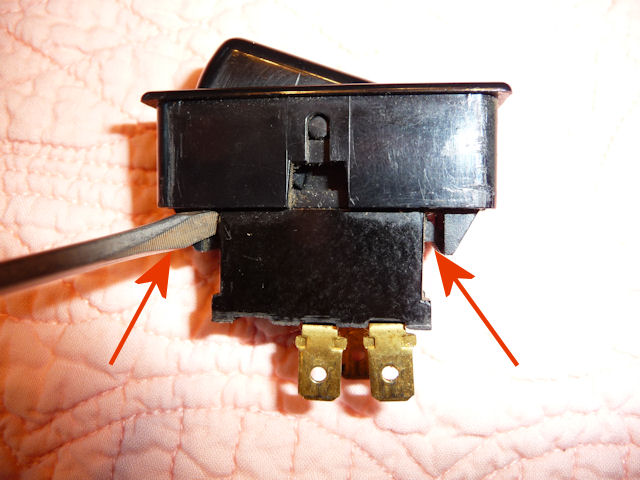
The case is
made up of 2 pieces held together by these
locking tabs. These tabs don't really flex
so be very careful prying them apart.
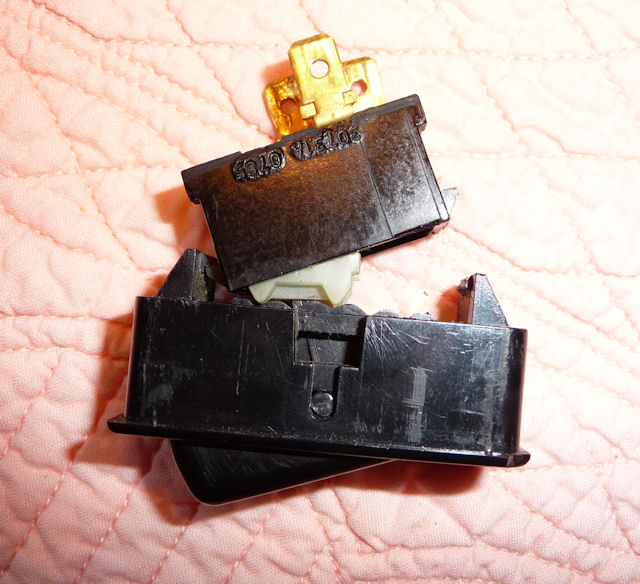
Separating the
two halves.
The rocker
part of the switch is the larger bottom
piece and the arrow points to the rocker tab
that goes into the sliding white plastic
piece.
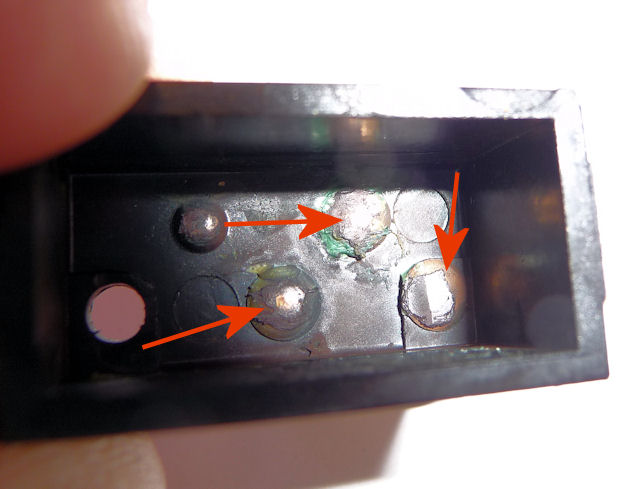
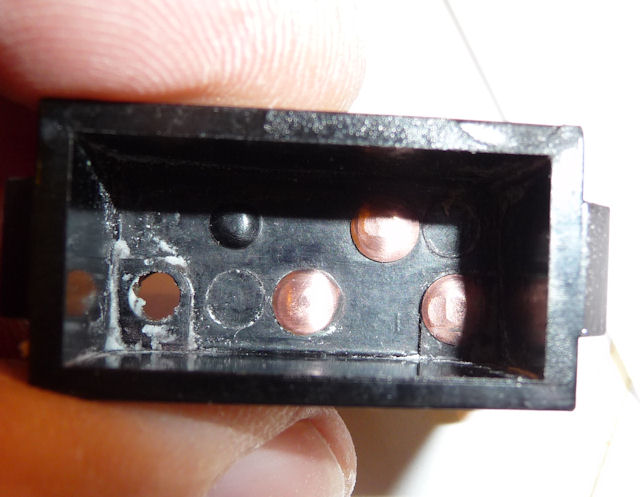
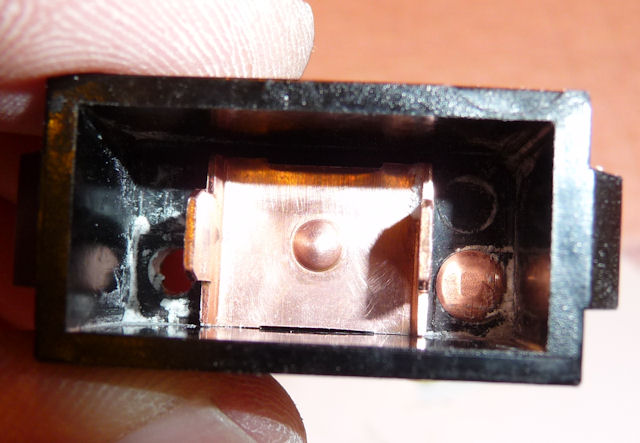
Here's the 3
contacts in the case that are pretty dirty!
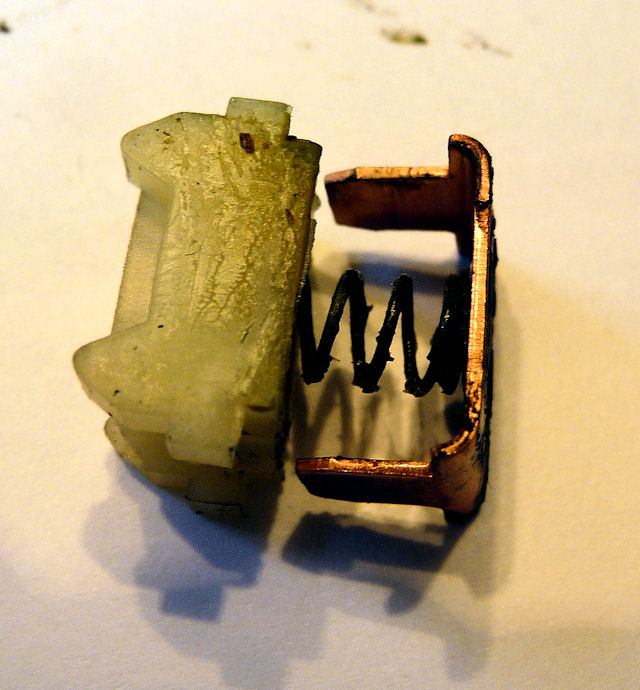
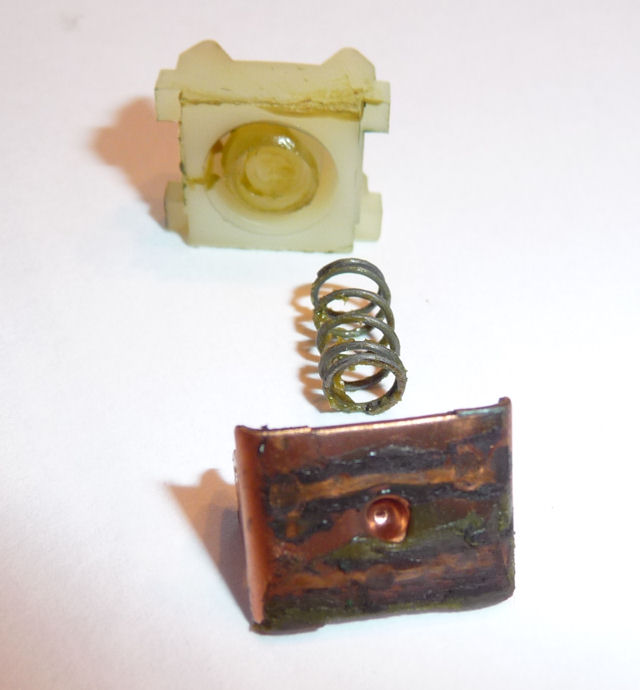
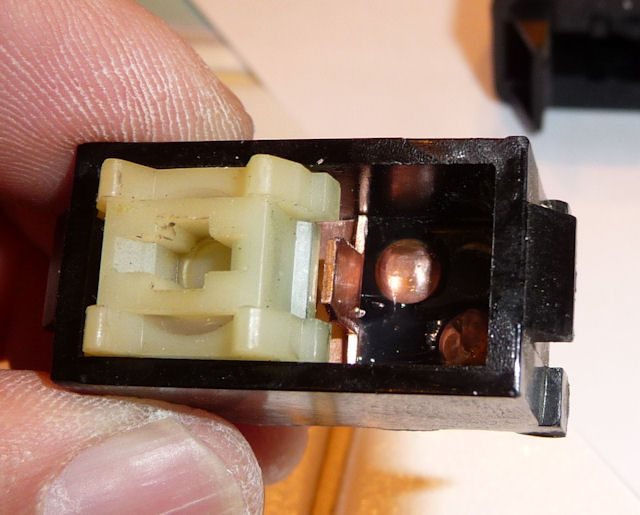
Here's the
inner switch components made up of the white
plastic piece shown up above, a spring and
the sliding copper contact piece. This is
all held together with old grease and gunk!
It just pulls easily apart.
It's pretty
easy to see why the lights didn't want to
stay on........not too much here to maintain
a good electrical contact.
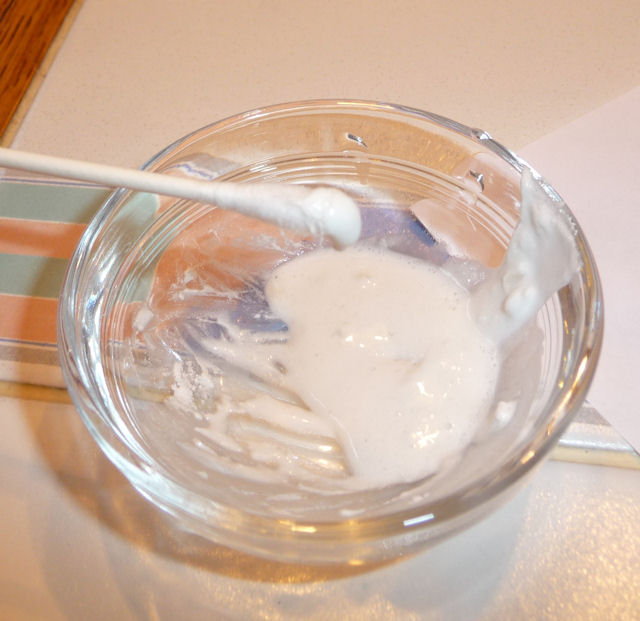
Another
6-Pack Forum tip................ Bar Keepers
Friend can be found in the household
cleaning aisle at your supermarket. It's
basically an abrasive cleaner that can be
used on lots of stuff according to the
label.
Mix it with water
until you get a thick paste.
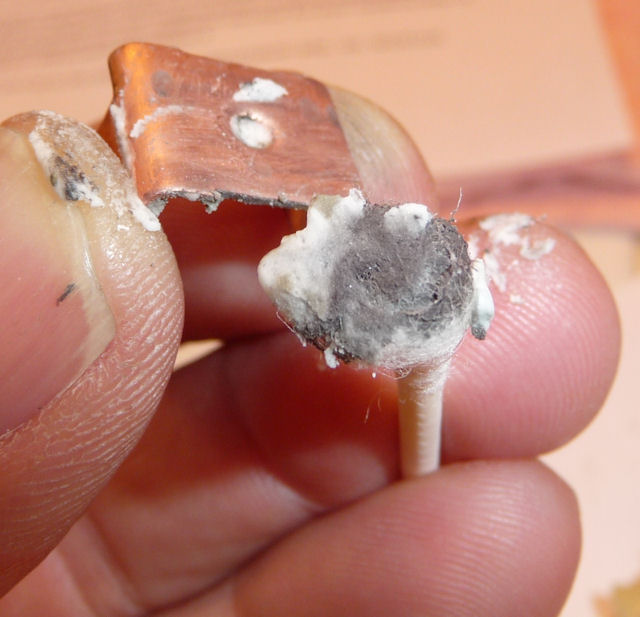
Then use a
Q-Tip to clean parts up............I also
used my fingers where ever they would fit.
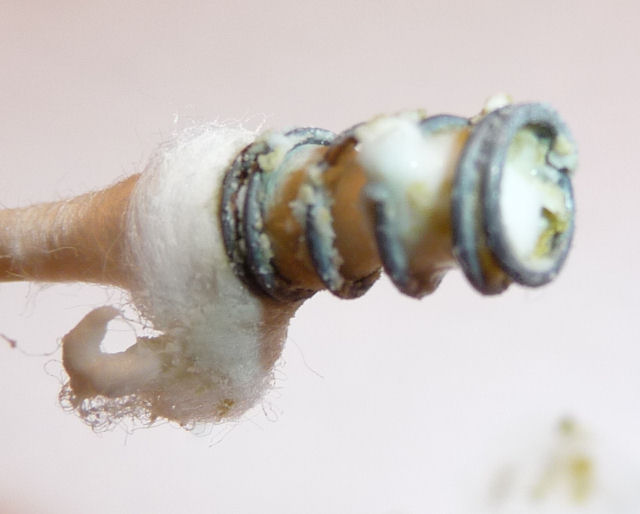
Clean the spring
too..........
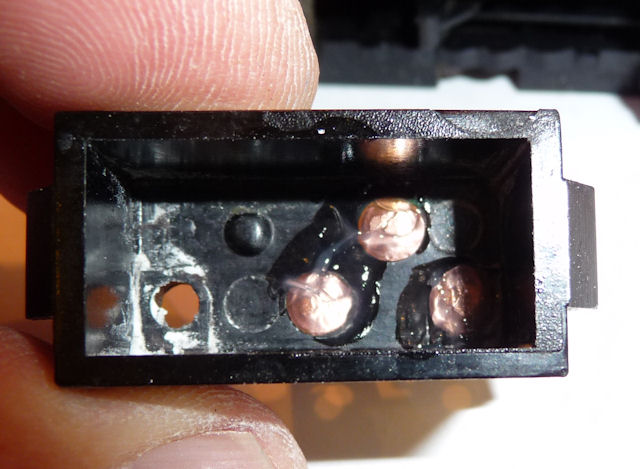
The contacts look
a whole lot better now.
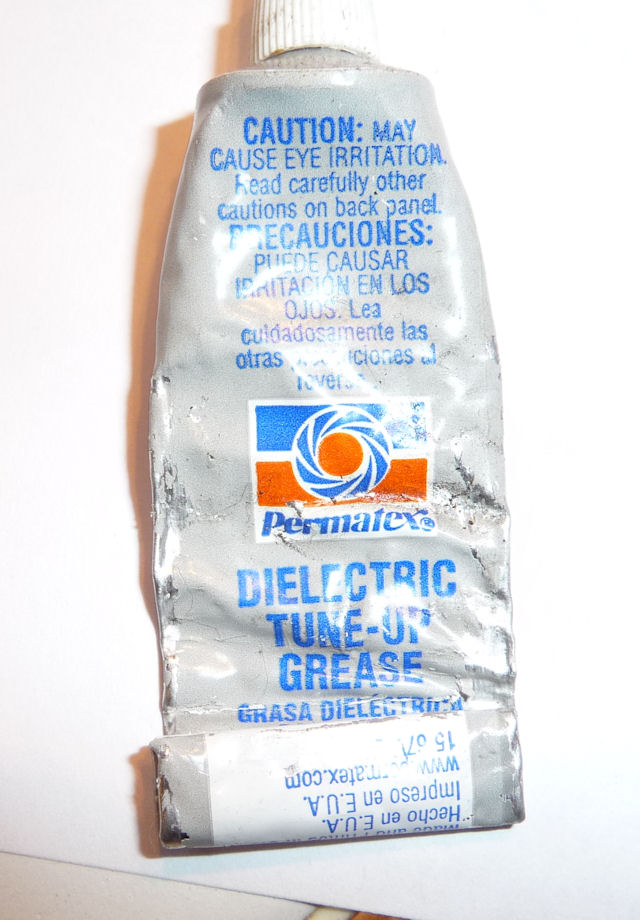
Good
old......very old........Dielectric grease
Applied to the
contacts.......
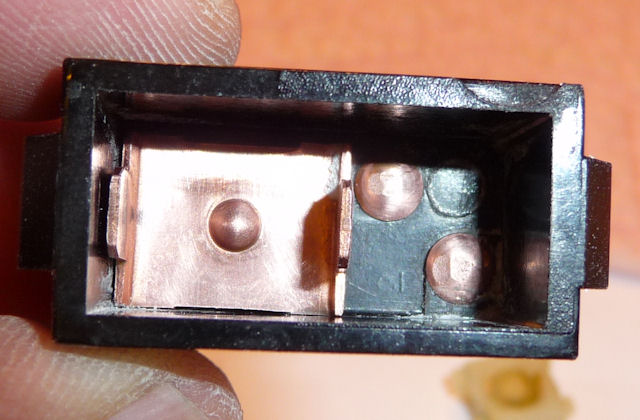
This is the
switch in the Off Position. It's actually
covering the contact that goes to the wire
for Flash To Pass (FTP).
In the first
rocker position, it covers the FTP contact
and the parking light contact.
When you move
it to the Headlight position it covers all
three contacts. It's really a very simple
yet well desinged switch.
Reassembly is
the opposite of disassembly! Sliding contact
and spring in place with the dielectric
grease holding it all together.
Plastic piece
goes over the spring and should easily move
up and down between those copper tabs.
Line up the
pieces and snap it back
together...............and now my light
switch works perfectly.